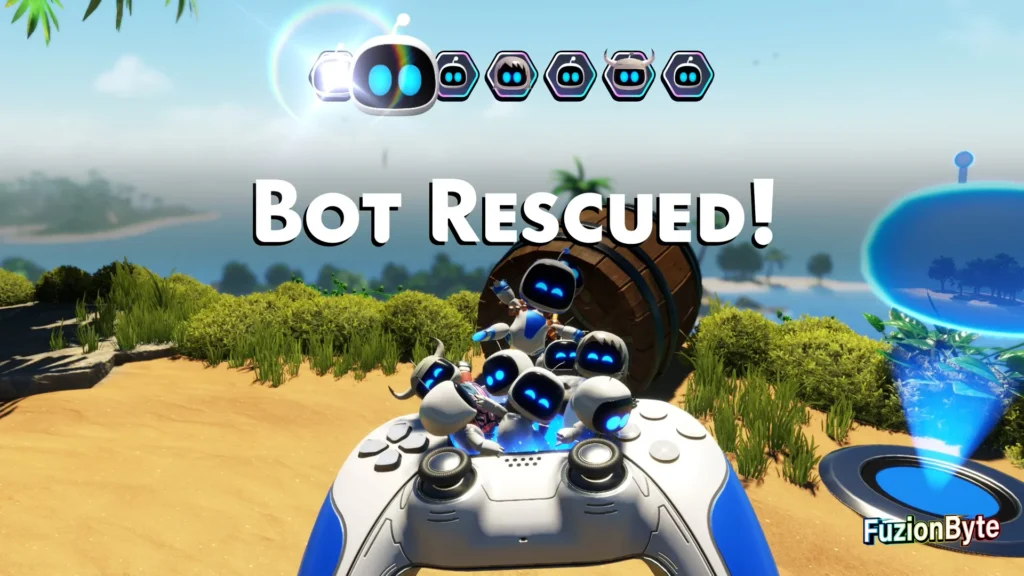
Astro Bot Tentacle System Go-Go Archipelago! Bot Locations
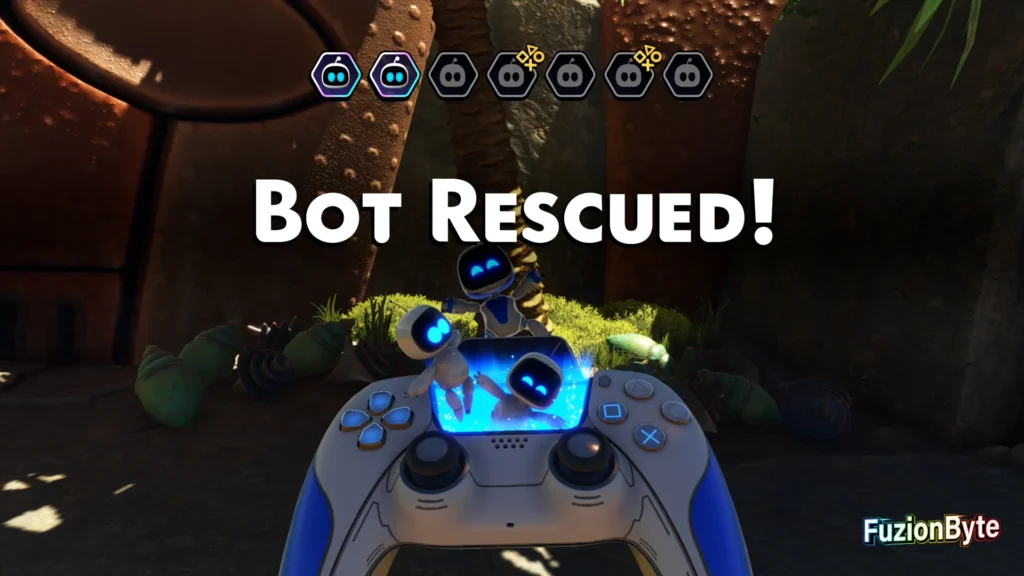
Here we will go over all of the Astro Bot Tentacle System, Go-Go Archipelago! Bot locations of which there are 7 in total. You are free to collect them all in one run or across several and the only way they will become missable is if you progress to far through the biome.
Go-Go Archipelago is a biome where you become a power-lifting Monkey and you will need to use of the skills afforded to you in order to collect every Bot in the stage as you smash through cliff walls, zipline off to crashed ships atop mountainous peaks and rip clam chest open who are holding Bots captive. Bots are freed by hitting them so don’t be worried about hurting a Bot, give them a gentle slap or a charged punch, whichever you prefer in order to collect each one.
Go-Go Archipelago! Bots
As with the rest of the main stages throughout Astro Bot there are several unnamed and a handful of named Bots for you to locate with them being acquirable in the following locations:
Bot 1
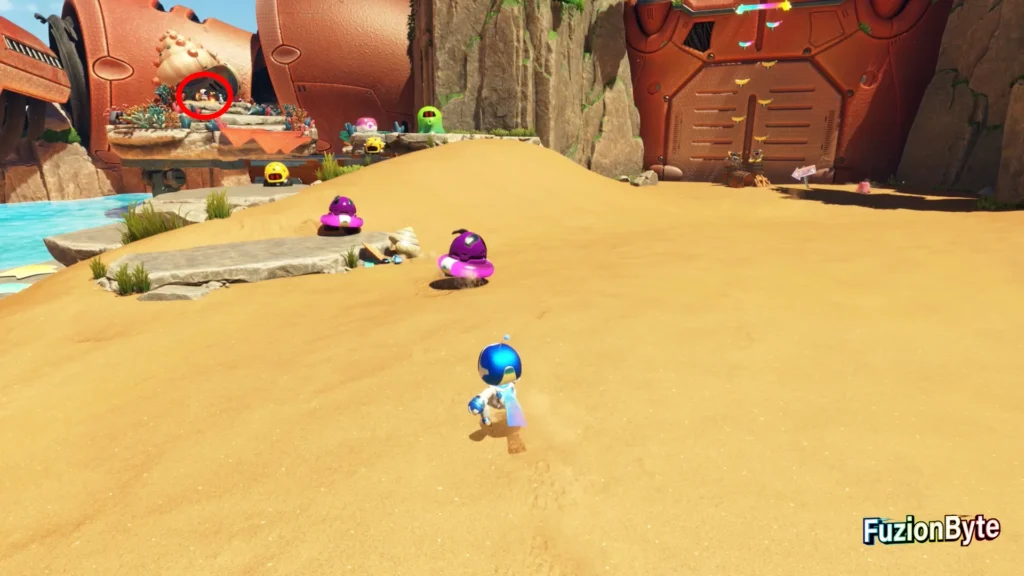
From the start of the level go forward then jump up to your left onto the platform where you will find this Bot cooking a fish over a bonfire. Give it a quick slap to add the Bot to your collection.
Bot 2
Go over to the right side of the starting area and climb the rocks then go around to the end of path taking out the enemies as you go to find this Bot tied to a tree.
Bot 3
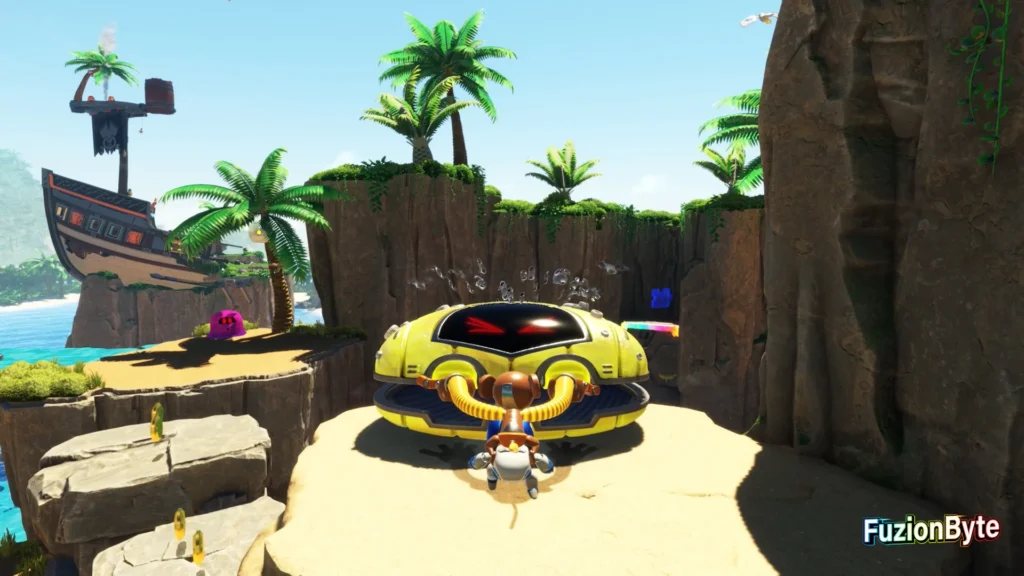
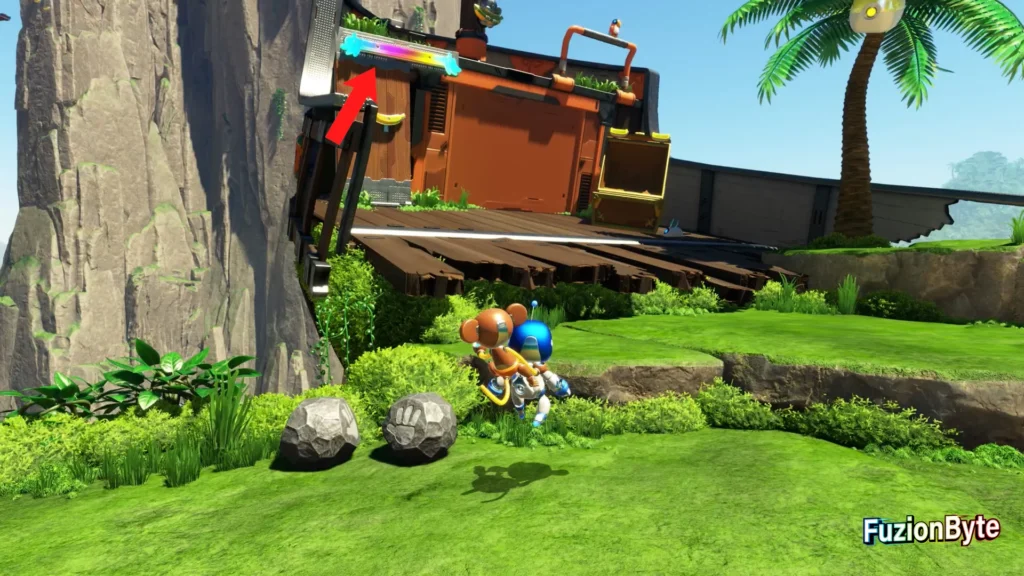
One you have climbed the first Monkey wall you will find a clam-chest just over to your right you will be able to open by holding both triggers which will have several small rocks inside.
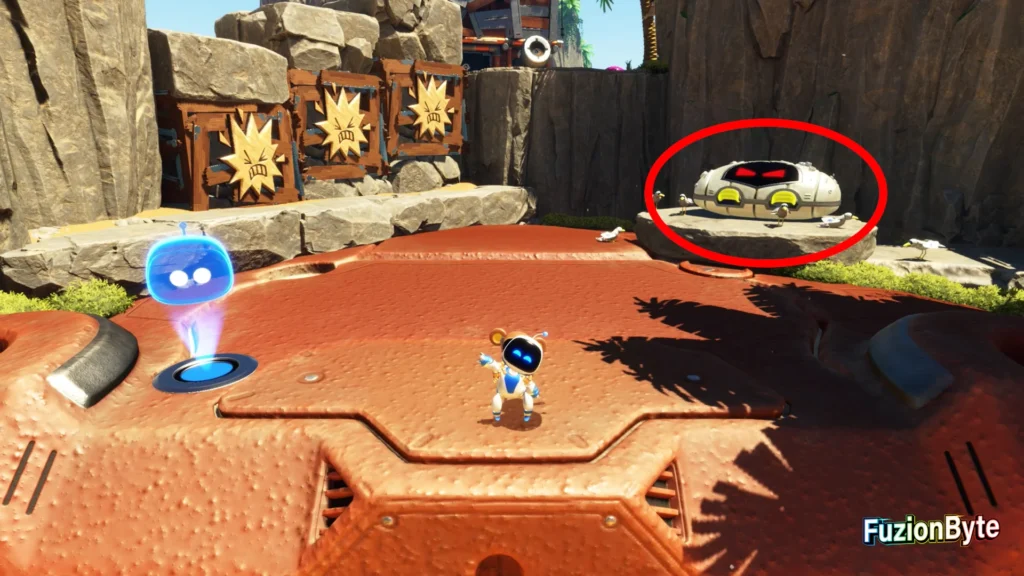
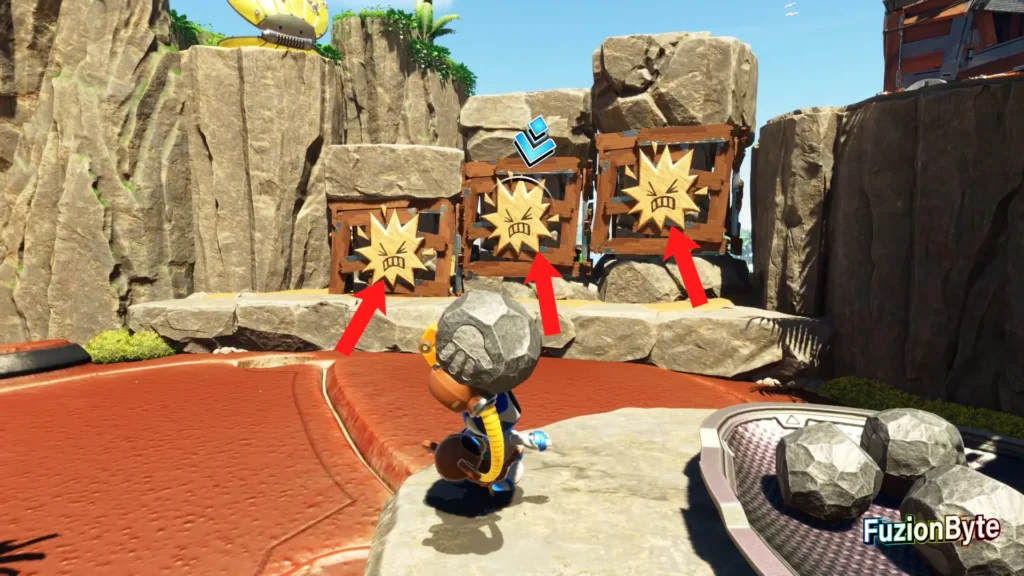
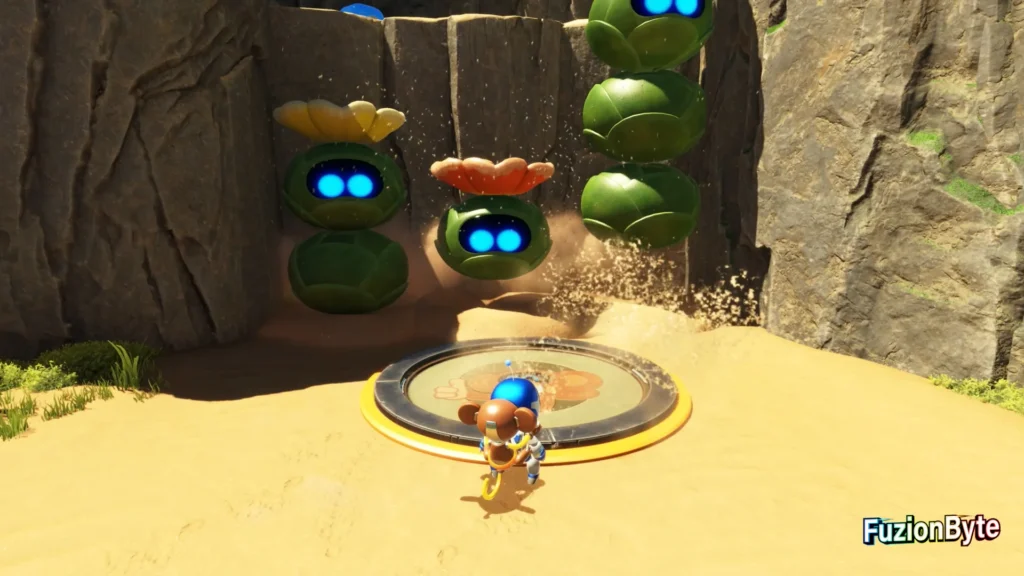
Throw a rock at each of the 3 smash plates on the left of the area then jump over the fallen rocks. Defeat the enemies and the Elite then slam both hands down on the Monkey pad to reveal 3 plants in front of you which disappear quickly.
Jump on the middle, then the left plant where you can then double jump boost to the ledge above then jump up and around to the yellow clam chest.
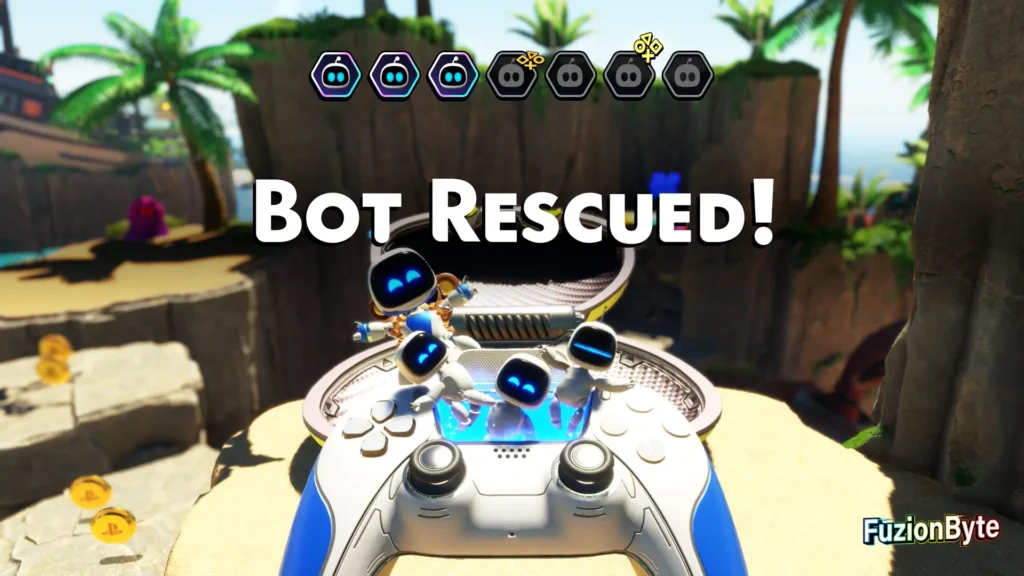
Finally, open the clam chest to be able to collect this Bot.
Bot 4, Elfin Prisoner
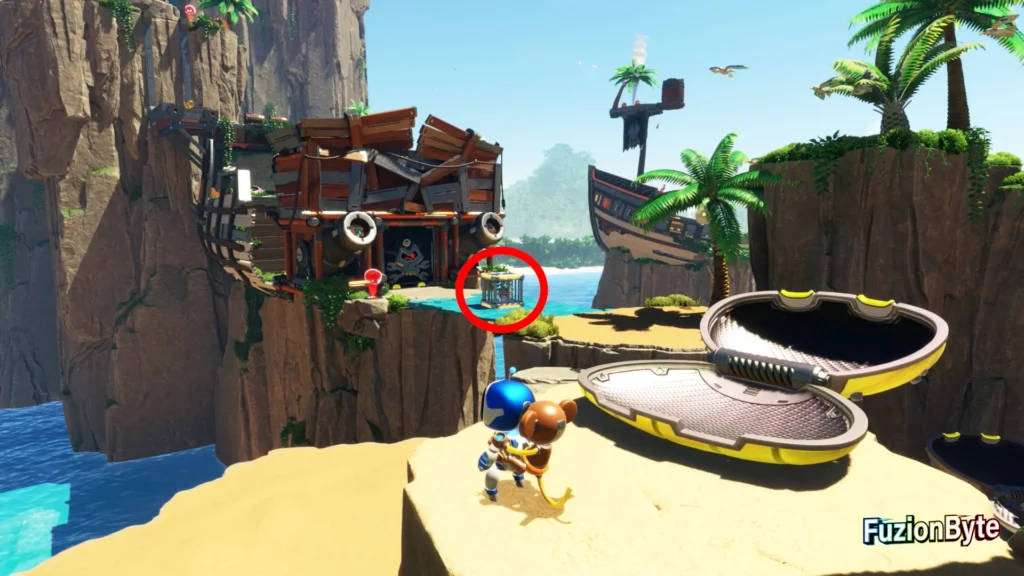
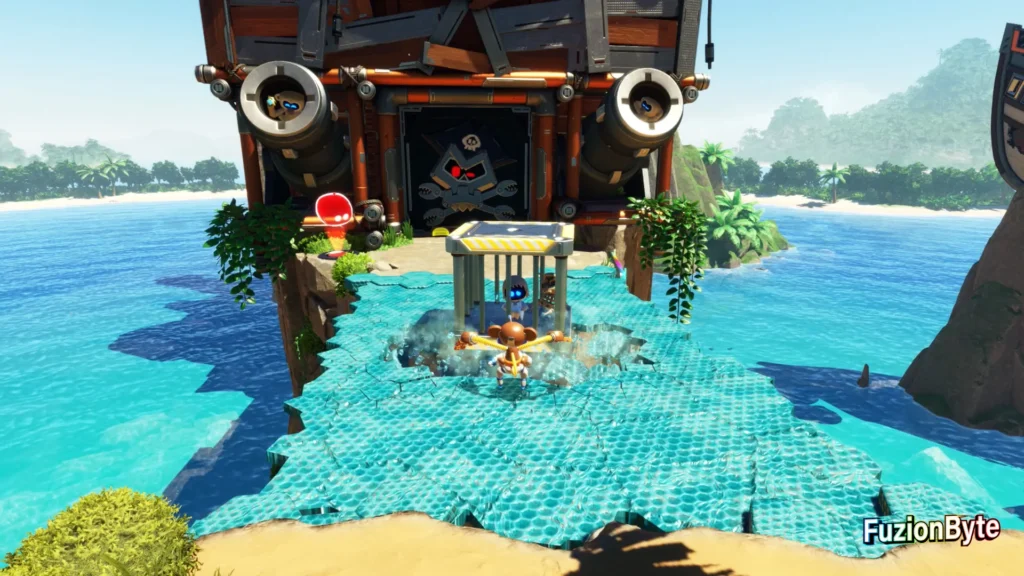
Continue through the level to the fragile blue bridge you will need to cross as part of the story. In the middle of the bridge will be the Bot in a cage. Slam your hands down around the cage until it falls through the bridge to the area below.
Jump down to find the Bot amongst the ruins of the cage who you can now collect.
Bot 5
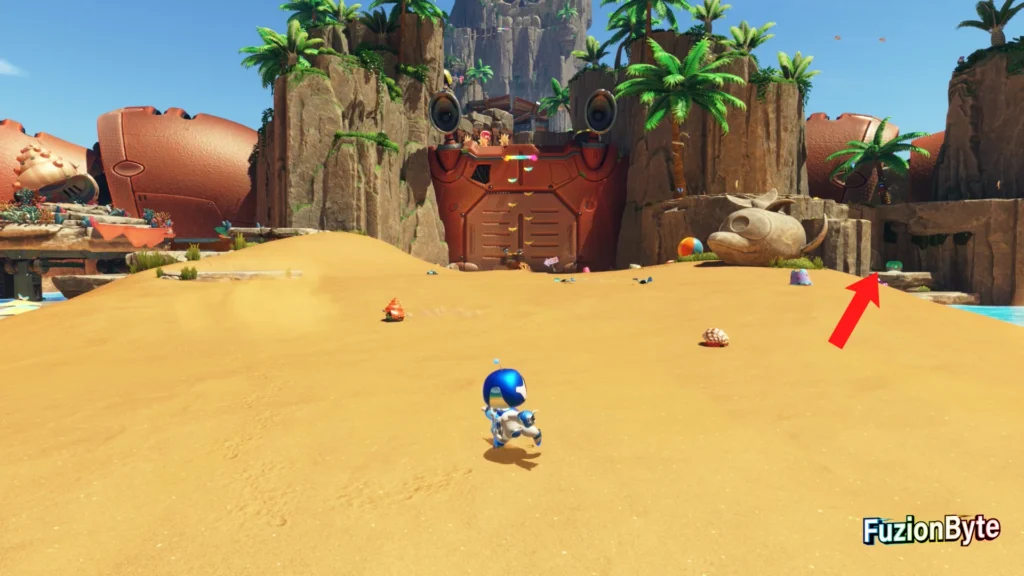
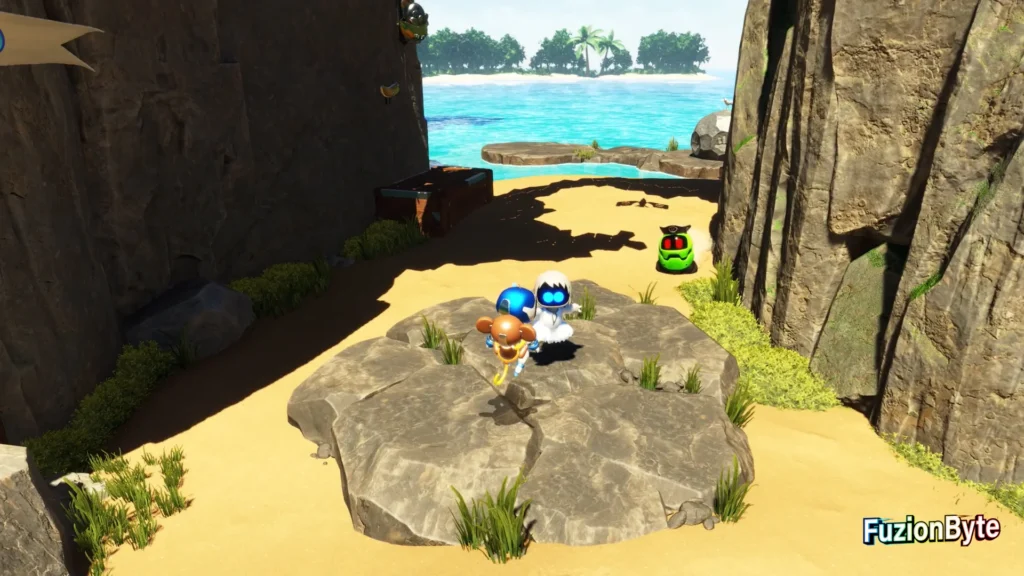
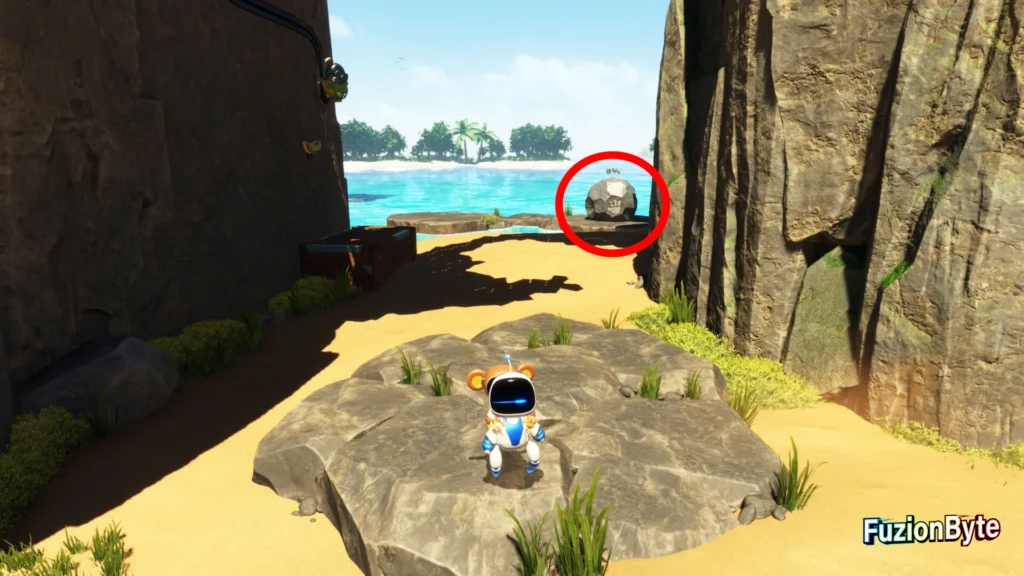
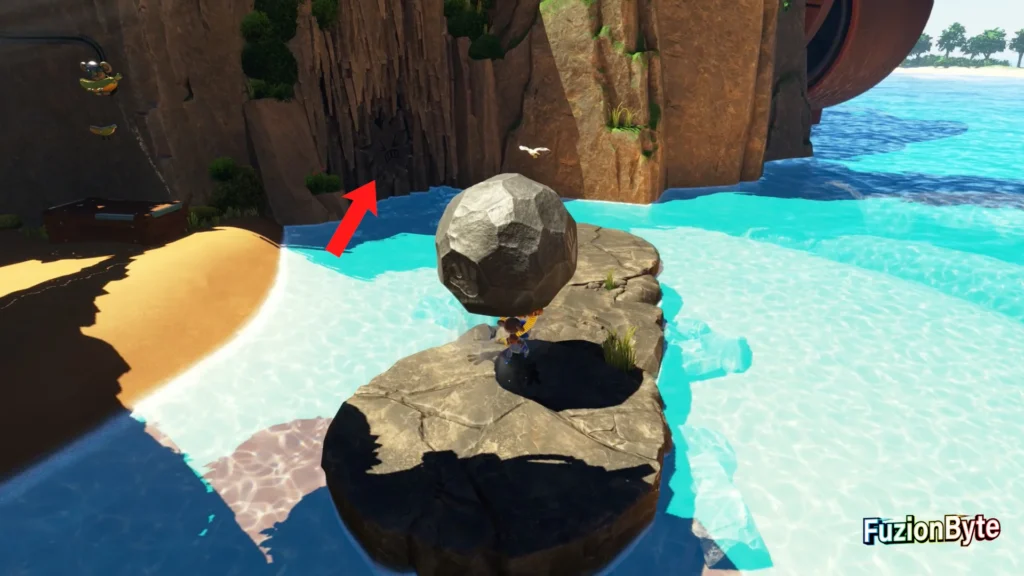
Once you have the Elfin Prisoner, look out to sea on the left side of the area to see a large rock on a platform. Go to the large rock and use both triggers to lift it up above your head.
Turn back towards the start of the stage where you will see a smash sign built in to the cliff face. Throw the rock at the cliff with the triggers to reveal an opening you can go into.
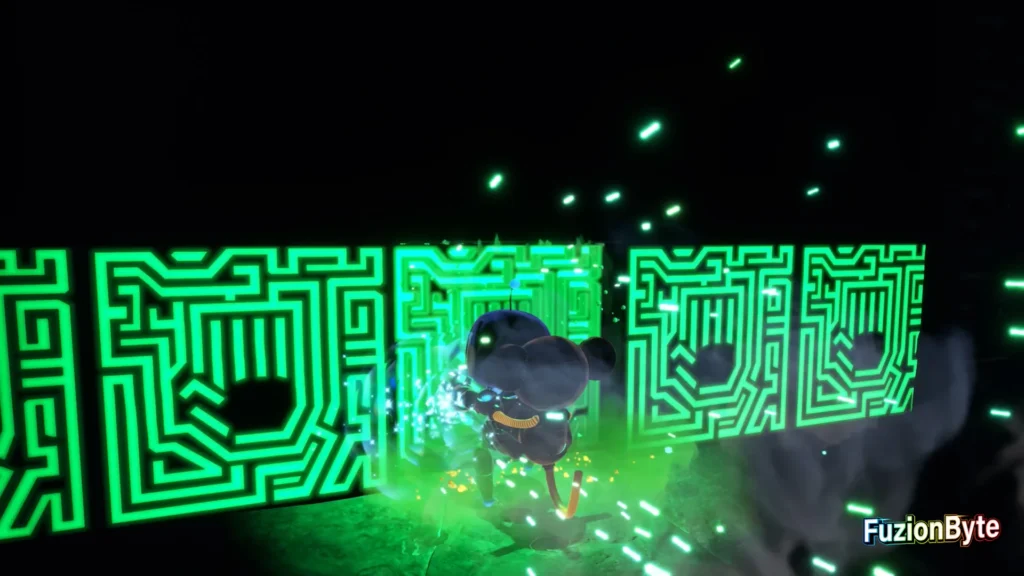
Run your hands along the circuit section of wall until the controller vibration changes then push that section of wall through to reveal another cave where you can find this Bot on the ledge.
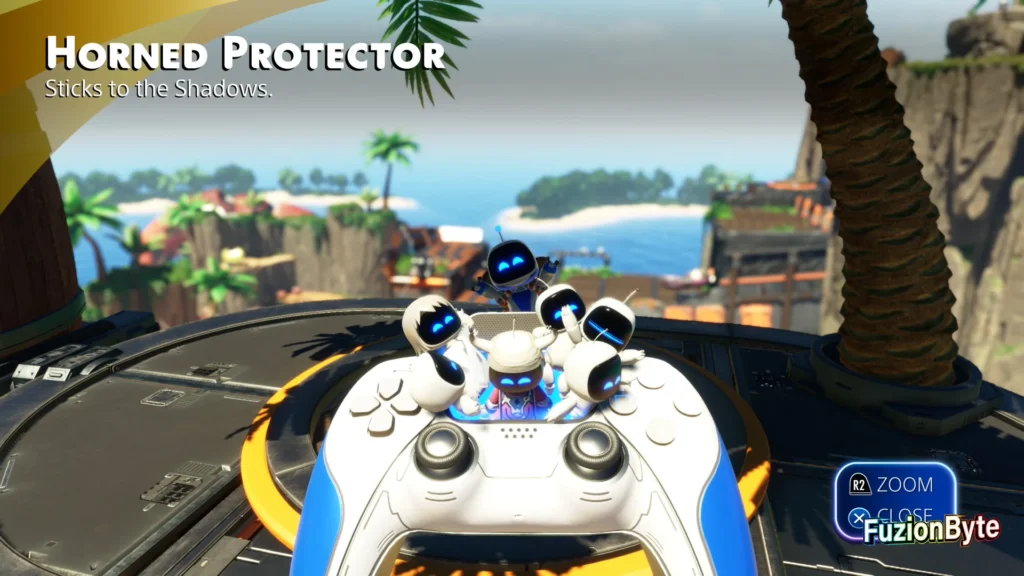
Bot 6, Horned Protector
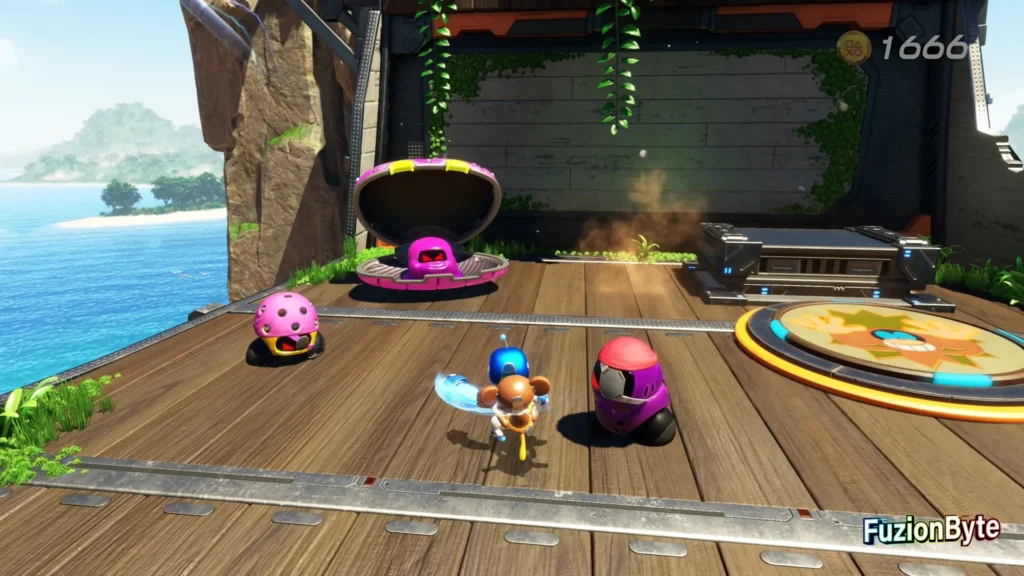
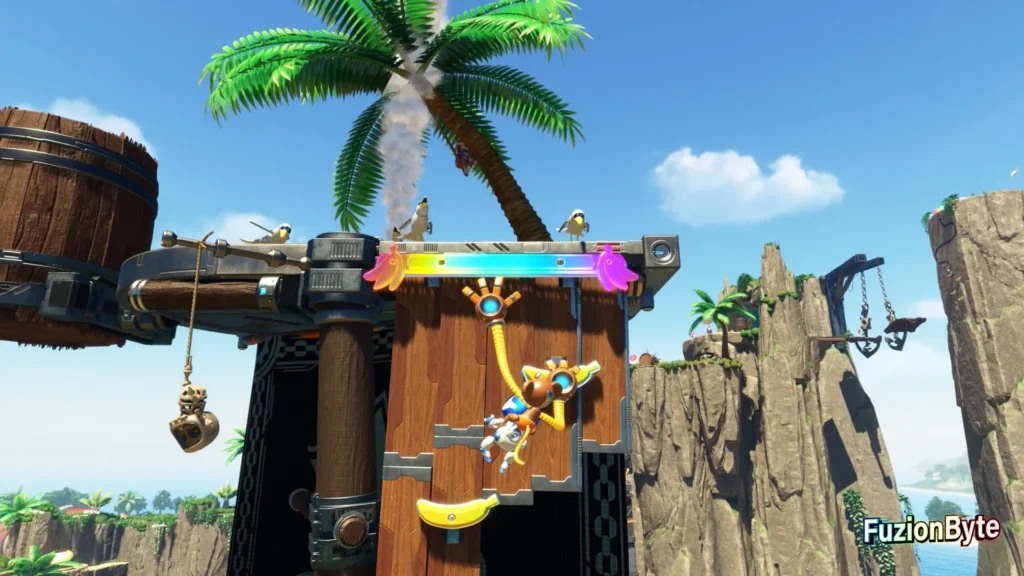
Climb the Monkey wall, defeat the enemies including the Pink Slime in the pink clam chest then pan the camera around to look behind you to see a new area you can jump over to.
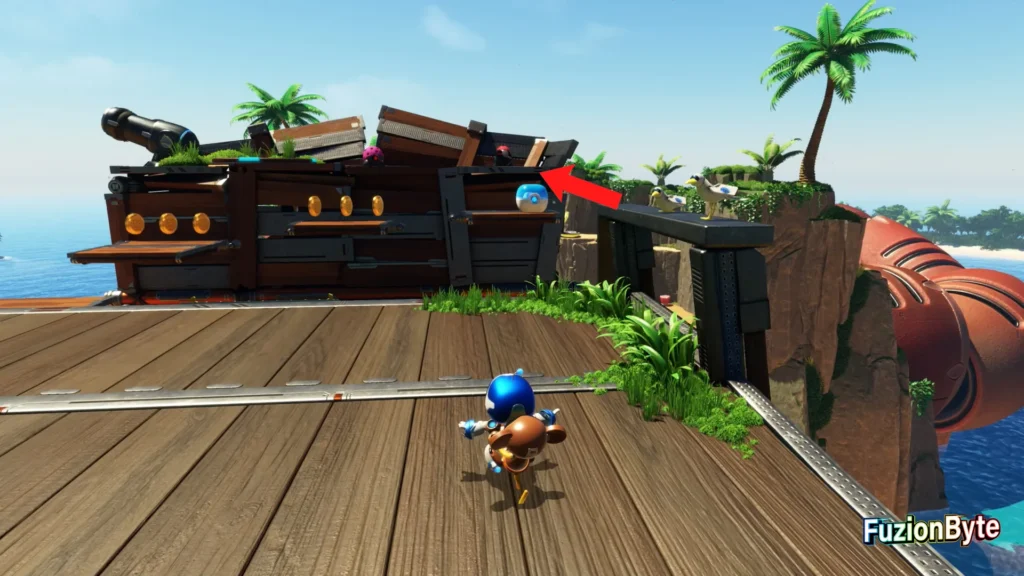
Slam your Monkey hands down on the pad in front of the cannon to send a zipline across the chasm. Ride it across then defeat all of the enemies as you make your way up through the shipwreck. Grab the Monkey chain to be taken up the mast to the higher level.
Slam your Monkey hands on the pad which will cause the Horned Protector to drop down. Give it a quick punch to add this Bot to your collection.
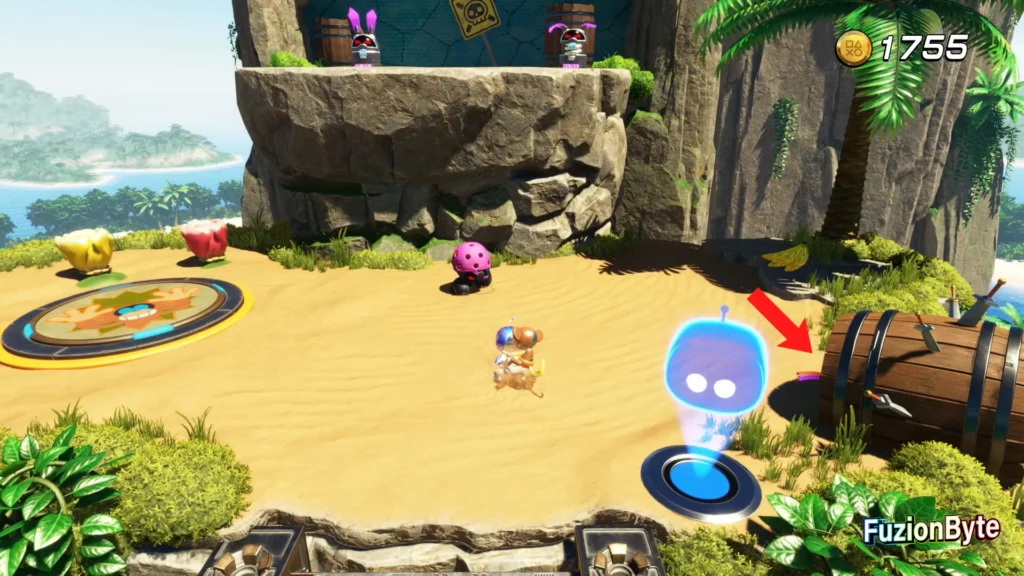
Bot 7
Climb the next Monkey wall to the sandy platform and defeat the enemies where you can look to your right to see a large barrel with swords sticking out of it. Pull the wires on the barrel to reveal the Bot who you can now rescue.
That’s all of the Astro Bot Tentacle System, Go-Go Archipelago! Bot locations, did you find them all?.

