God Of War Ragnarök Vanaheim Legendary Chest Locations
Author: FuzionByte.
Genres: Action Adventure, RPG.
God Of War Ragnarök directory.
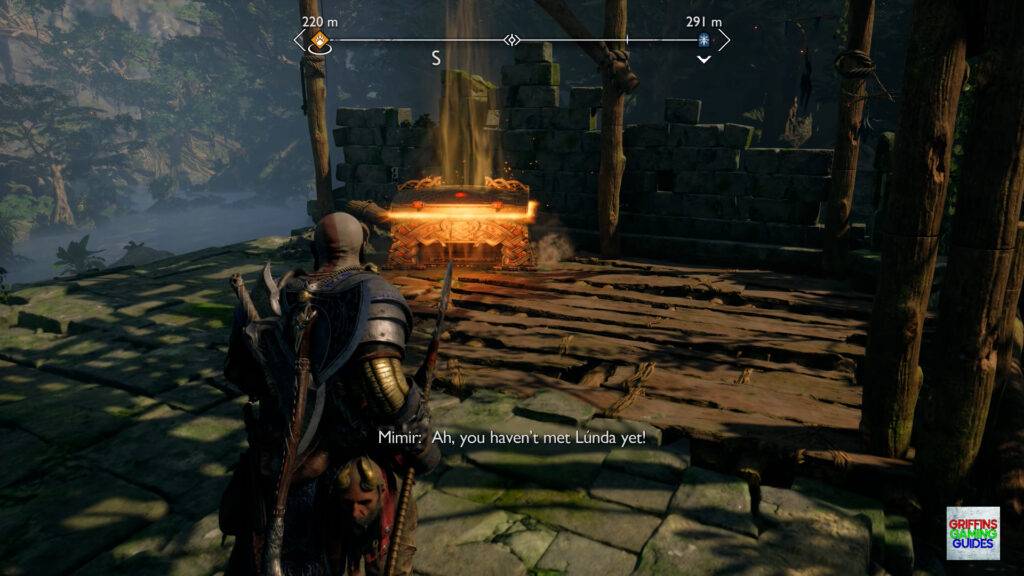
Here is the God Of War Ragnarök Vanaheim Legendary Chest locations guide where we will help you find all 13 Legendary Chests throughout Freya’s homeland. I recommend going for Legendary Chest 6 and beyond after you acquire the Draupnir Spear as the enemies can be a challenge before hand. You can then go for the final Legendary Chest 11 and beyond once you reach The Crater.
You will have a much easier time getting some of the Legendary Chests if you have already earnt either It Was A Good Day or New Friends as you will need to unlock a certain path through a canyon in River Delta to access more of the region. For the final 3 Legendary Chests in Vanaheim, you will need to firstly progress through the main story to the Creatures of Prophecy quest where you rescue Freyr and more importantly, obtain Freyr’s Boat.
Once you have the Boat, head back to the Mystic Gateway where you will come across Lúnda’s dog, Helka who is tracking a scent which will start the Scent of Survival Favour you need to complete whereby you will end up in a new hidden area: The Crater. In The Crater you will have a lot to do as it’s the largest area in the game both geographically as well as content wise including collecting the last 3 Legendary Chests in Vanaheim. Before you can collect the last 2 Legendary Chests in this guide you will firstly need to flood The Crater by completing the Return of the River Favour which will then make the previously unreachable areas accessible.
Vanaheim Legendary Chests
The 13 Legendary Chests in Vanaheim are as follows:
Legendary Chest 1
Vanaheim, The Southern Wilds.
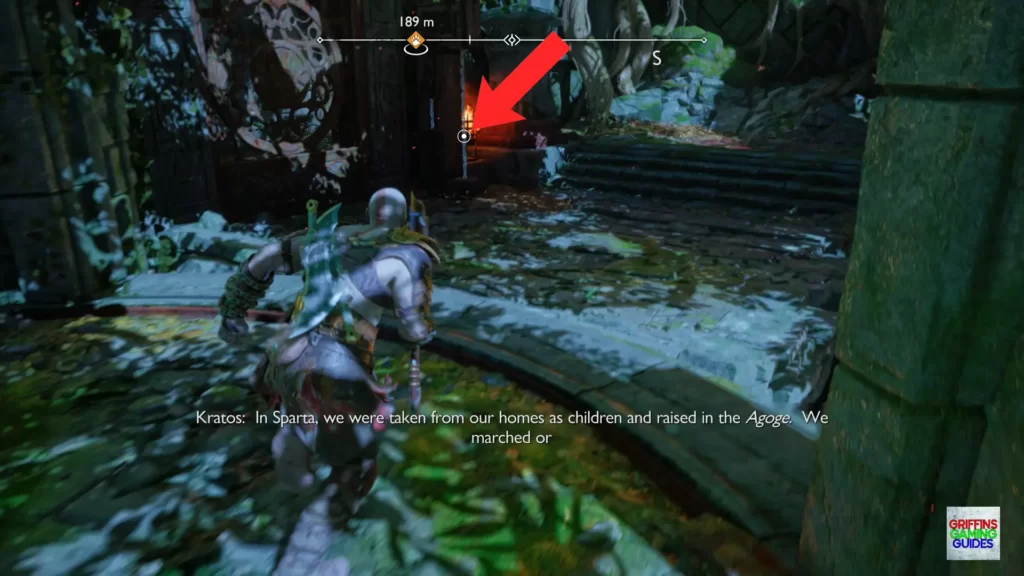
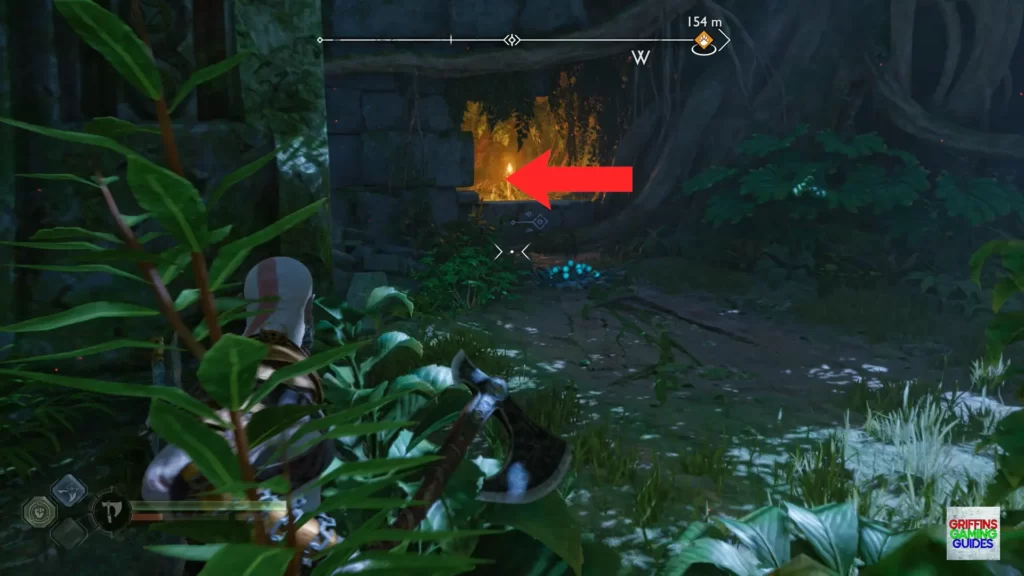
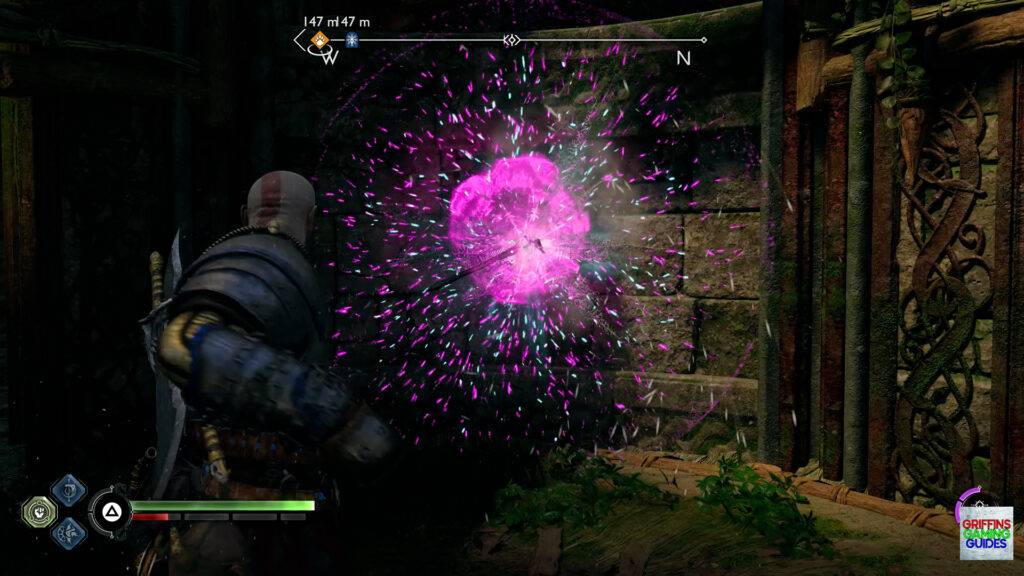
Continue through the area to where Freya morphs in to a bird and the pod explodes in front of you.
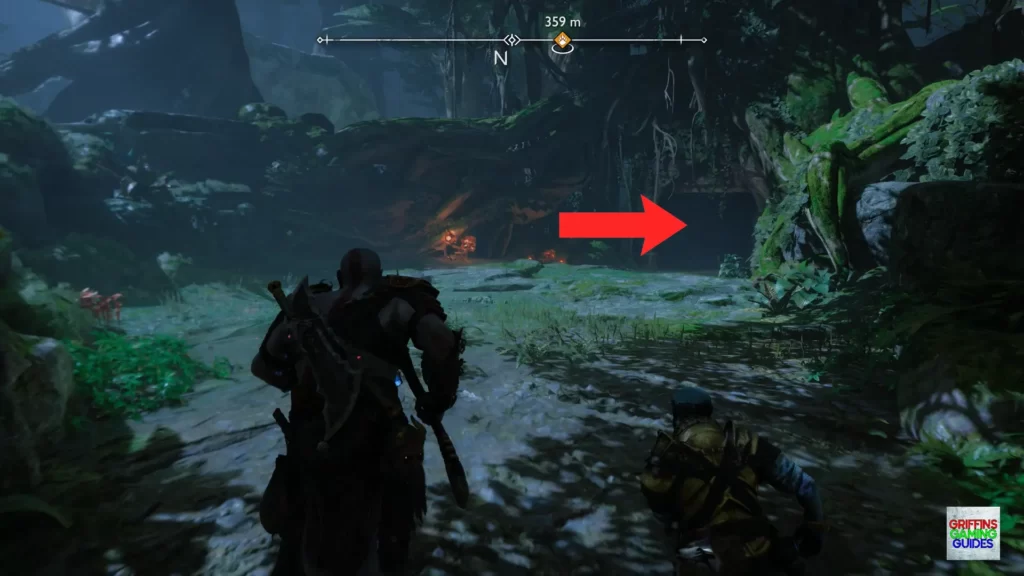
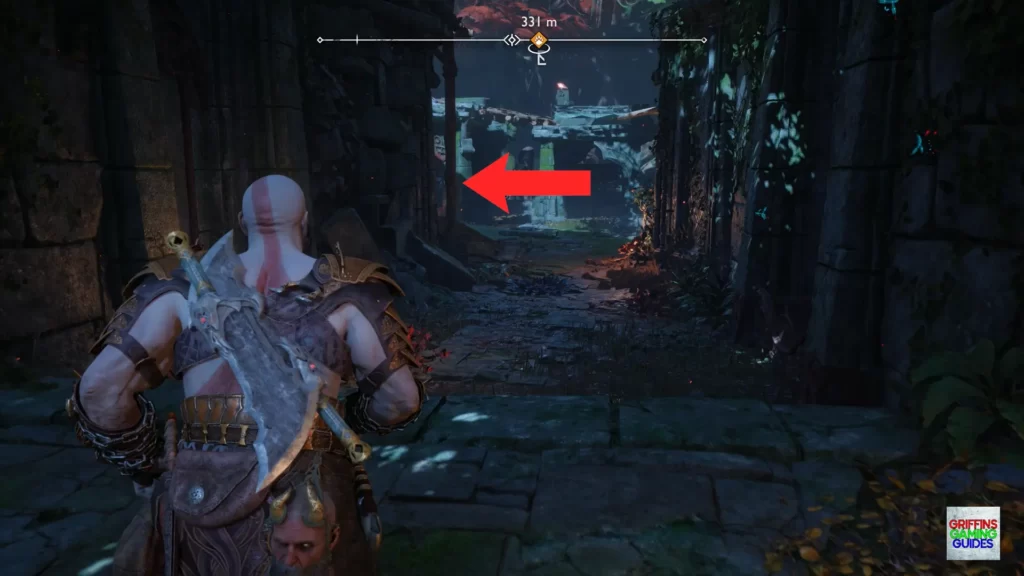
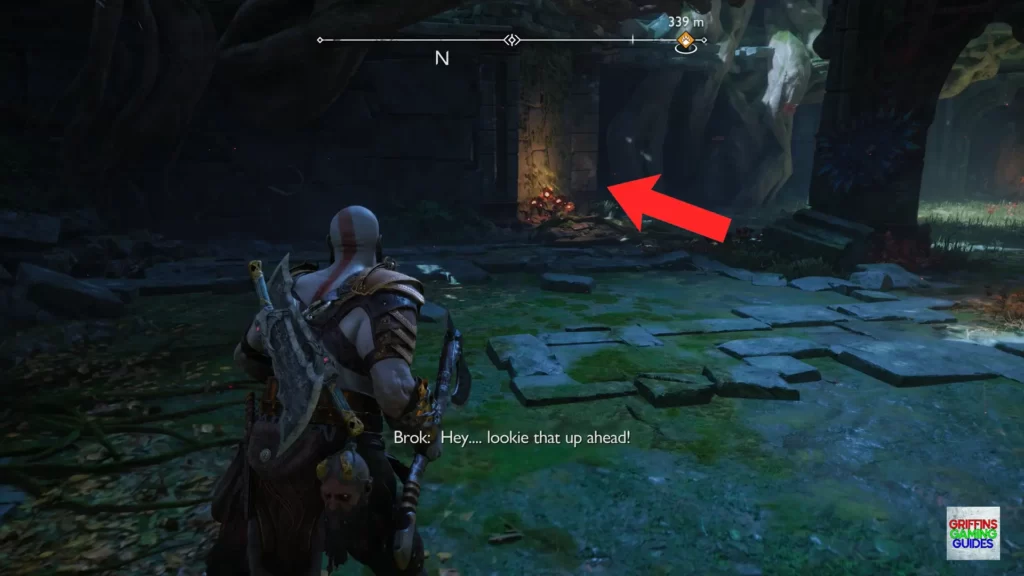
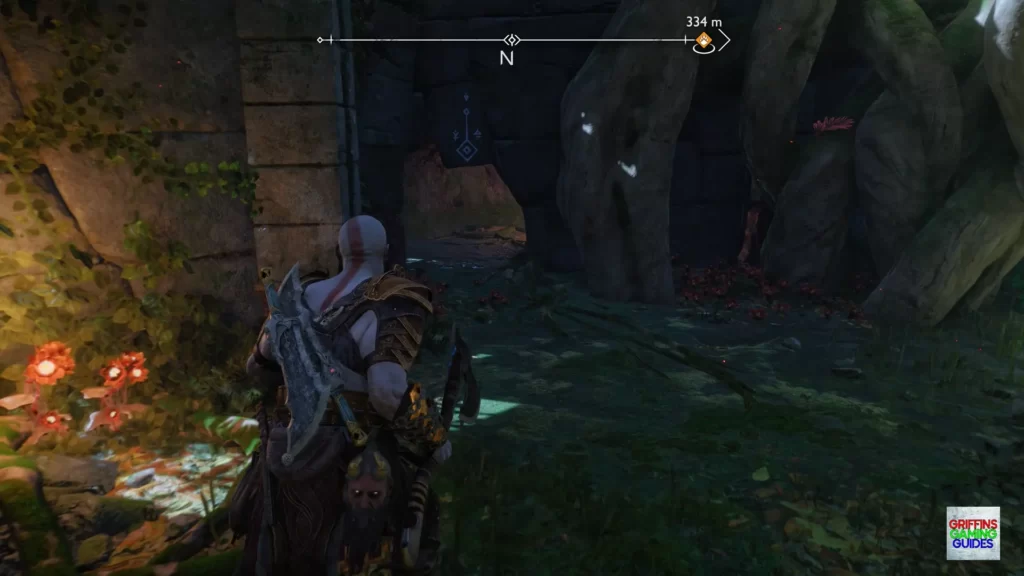
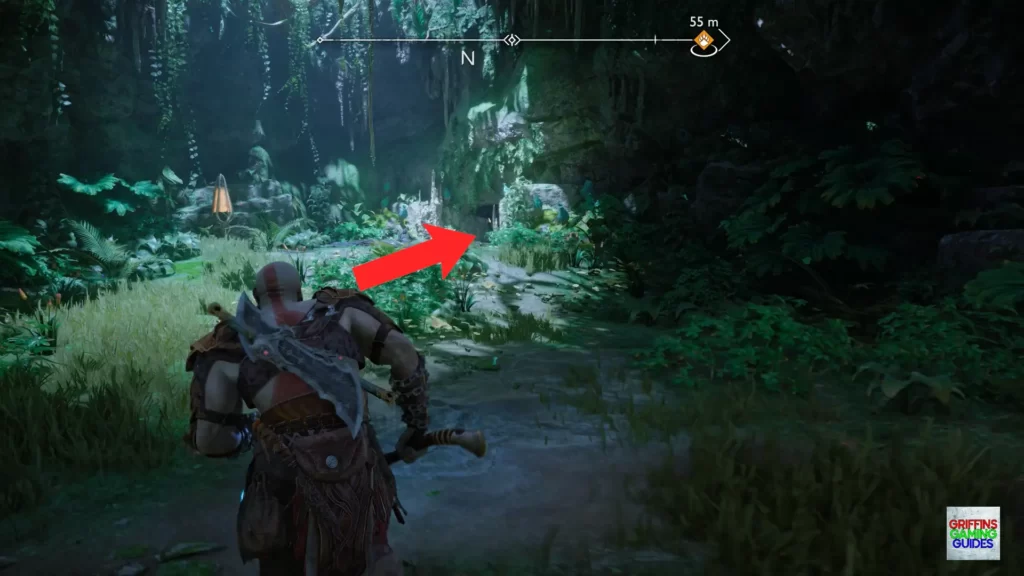
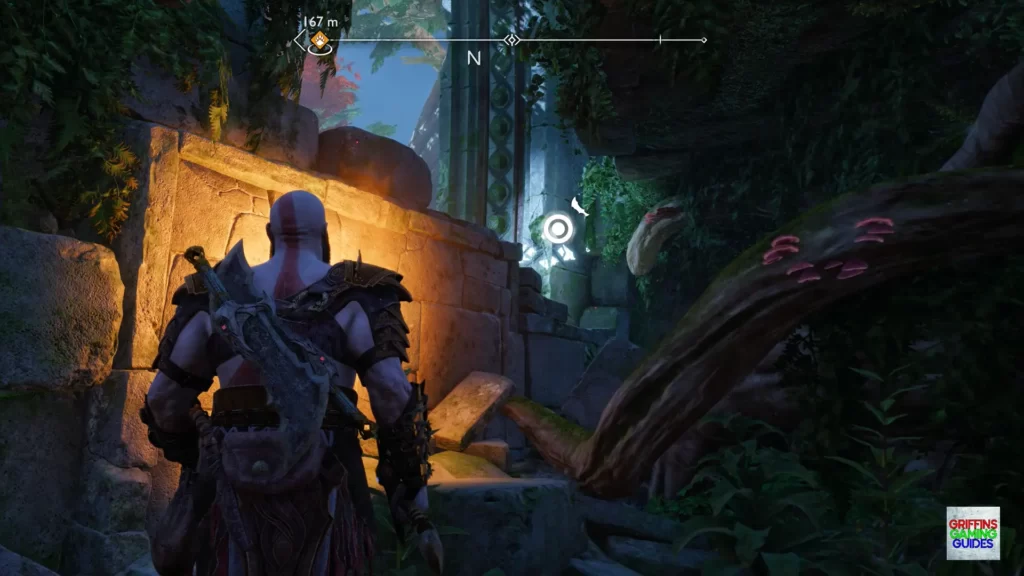
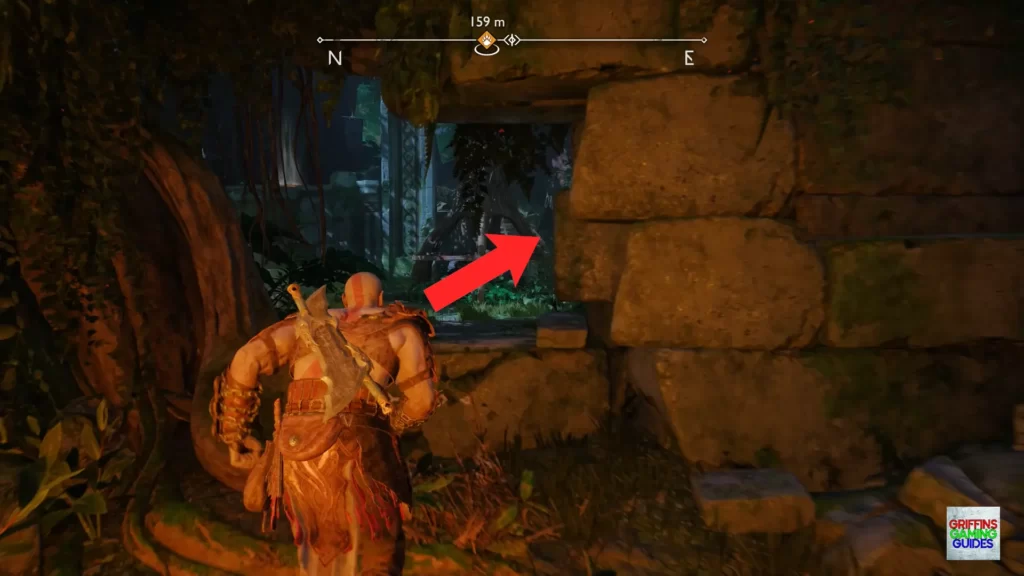
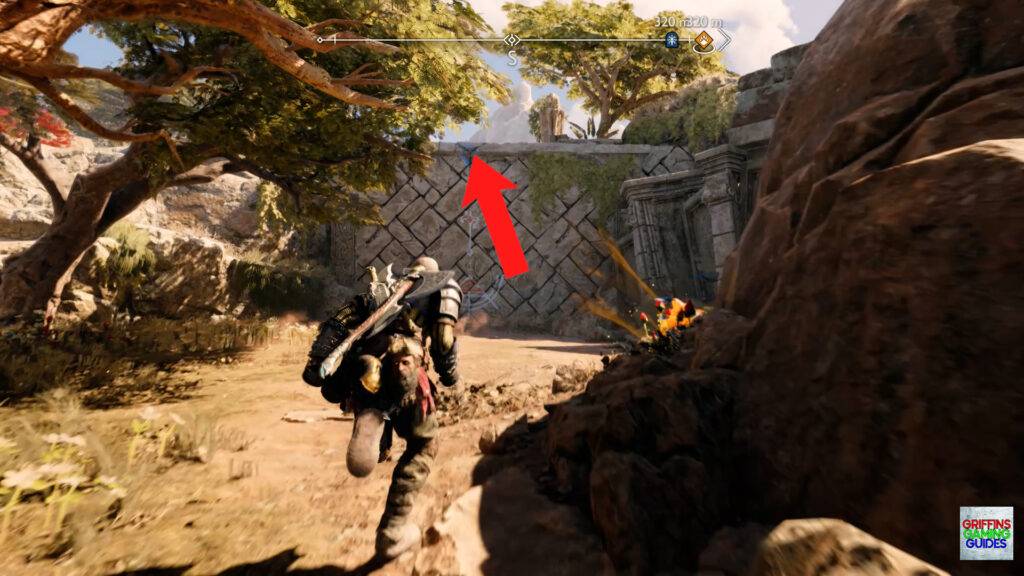
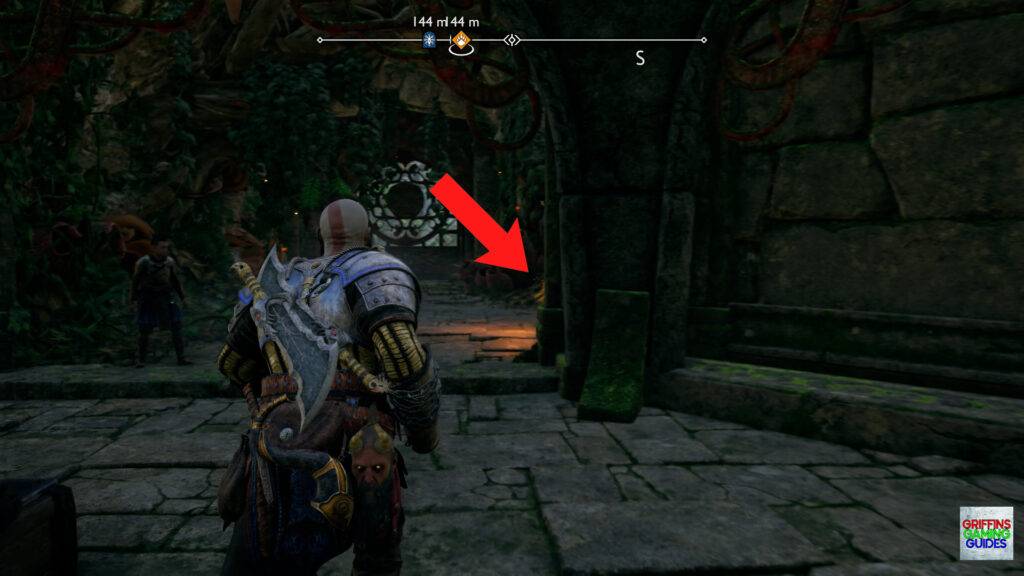
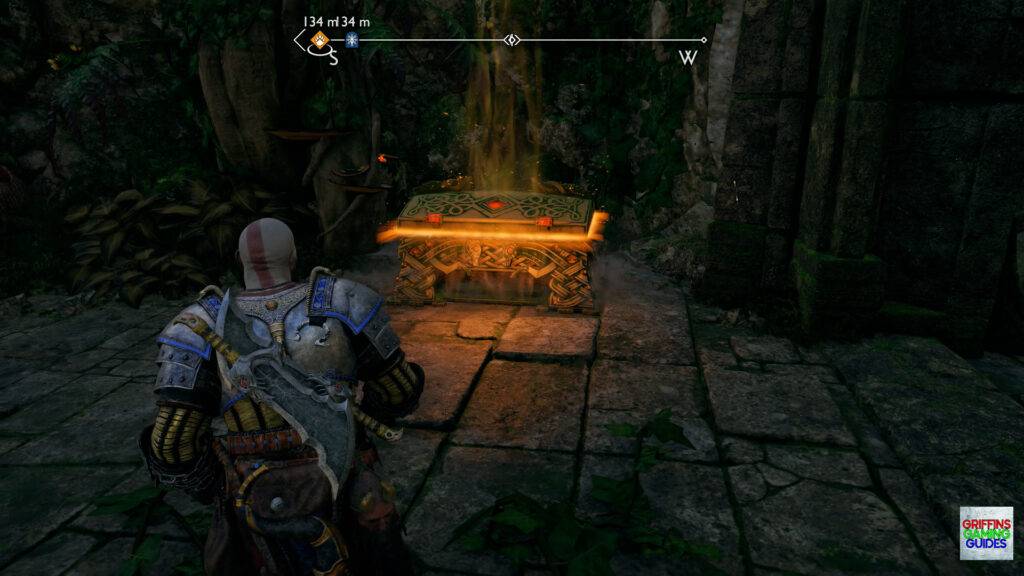
Go over to the left where you can duck down through a hole in the wall then follow the path to the end to find the Legendary Chest.
Legendary Chest 2
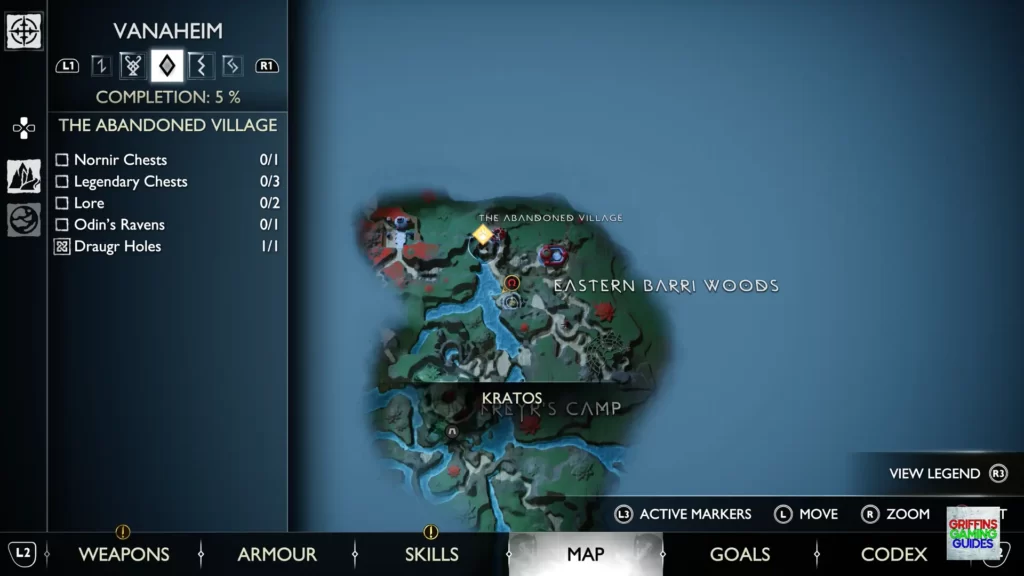
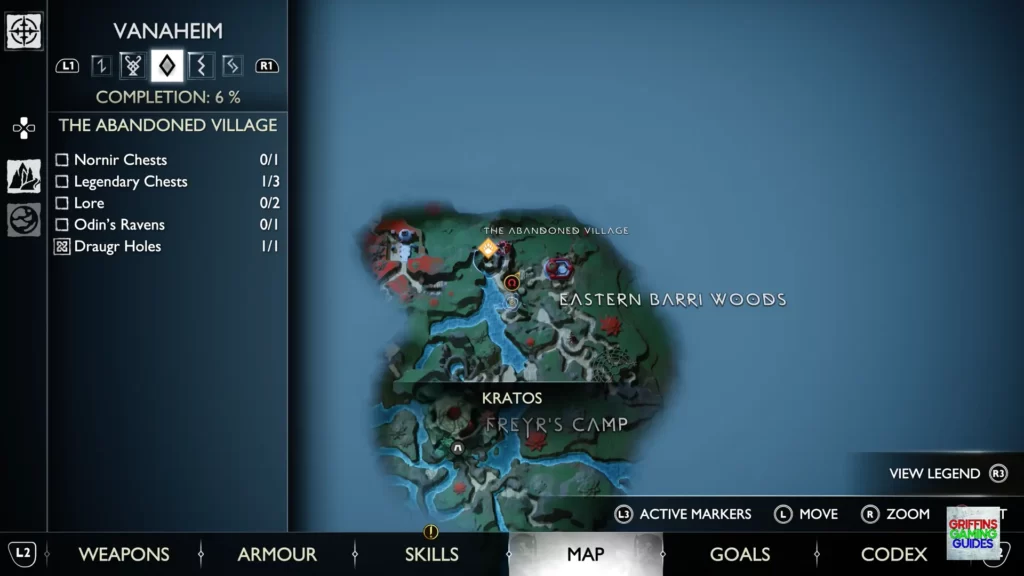
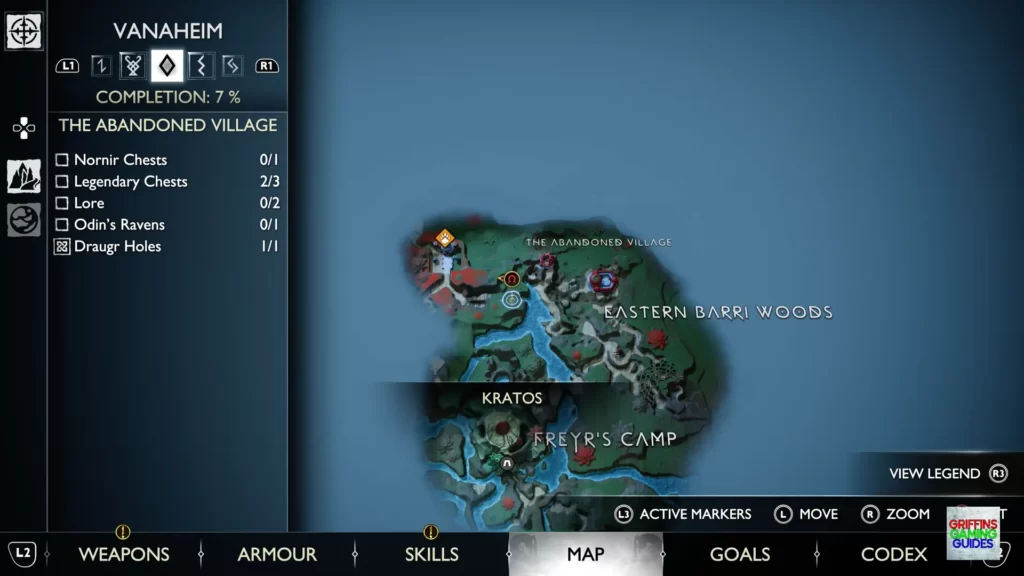
Vanaheim, The Abandoned Village.
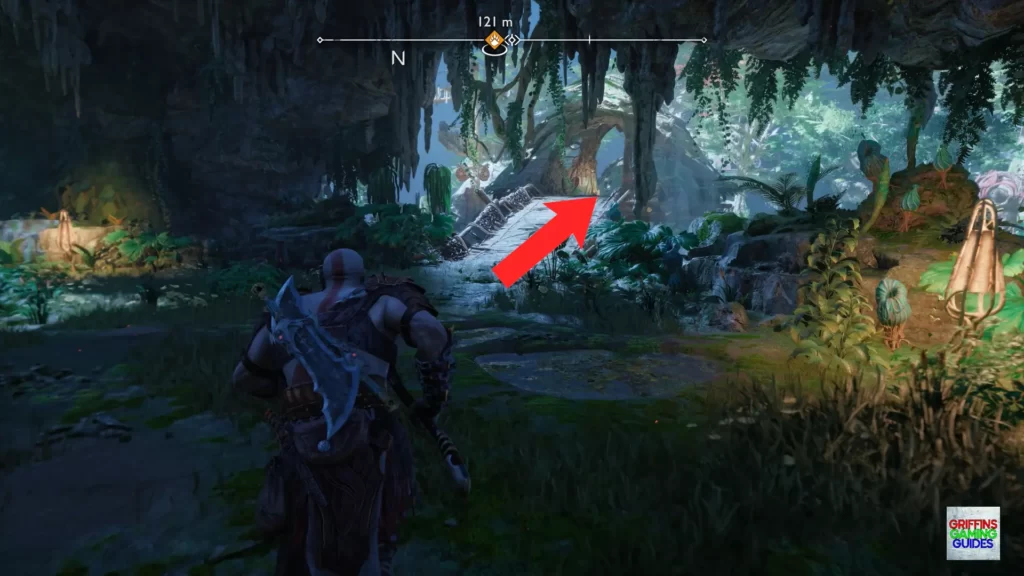
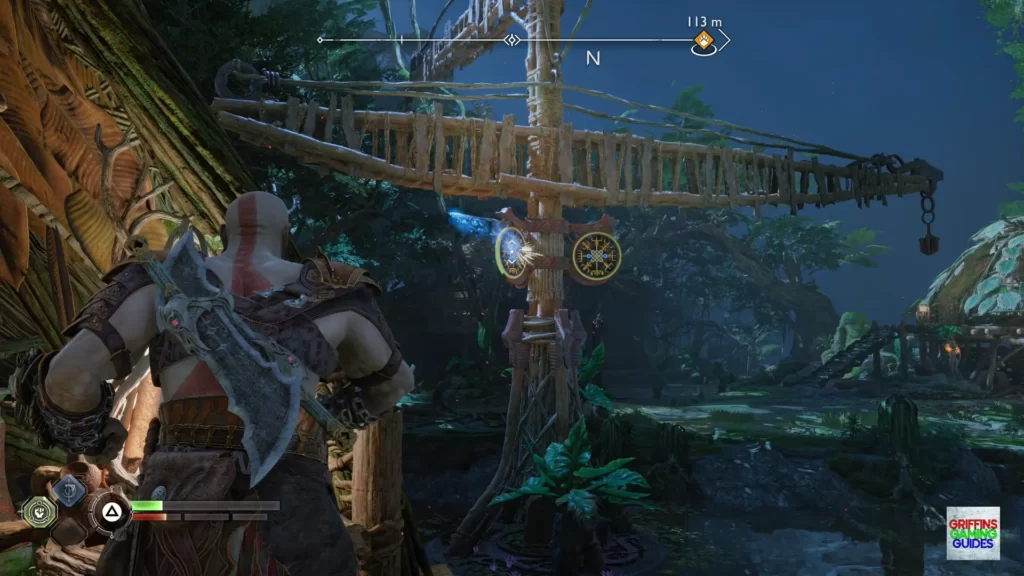
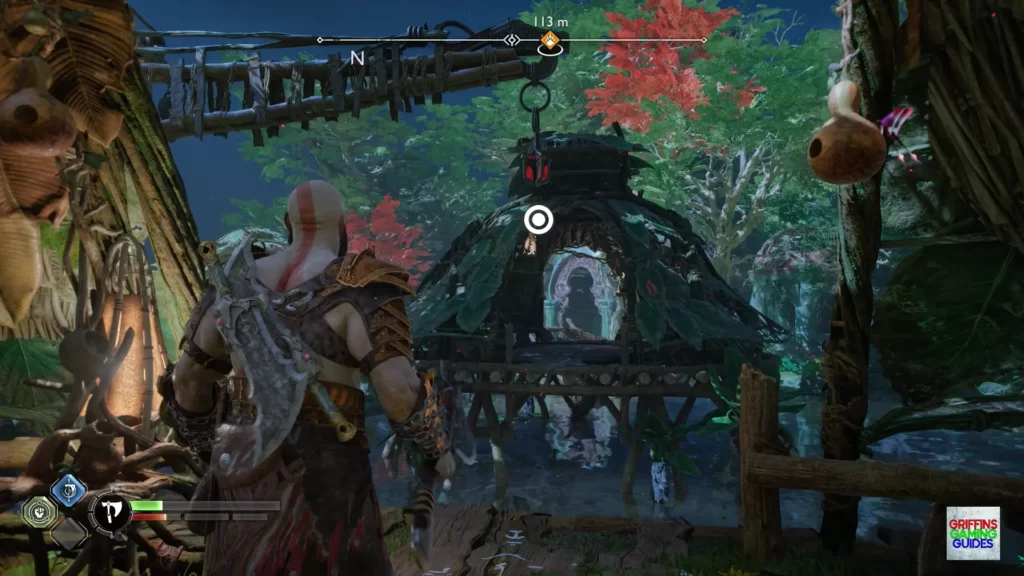
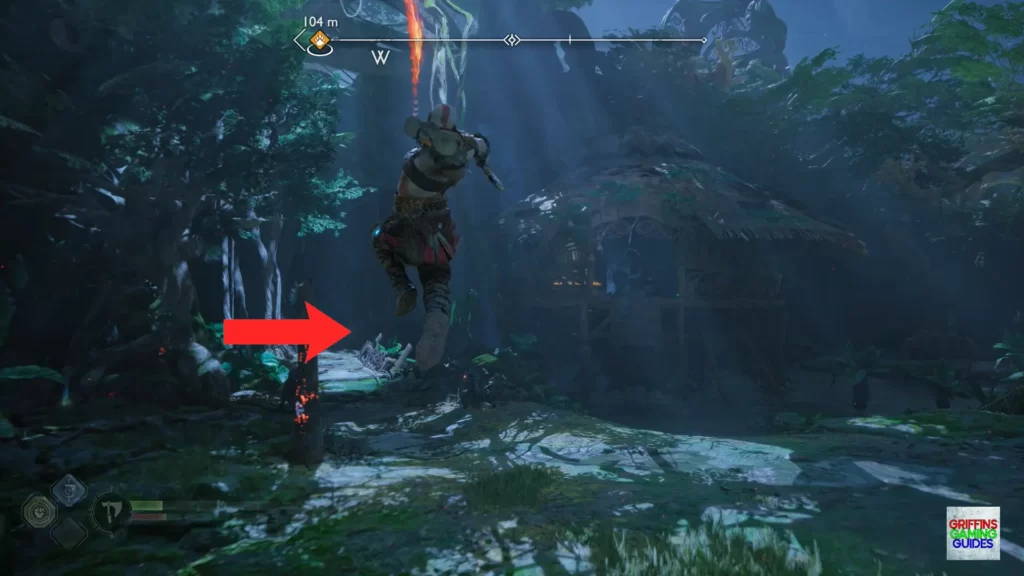
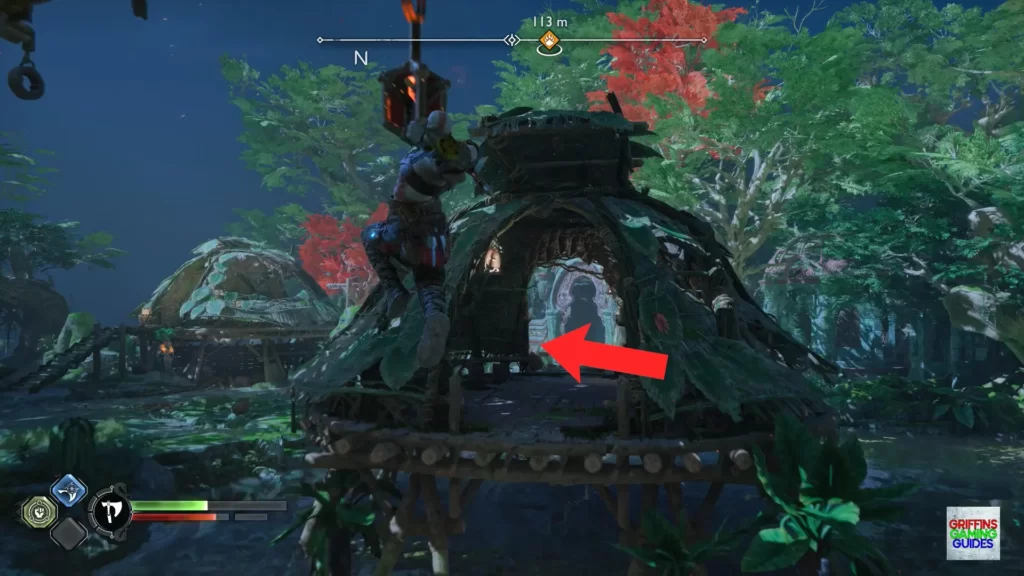
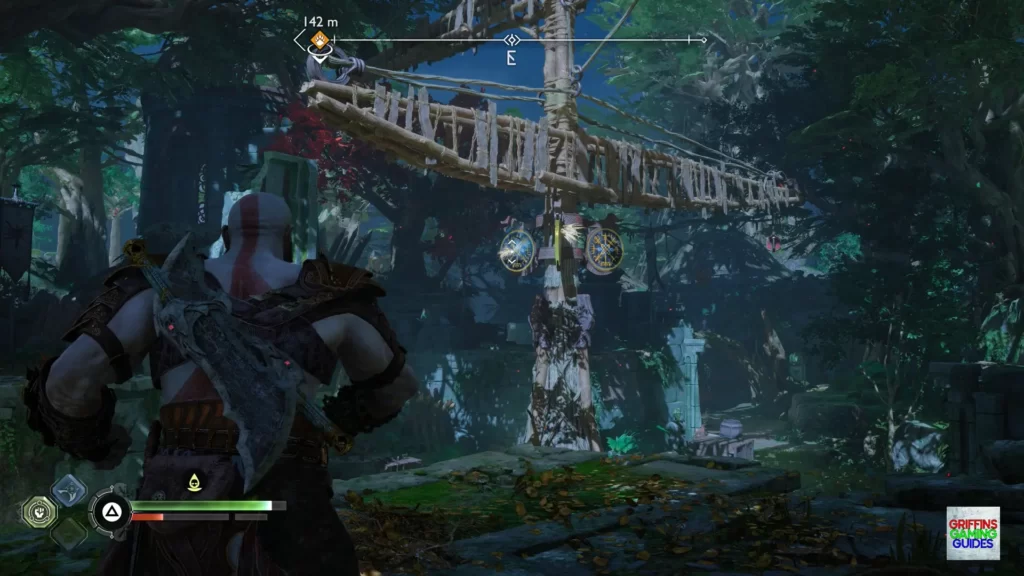
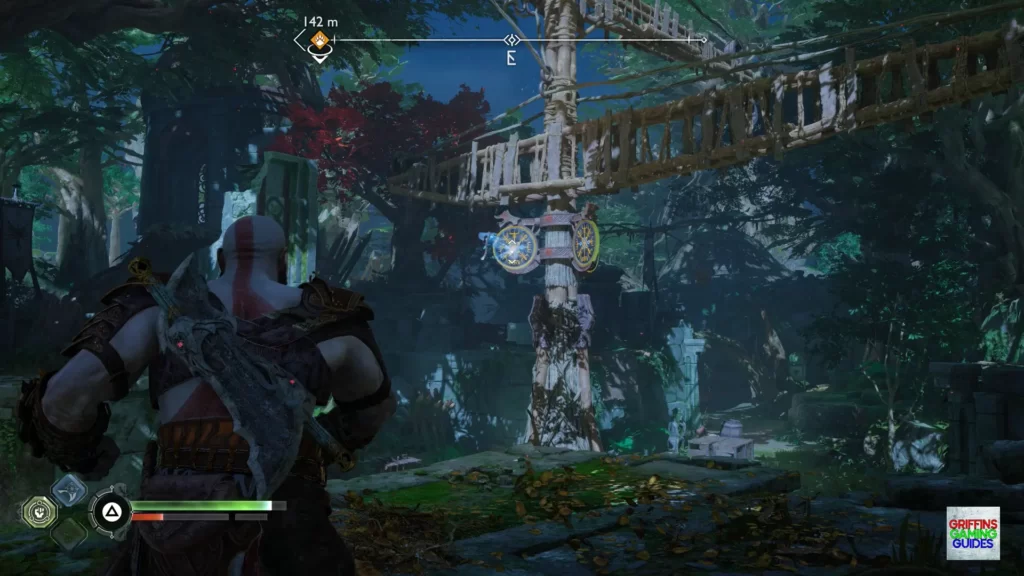
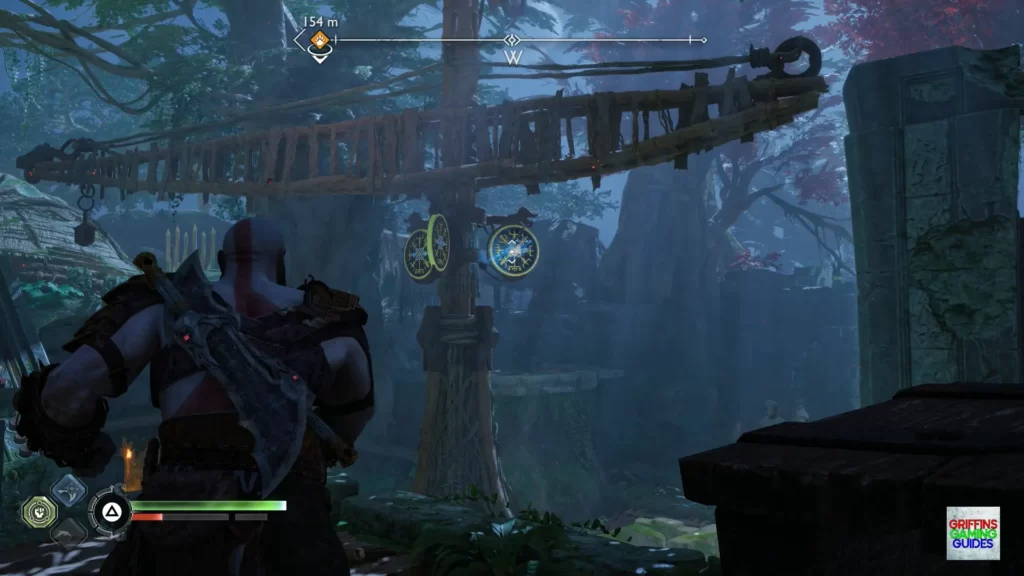
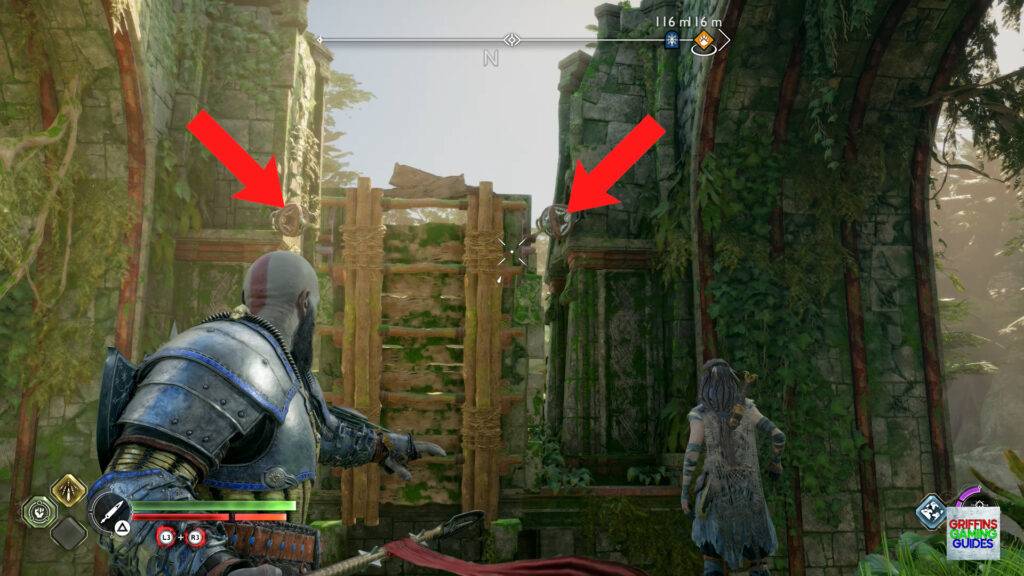
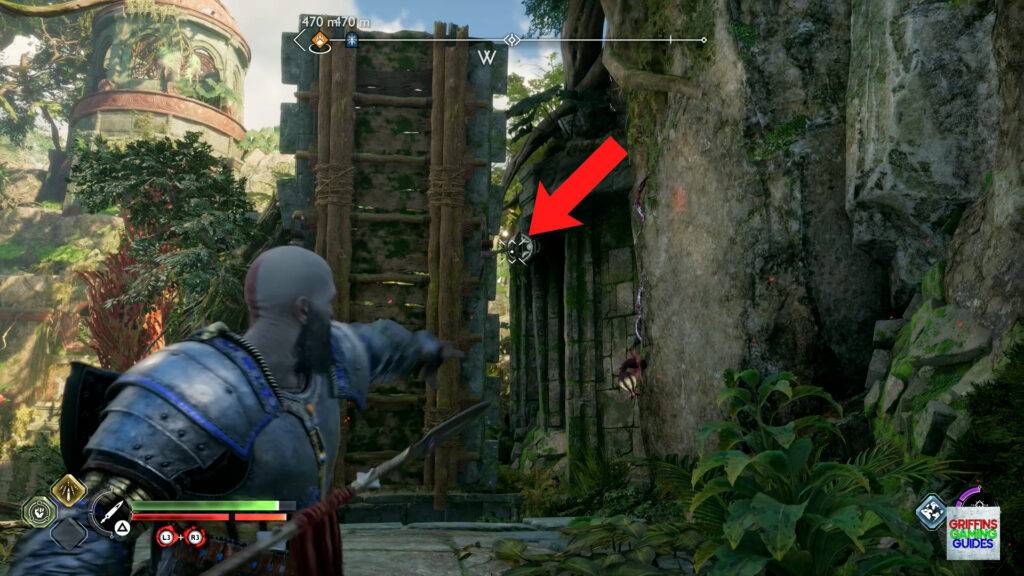
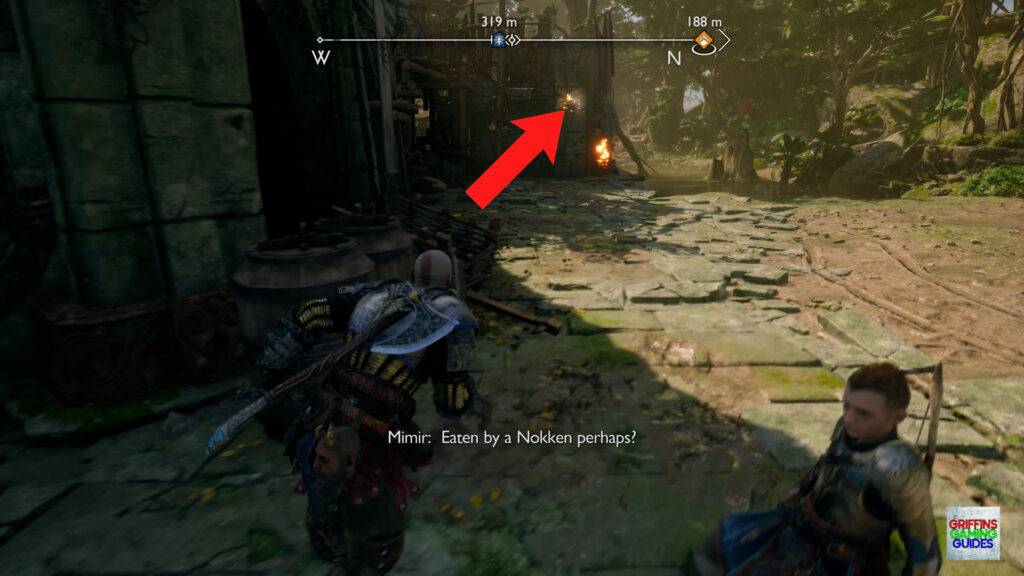
Proceed through the cavern to where you come to a hut, look over to the left, throw the Axe at the gold disc to swing the crane allowing you to grapple across to the next hut.
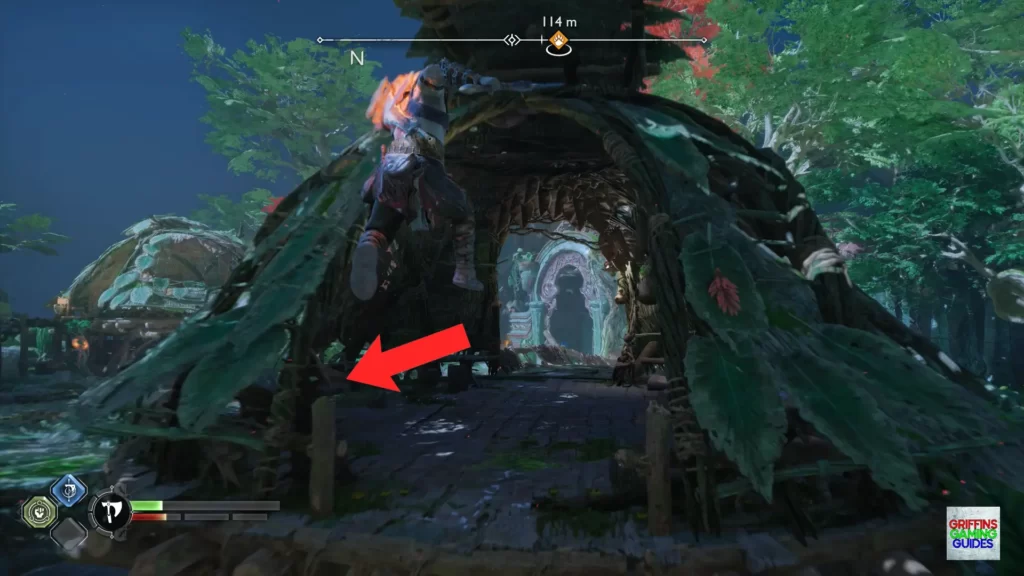
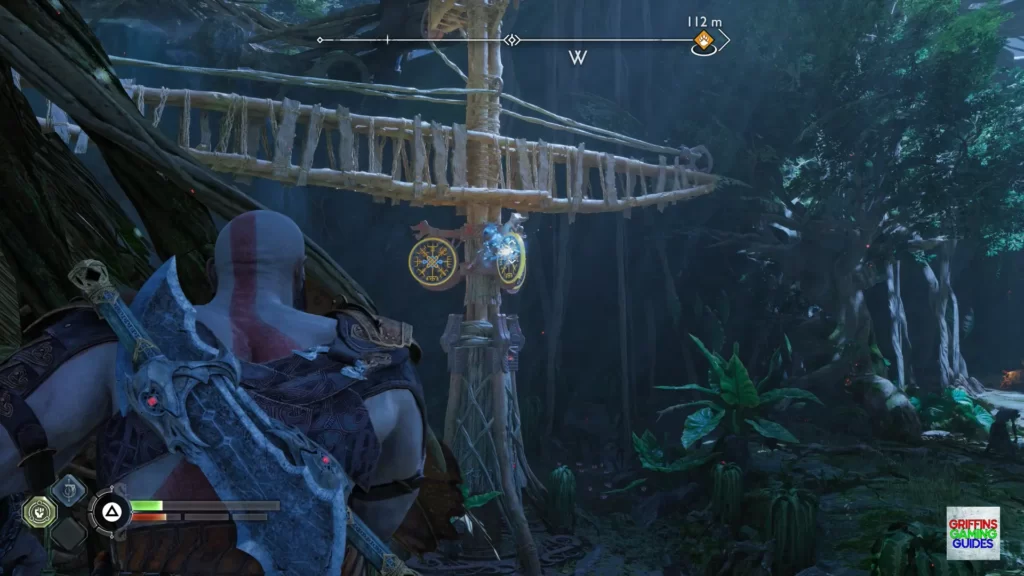
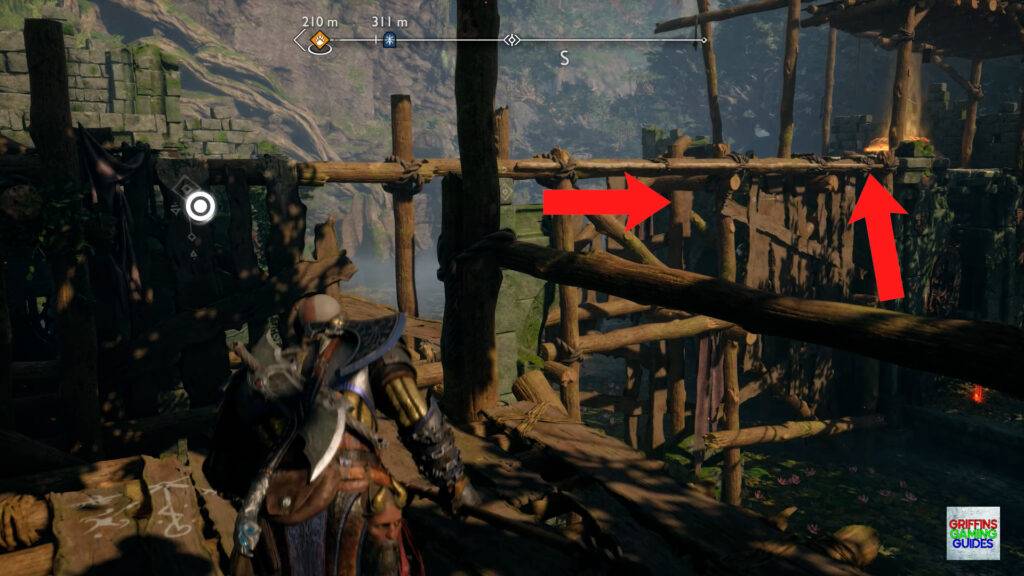
Stand in the left doorway of the 2nd hut, look back the way you came and throw the Axe at the disc on the right of the crane to place the grapple point back in its original position then swing across to the land below.
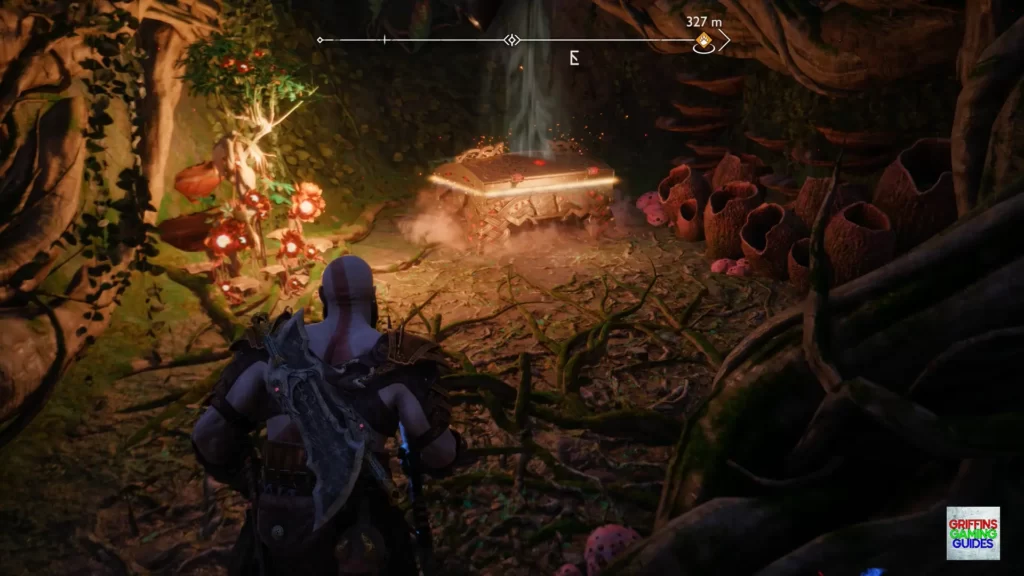
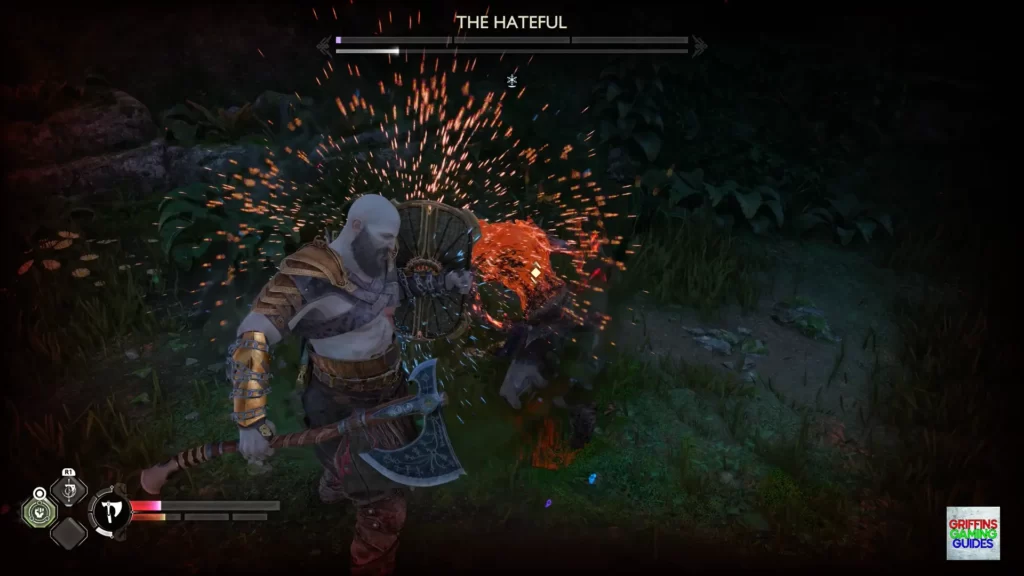
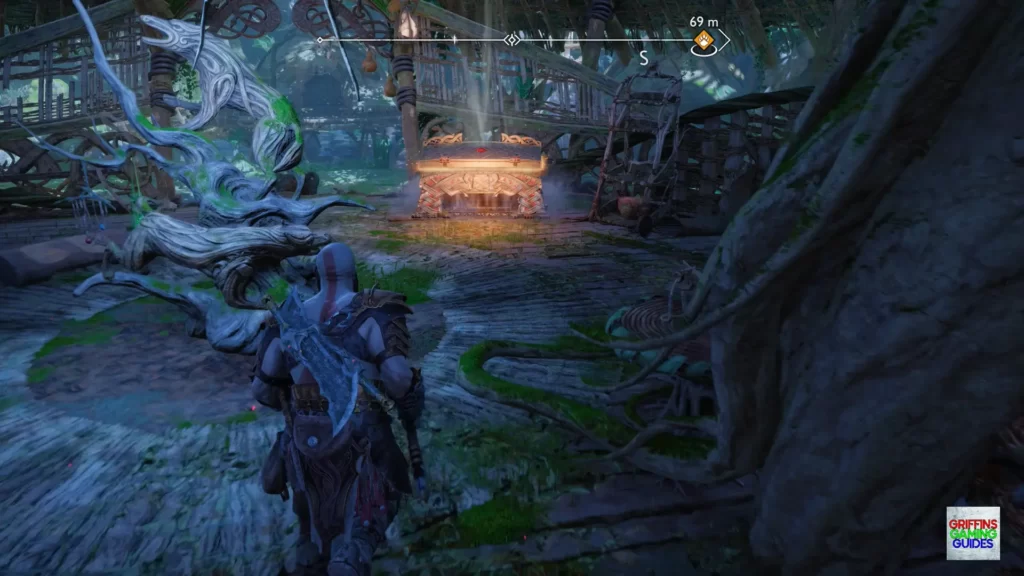
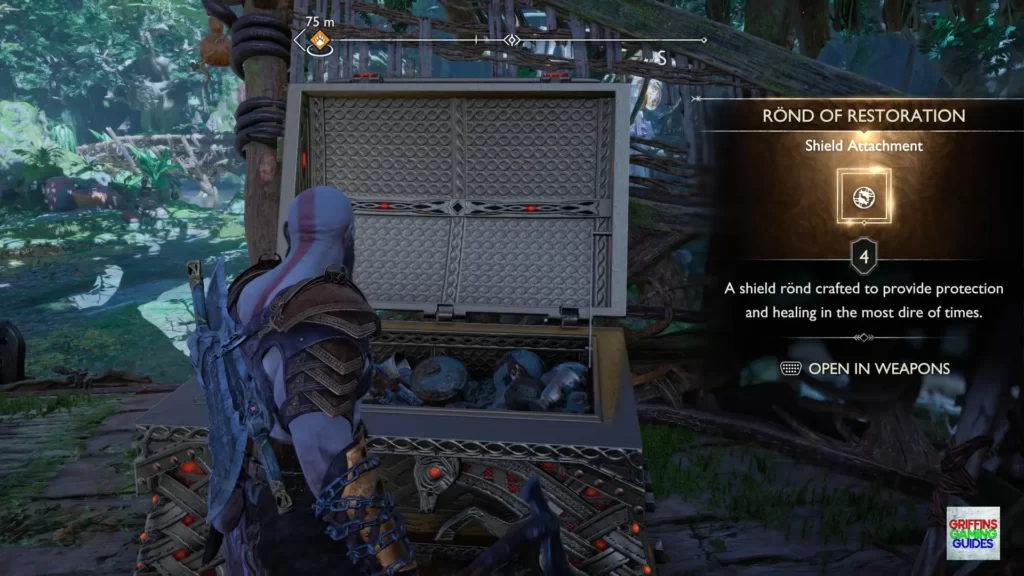
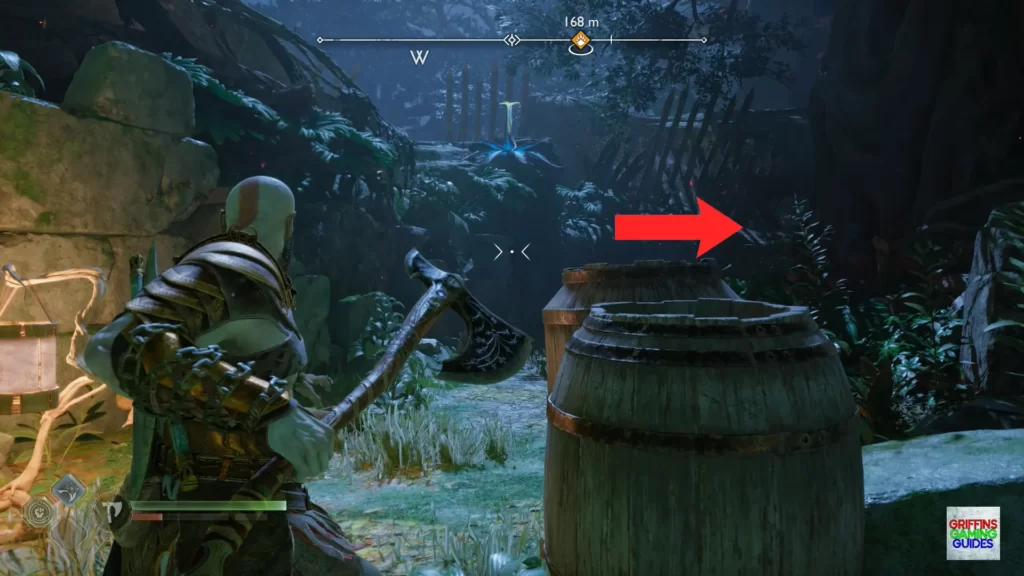
Head down the left path where you will have to clear out a Draugr Hole which has a tough version of The Hateful you need to take down, where, once defeated will allow you to go through a small hole in the top right corner behind the Draugr Hole then follow the path to the end inside the hut to find the Legendary Chest which holds the Rönd of Restoration Shield Attachment.
Legendary Chest 3
Vanaheim, The Abandoned Village.
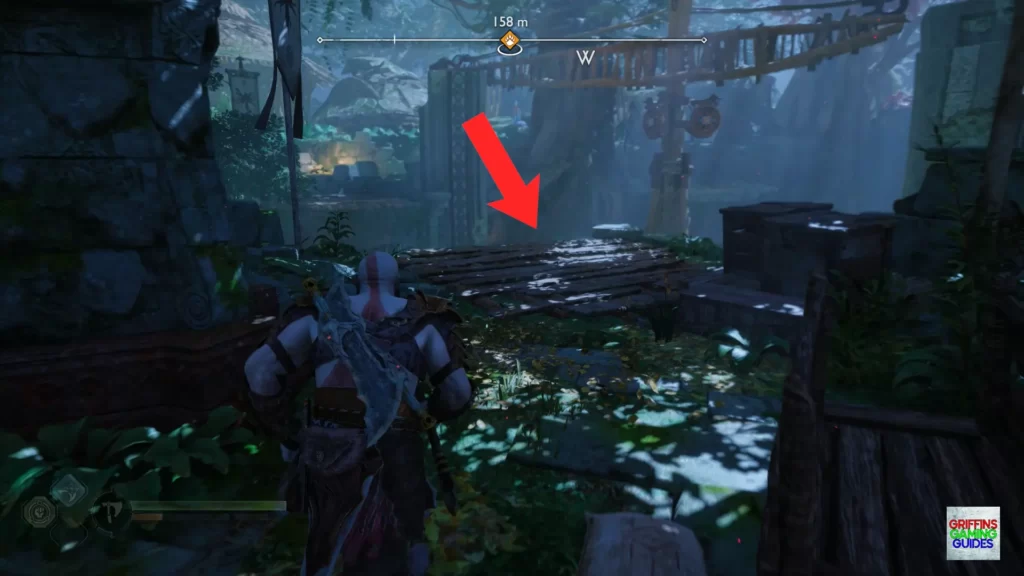
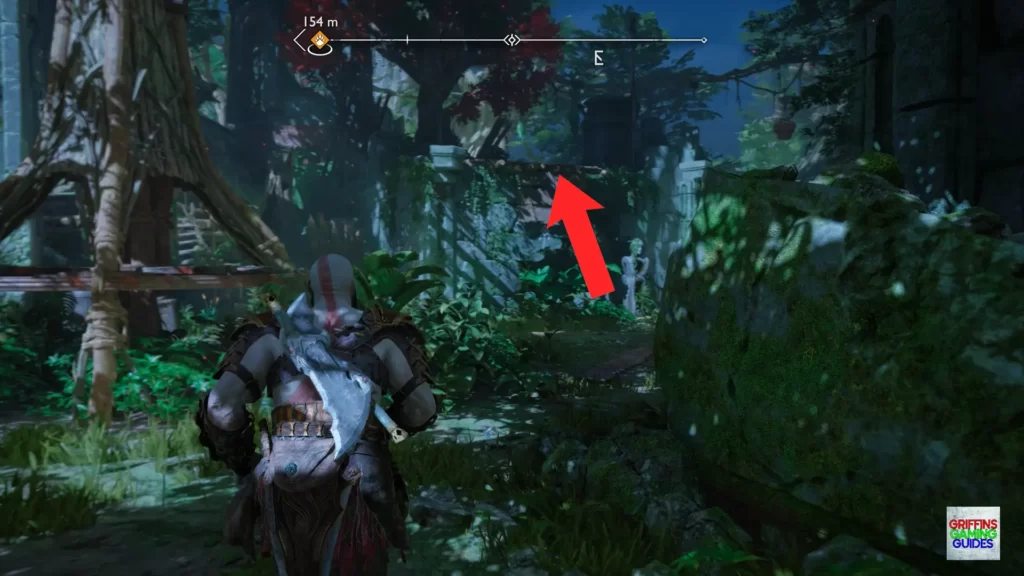
Once you get the to the Abandoned Village, swing the crane and jump across to the 2nd hut, then go through the hole to the left of the large building in front of you.
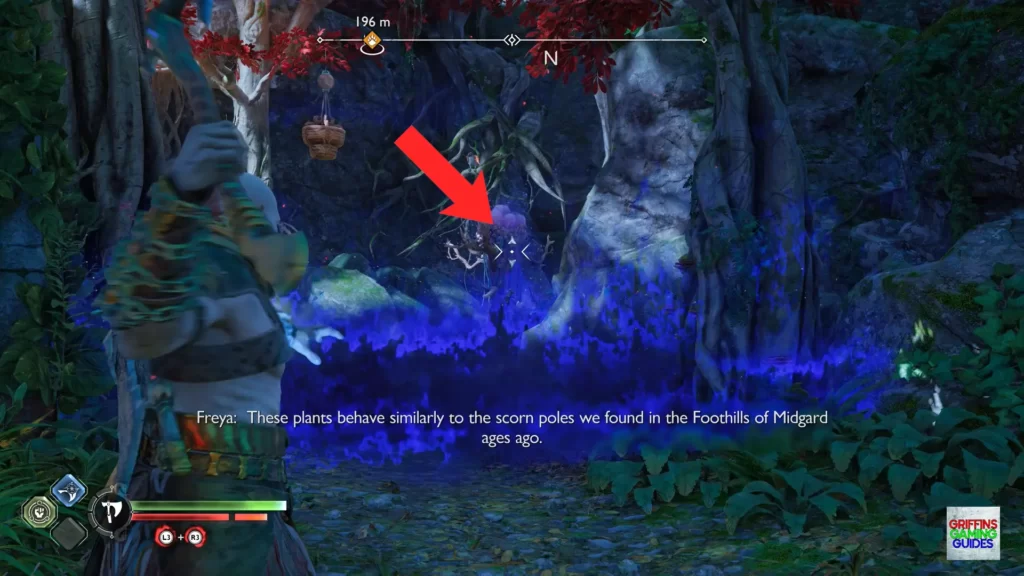
Clear out the Einherjar inside then go to the back wall and pull the chain to open the gate where you need to a left and throw the Axe at the purple plant on the right to remove the fog.
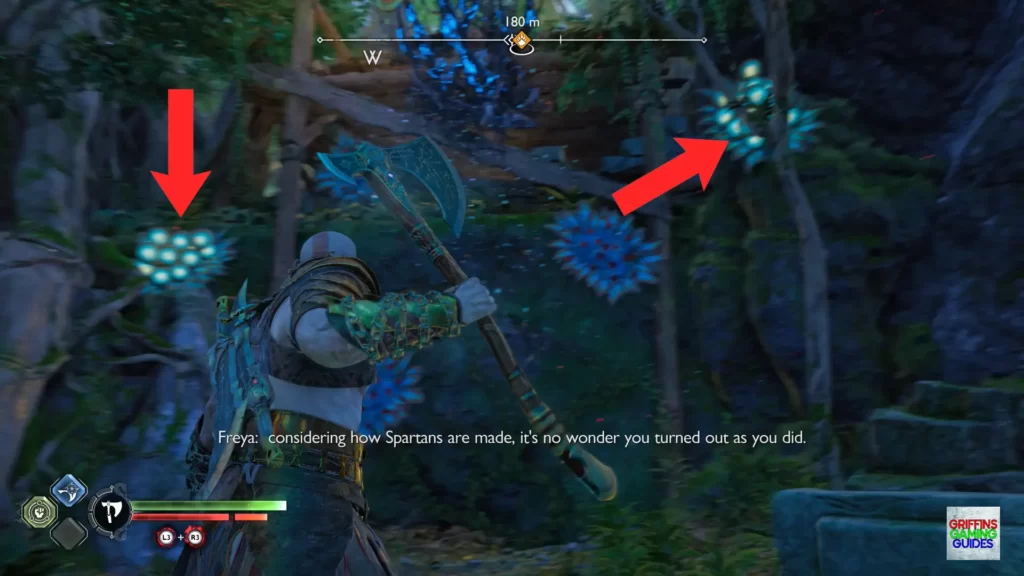
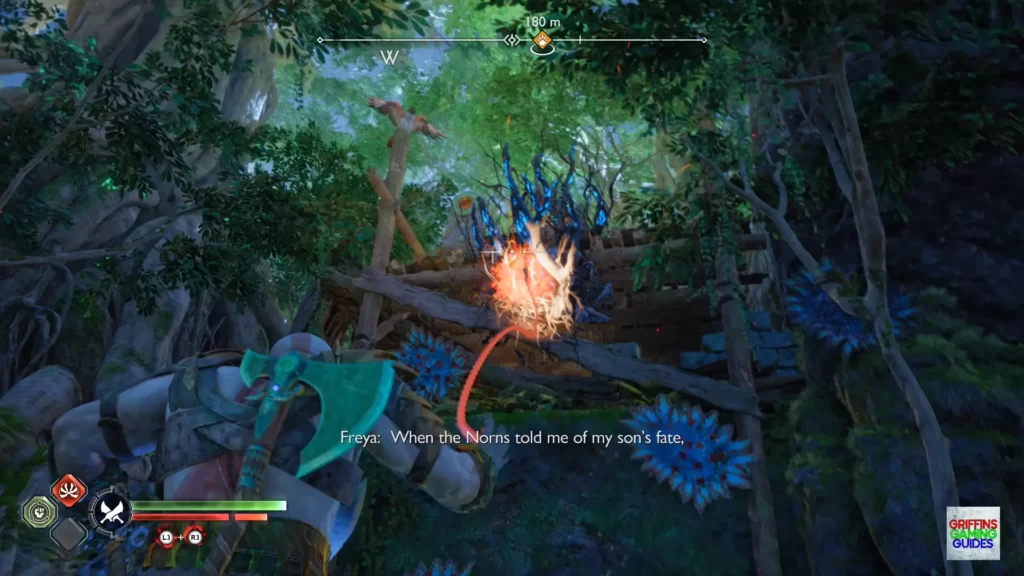
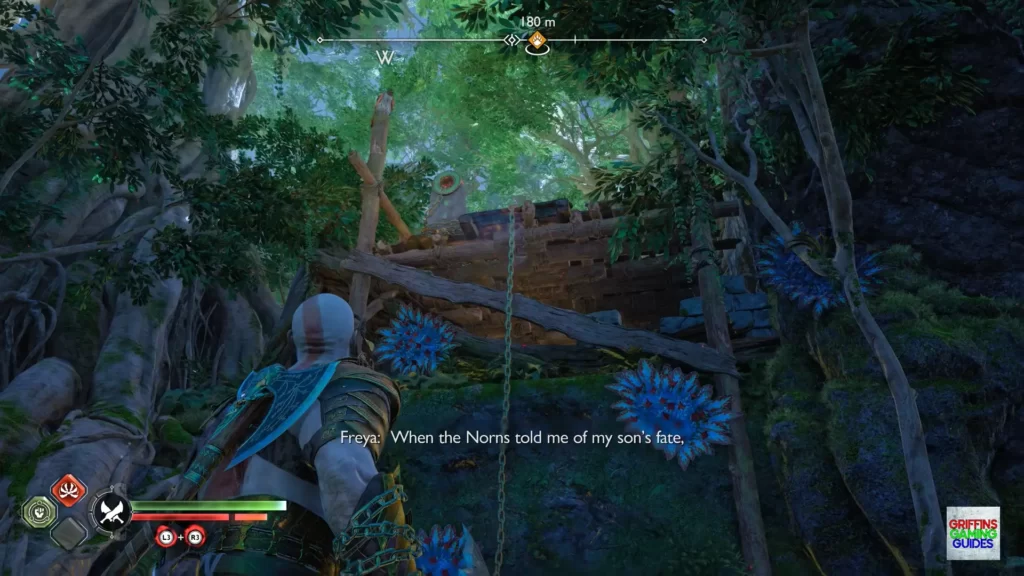
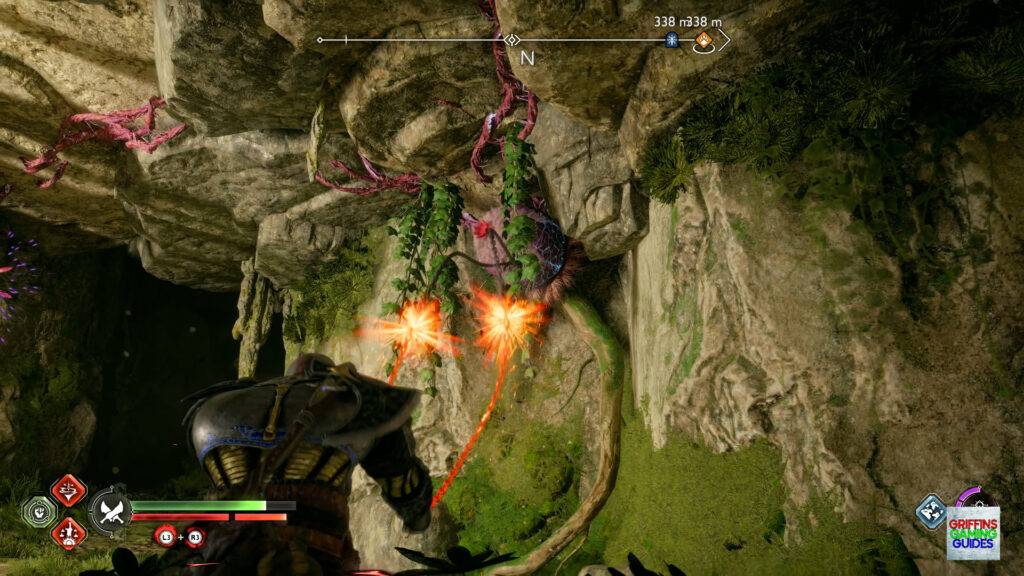
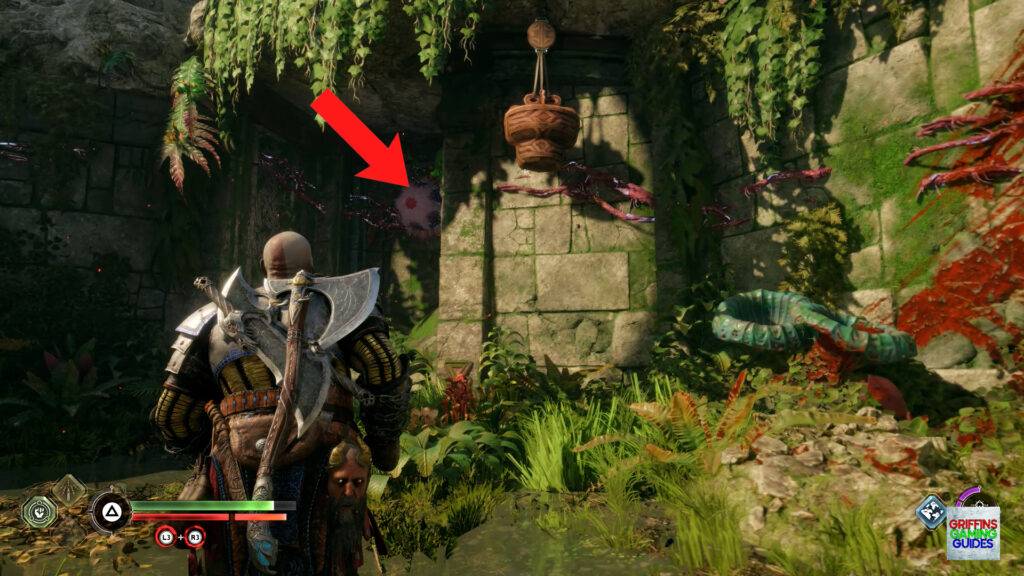
Take a left and throw the Axe at the 2 poison pods on the wall then look up to the vines which you need to remove with the Blades of Chaos dropping a chain you can climb up.
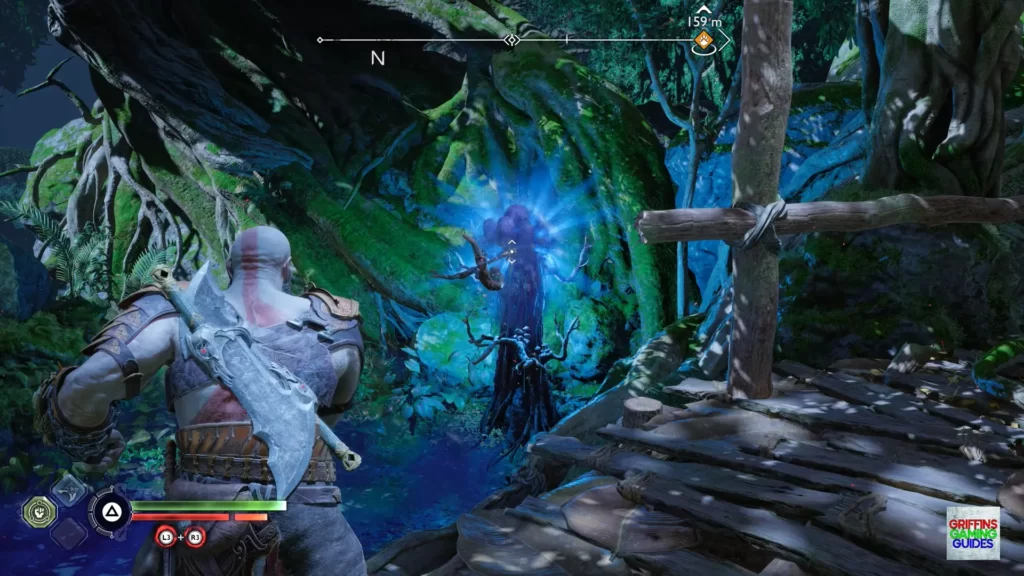
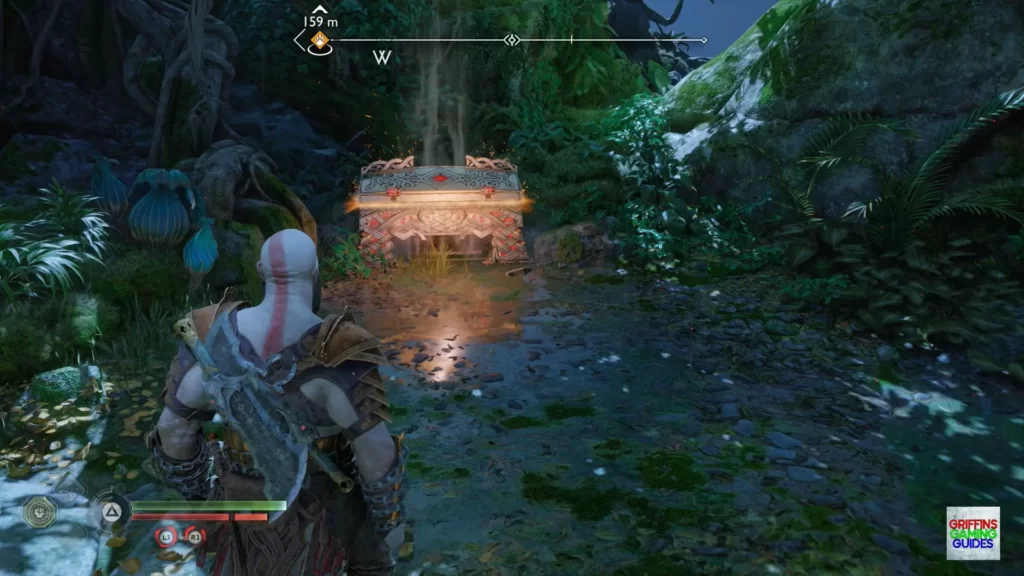
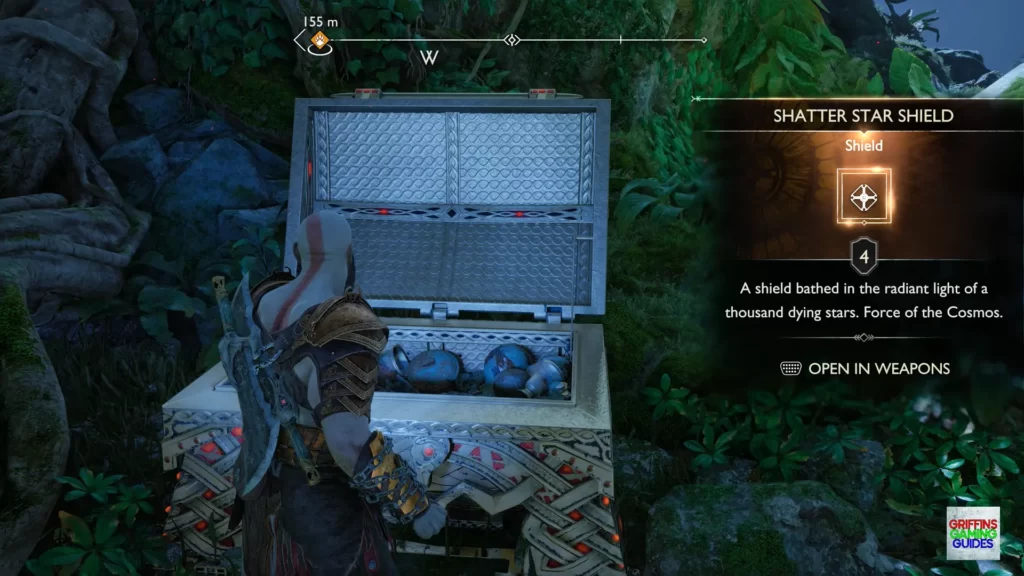
Stand to the left of the wooden platform, look right and throw the Axe at the purple plant making the area below safe to drop down where you can then loot the Legendary Chest which contains the Shatter Star Shield.
Legendary Chest 4
Vanaheim, The Abandoned Village.
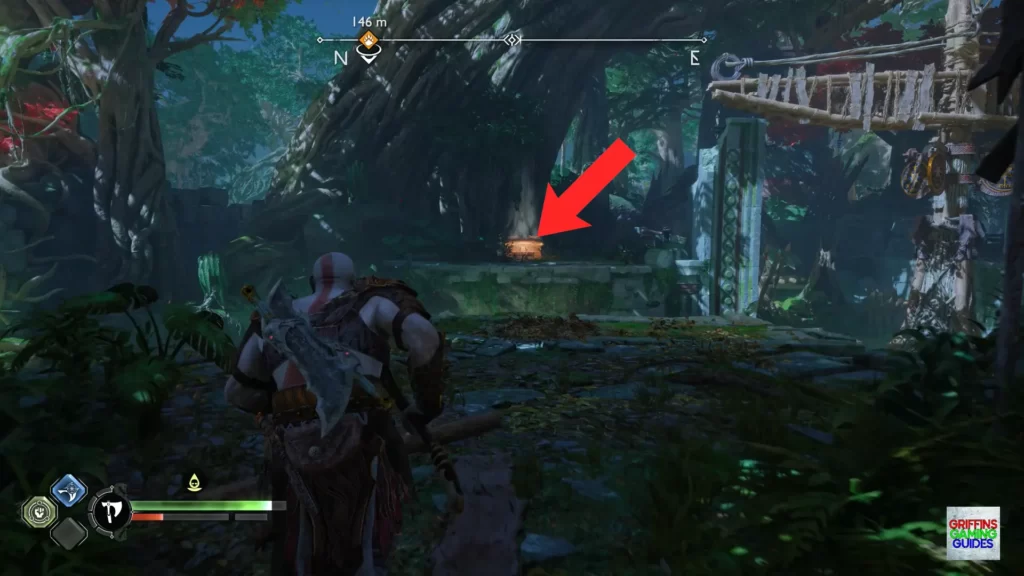
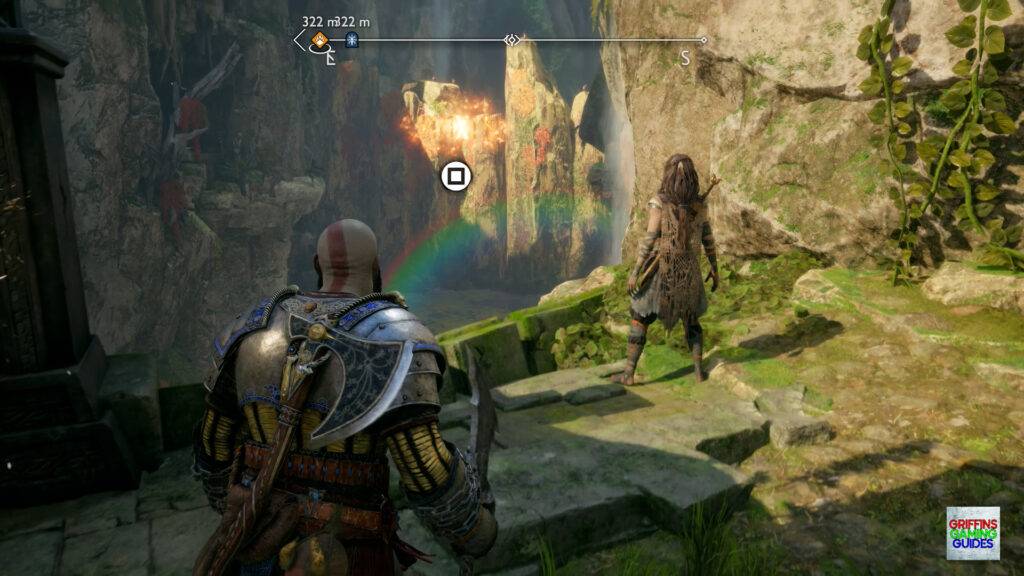
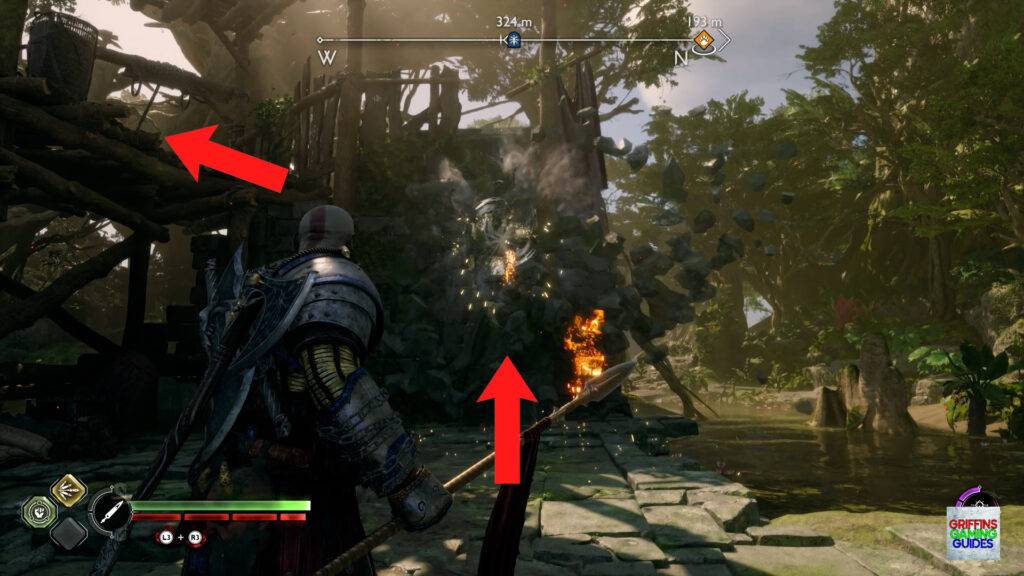
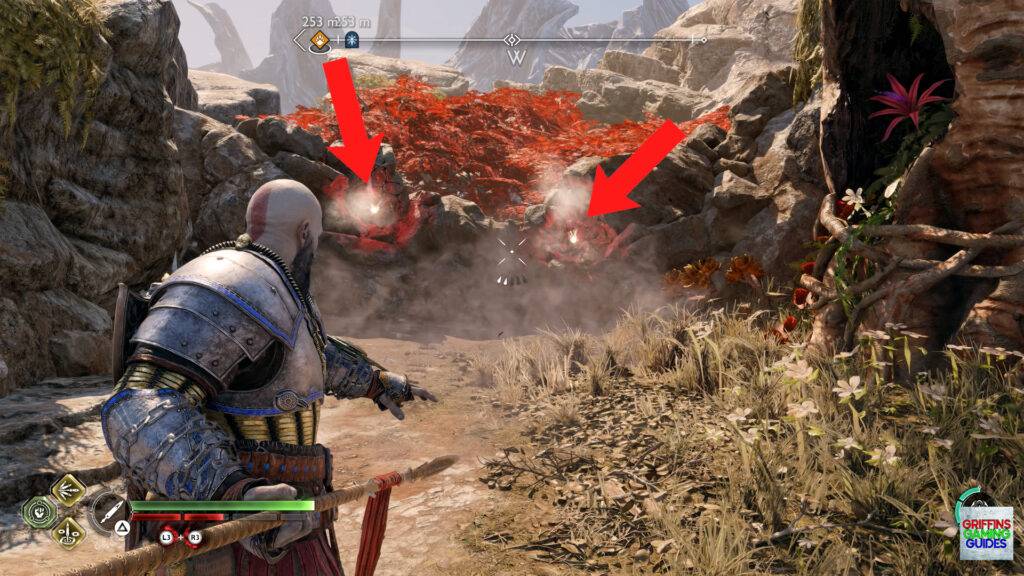
Once you have taken down Fiske continue forward and drop down by the crane going slightly right then straight through a small hole in the wall. Follow the path around to the left where you can look through a small gap in the wall and press Circle to bring the pillar down.
From here, head back outside and grapple up to where you started the area, turn around and throw the Axe at the gold disc on the right of the crane allowing you to grapple across to the opposite ledge.
Take care around the poison plants then follow the path around where you will see the Legendary Chest on the opposite ledge.
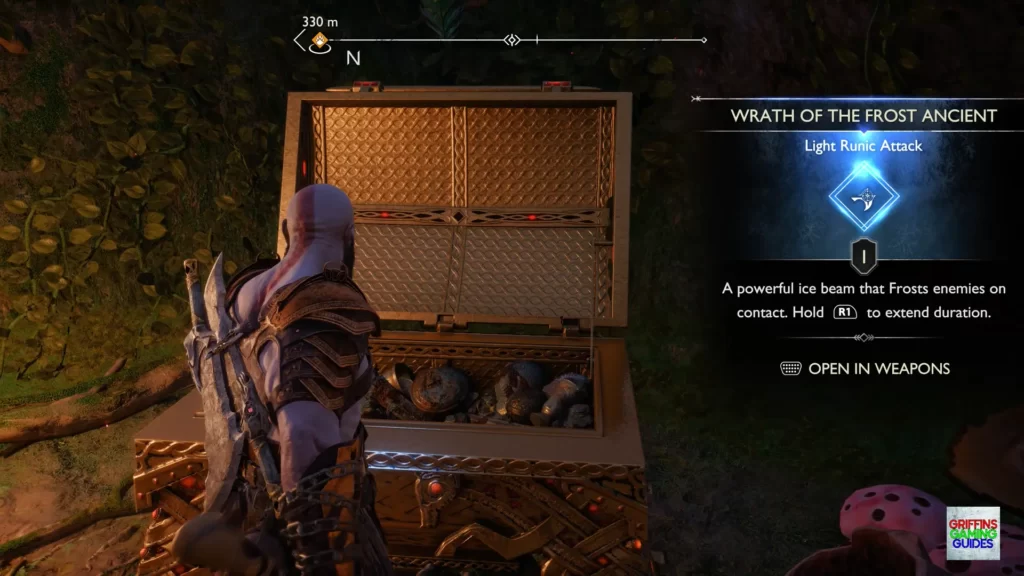
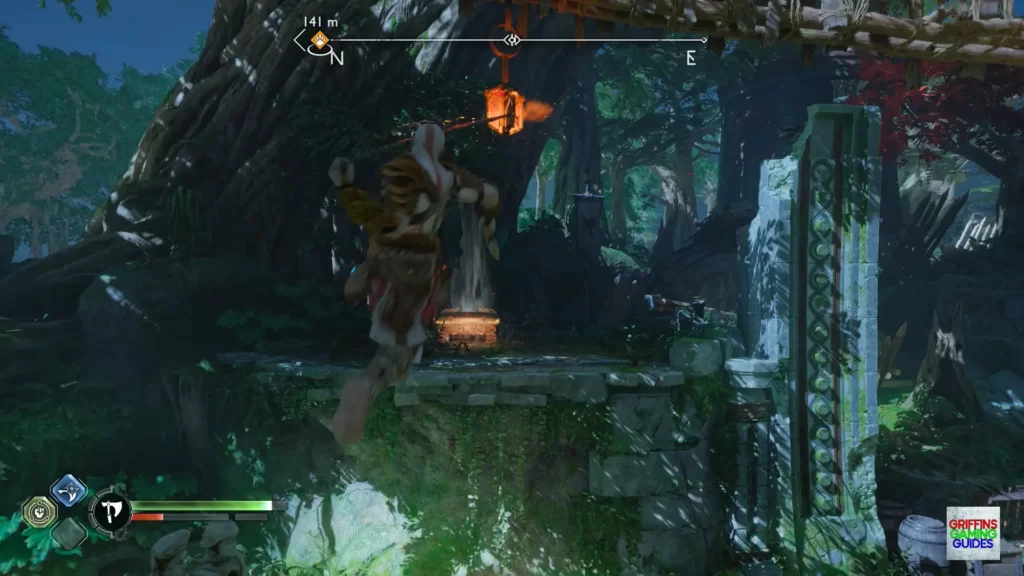
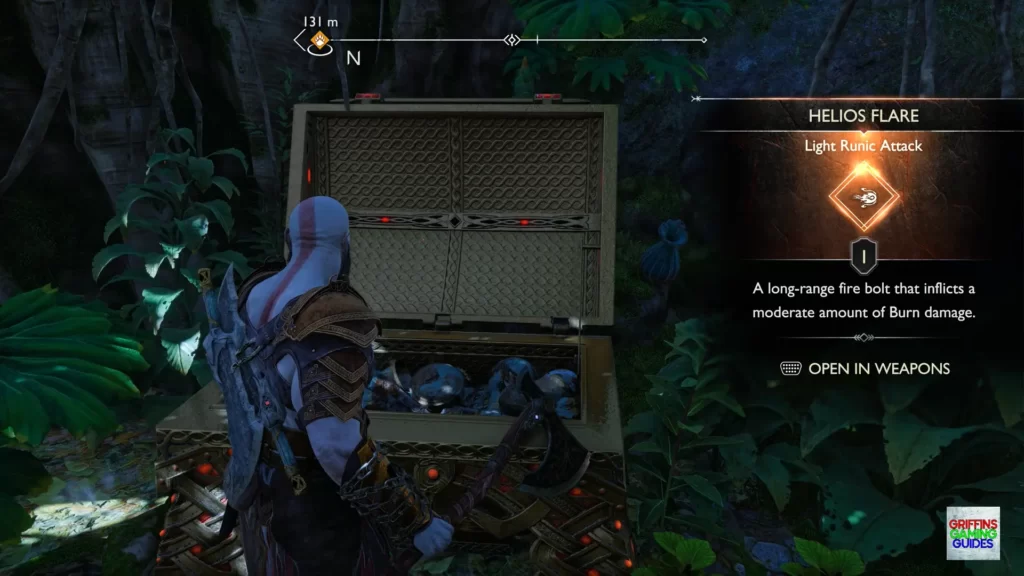
Hit the gold disc on the left side of the crane twice with the Axe where, with the pillar now removed will allow the crane to swing the grapple point around giving you the chance to swing across and loot the Legendary Chest which contains the Helios Flare light runic attack for the Blades of Chaos.
Legendary Chest 5
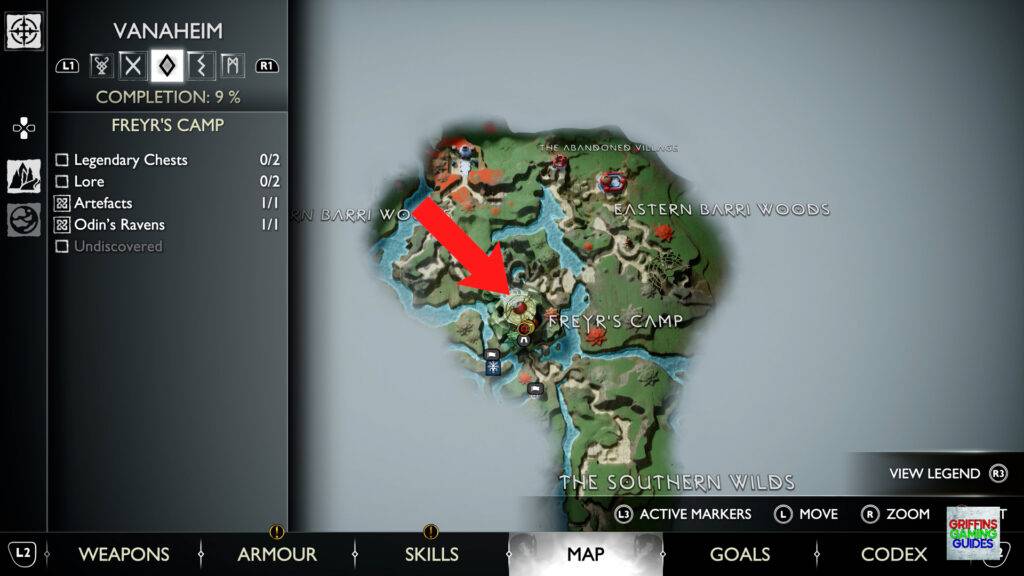
Vanaheim, Freyr’s Camp.
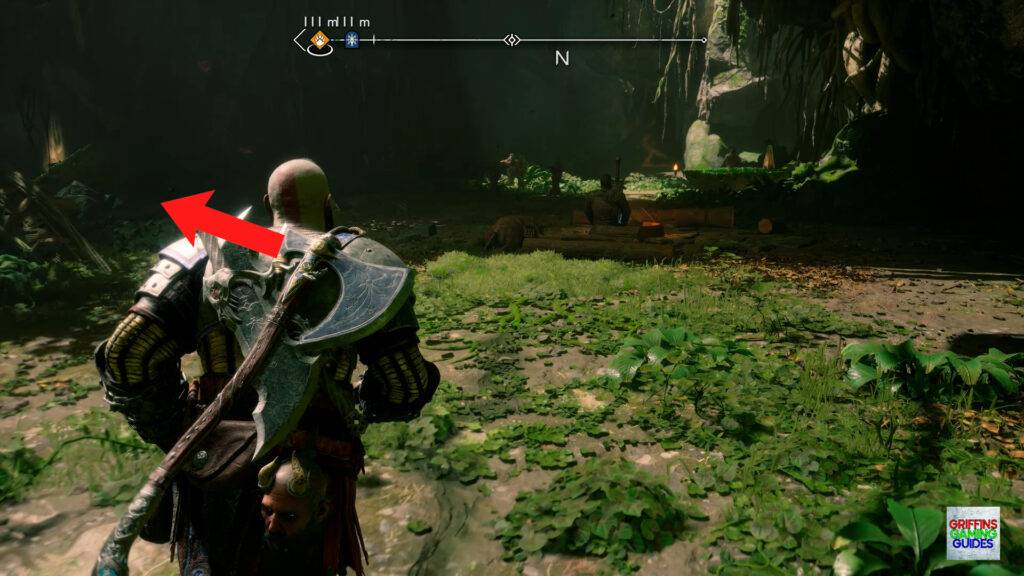
Once you have the Draupnir Spear, return to Freyr’s Camp (if using the Mystic Gateway, go in the boat, head right, go through the crawl space back in to camp) then go left following the path around to the water.
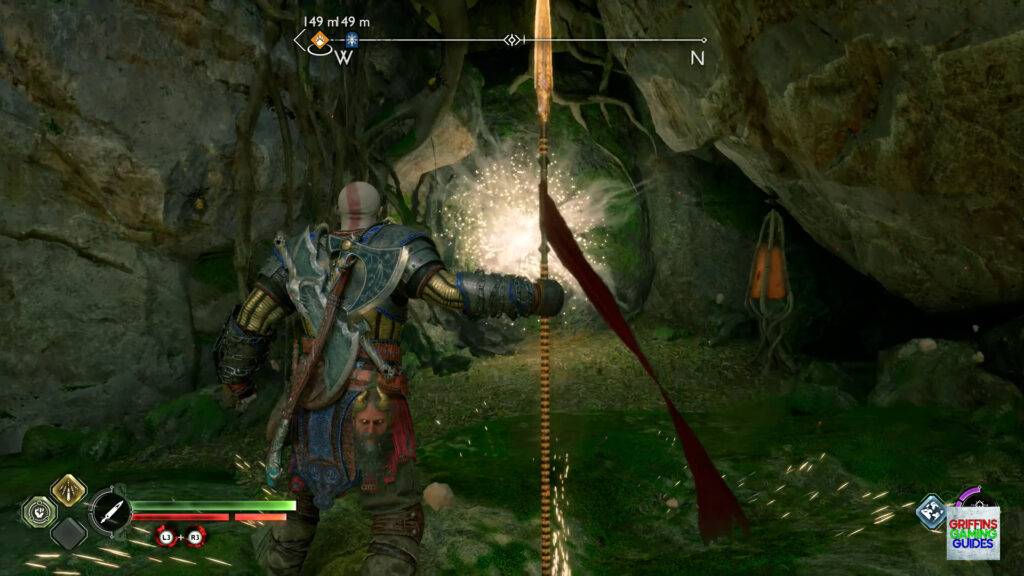
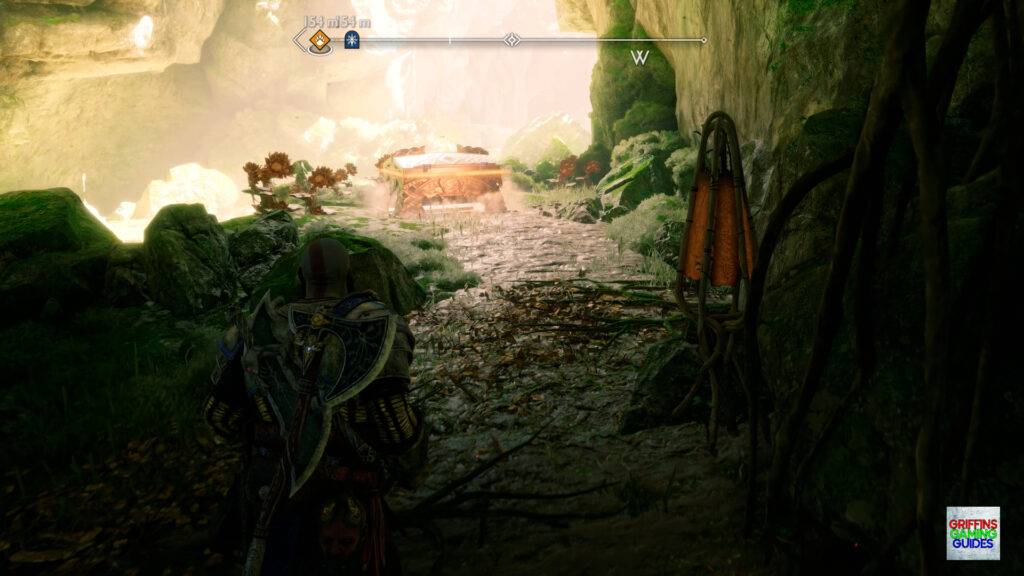
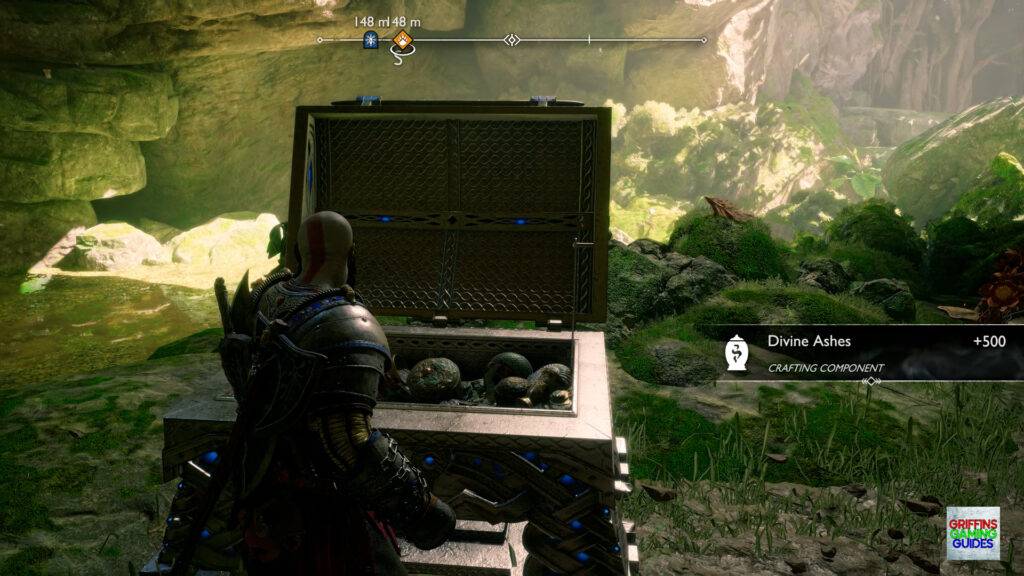
Jump across then throw a spear in to the rock and clear the path leading round to the Legendary Chest which contains some Divine Ashes.
Legendary Chest 6
Vanaheim, Nóatúns Garden.
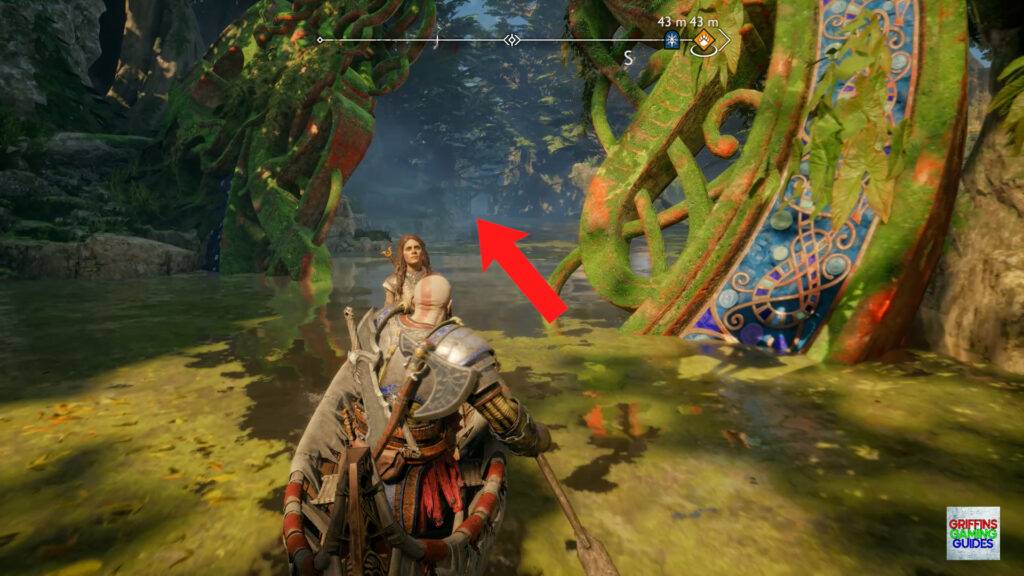
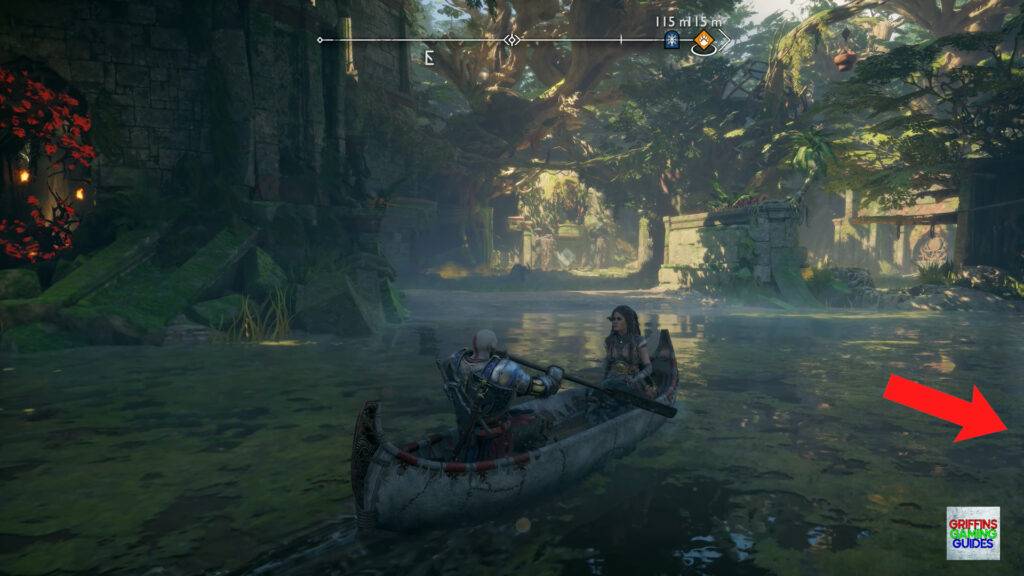
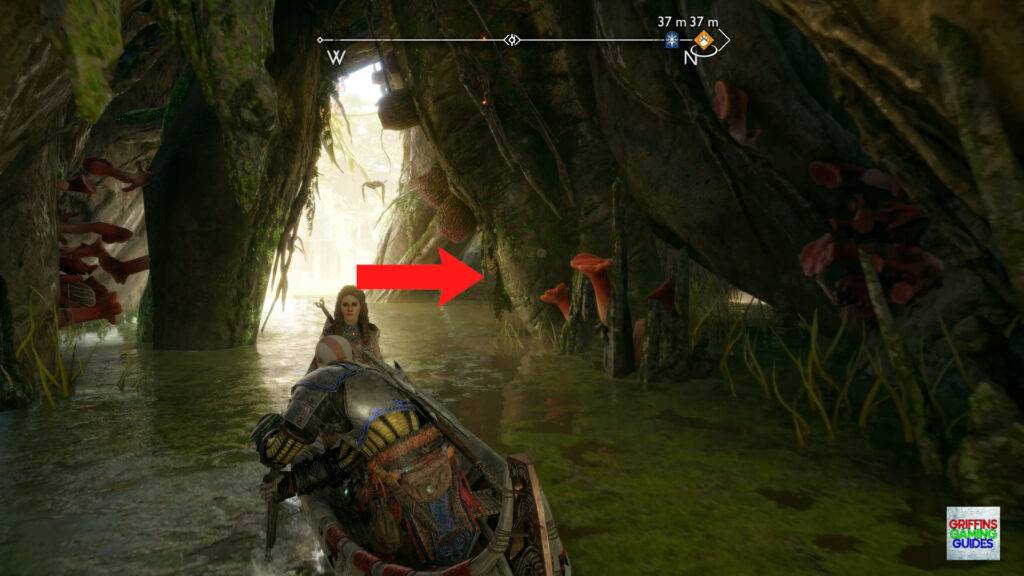
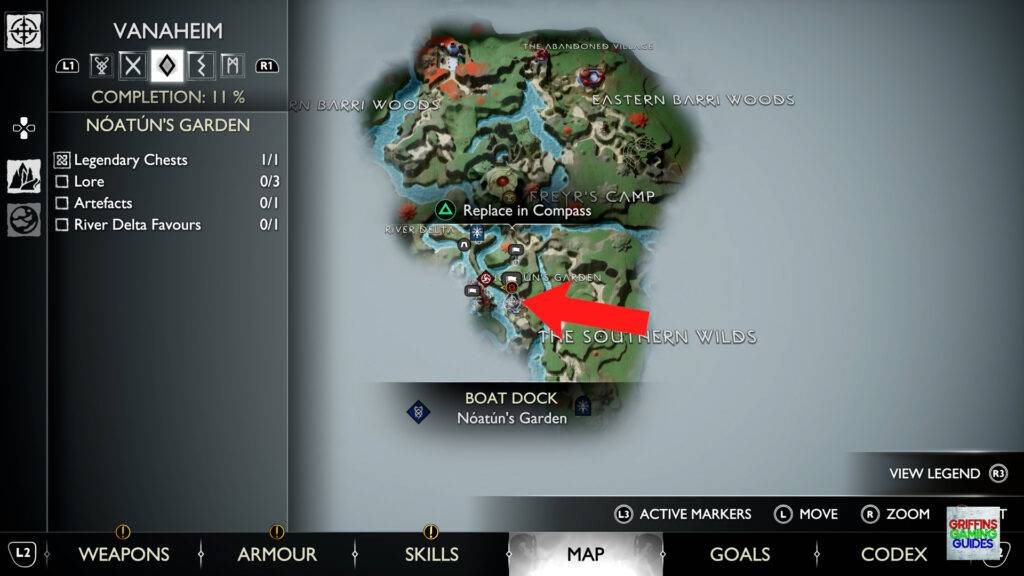
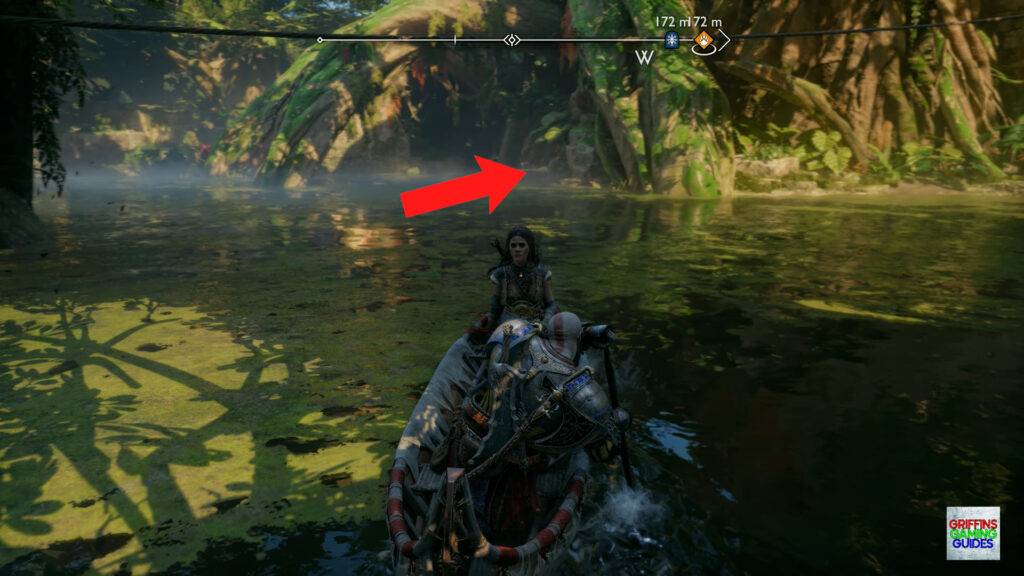
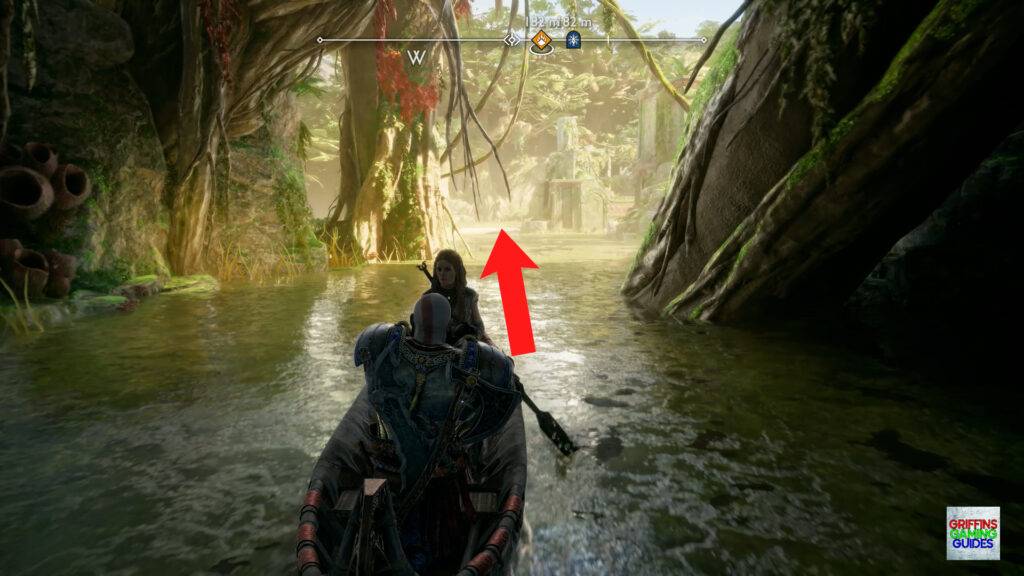
Head down the river after clearing the sonic shield around the log staying against the left bank to where you go under the small bridge above to Nóatún Garden boat dock then turn your boat 90 degrees to the right, go forward then right into a small cave.
Go right when you can and dock at the beach, take the stairs up and jump across the gap in the bridge looking to your right to see a strip of red vines coming out of a hole.
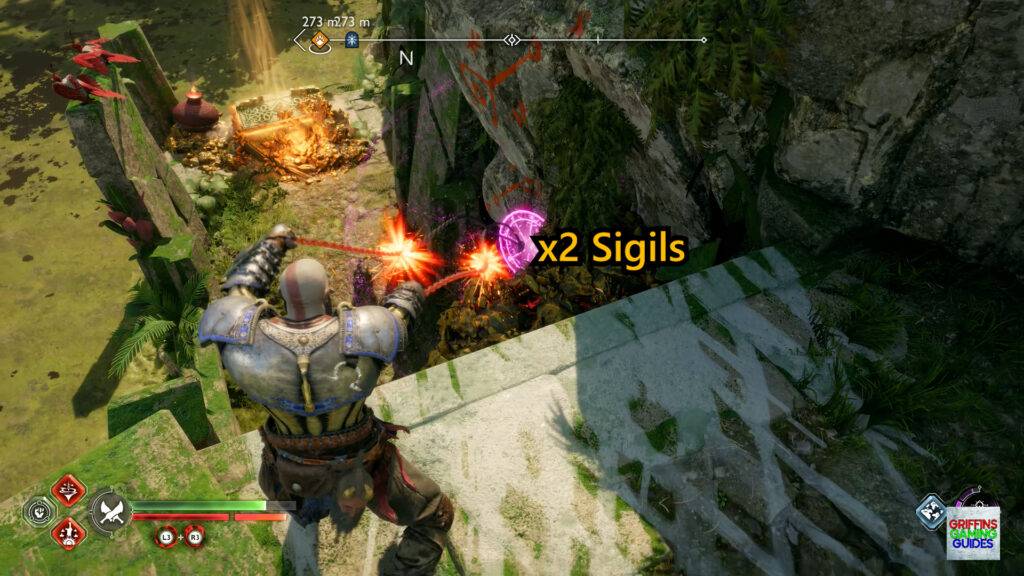
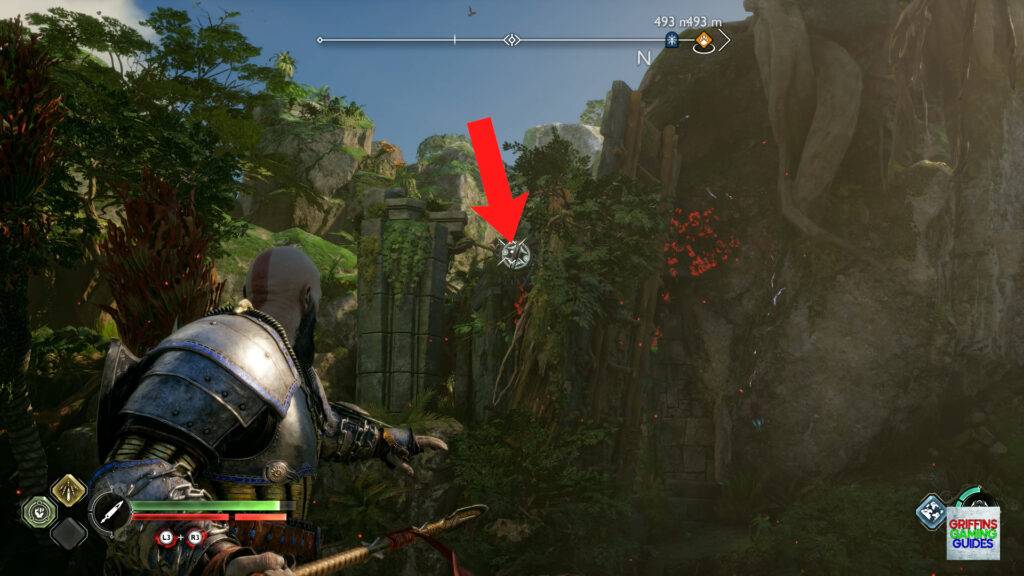
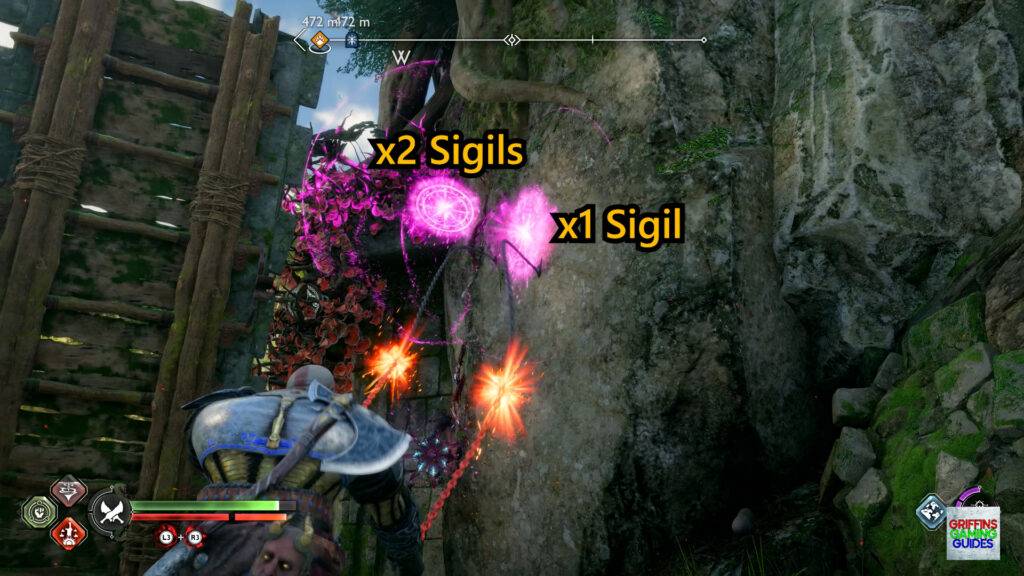
Fire 3 sigil arrows ensuring you have the red vines on the far right leading to the left then send a blast from your Blades of Chaos to the left most sigil causing a chain reaction to destroy the vines.
Equip Draupnir and throw a Spear at the blue disc through the hole of the building which will break the chain and drop the counterweight, opening the door.
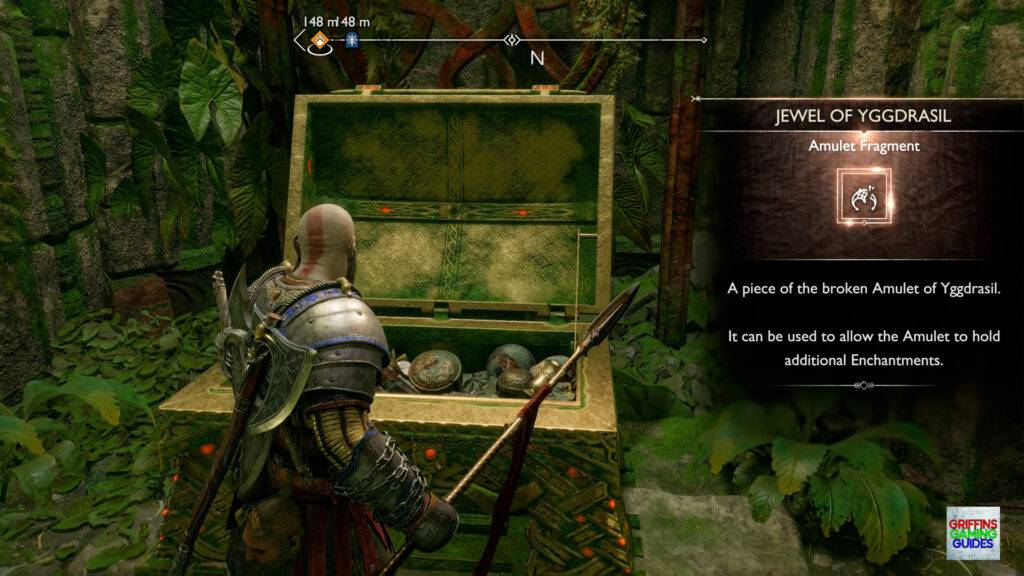
Go back to the boat and around to the Nóatún Garden boat dock and deal with the enemies who are weak to your Axe attacks then go through into the building, take out the Nightmares that spawn then mantle up and open the Legendary Chest which contains a Jewel of Yggdrasil amulet fragment.
Legendary Chest 7
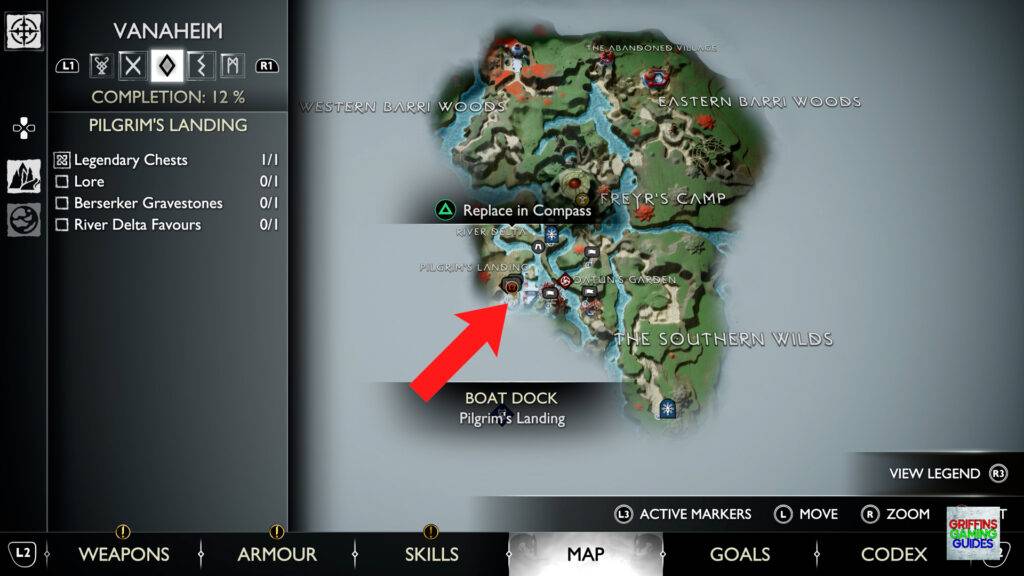
Vanaheim, Pilgrim’s Landing.
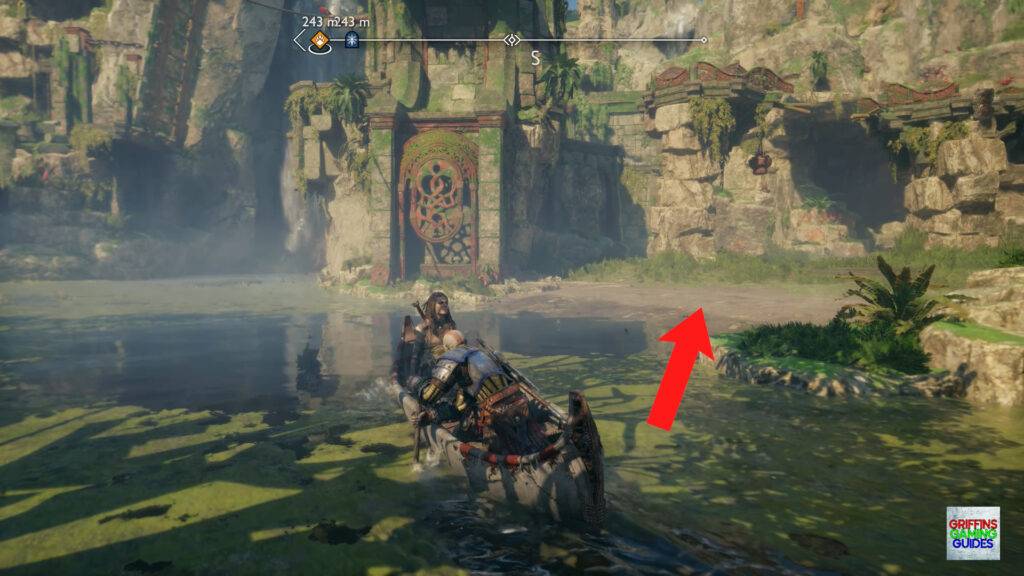
Leave Nóatún’s Garden then go back through the cavern to the end, dock at Pilgrim’s Landing and clear out the enemies.
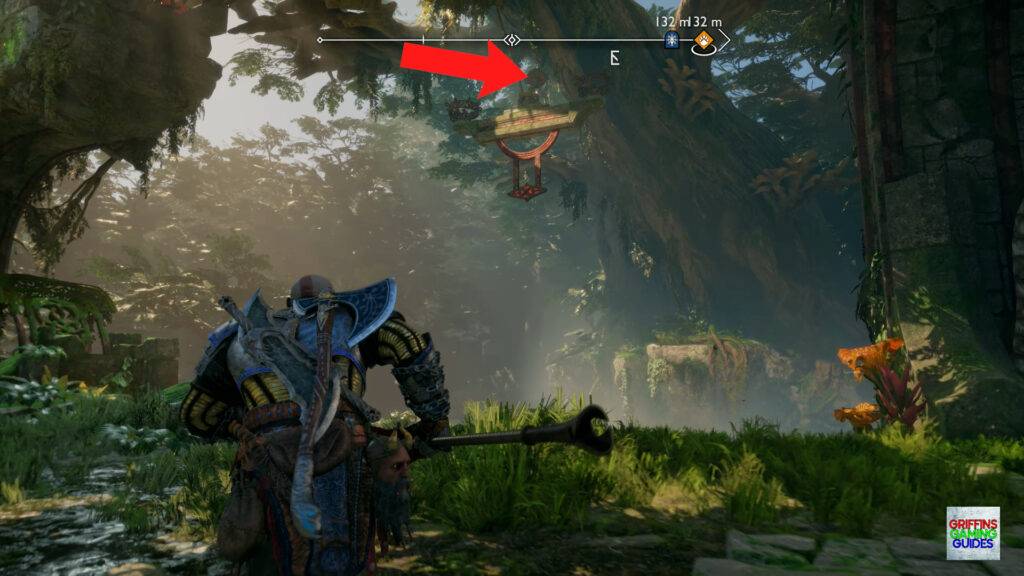
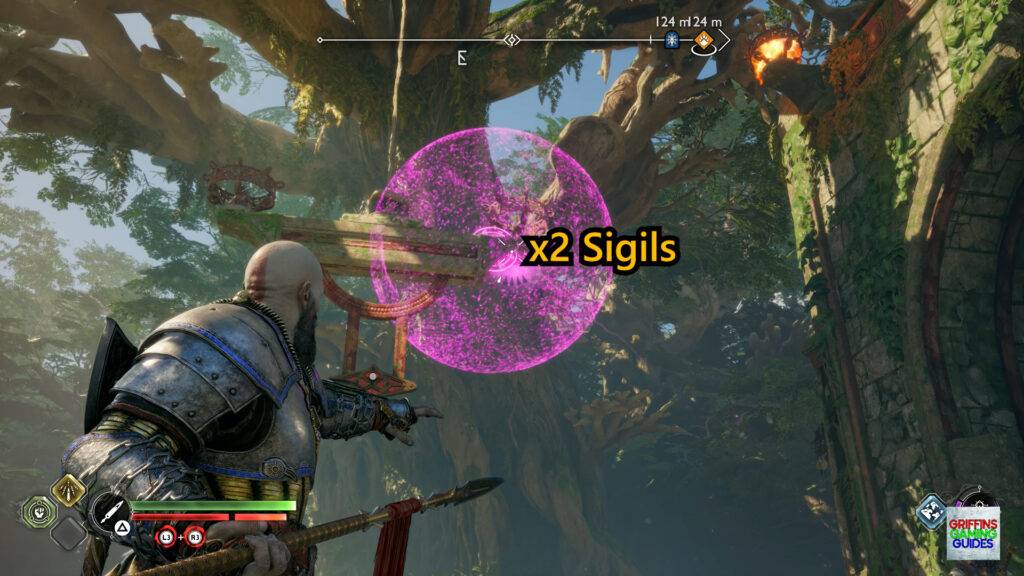
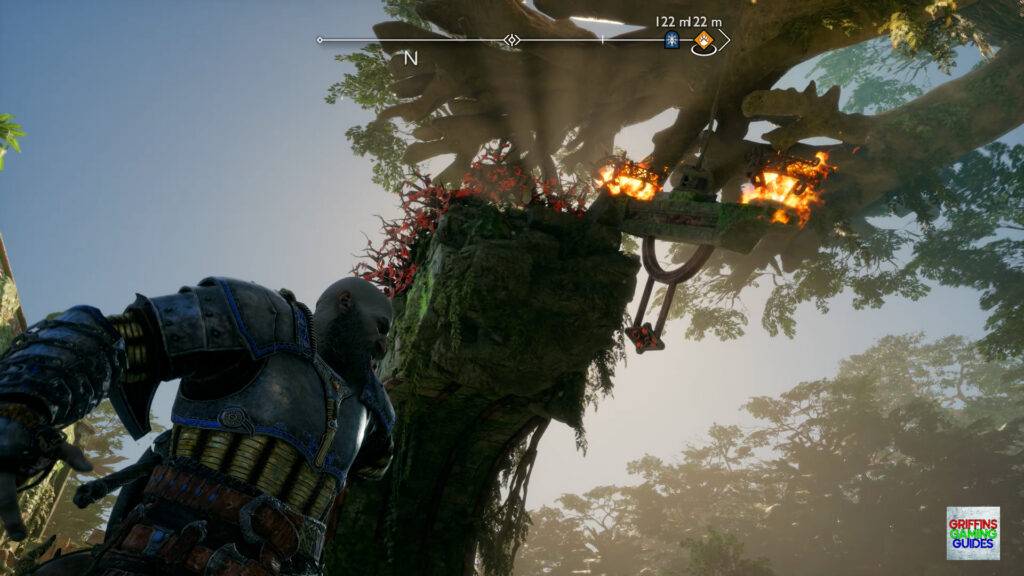
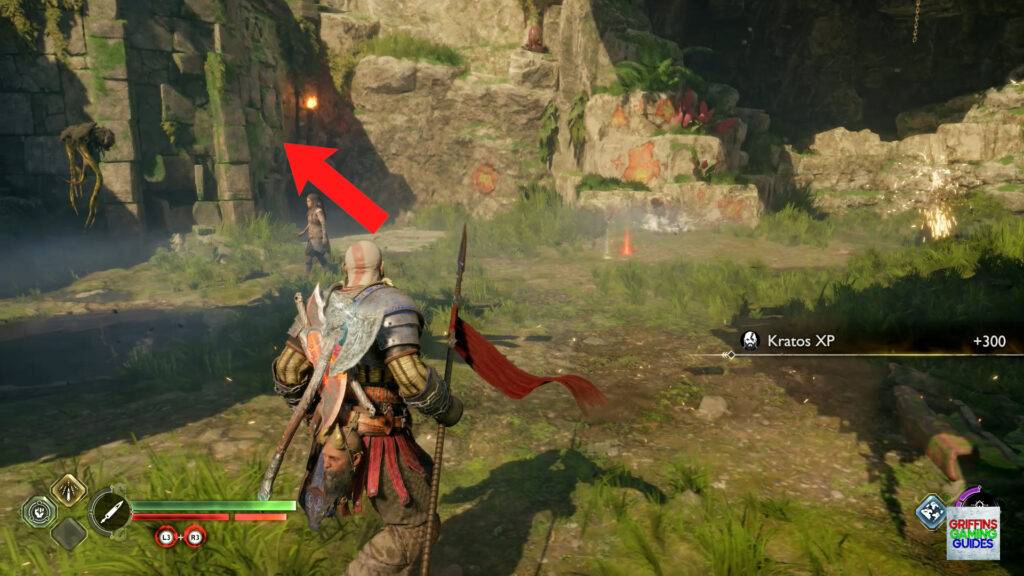
Mantle up to the right from the boat then look at the pillar to the left of the raised bridge where you will see some red vines as well as an already lit brazier. Send a Runic Sigil just to the bottom right of the brazier then another in to the fire causing a chain reaction removing the vines. You then need to throw a Spear / Axe through the 2 blue discs located either side of the raised bridge dropping it down enabling you to go through and clear out the enemies ensuring you take down the Nokken as a priority as they will heal all other enemies in the local area.
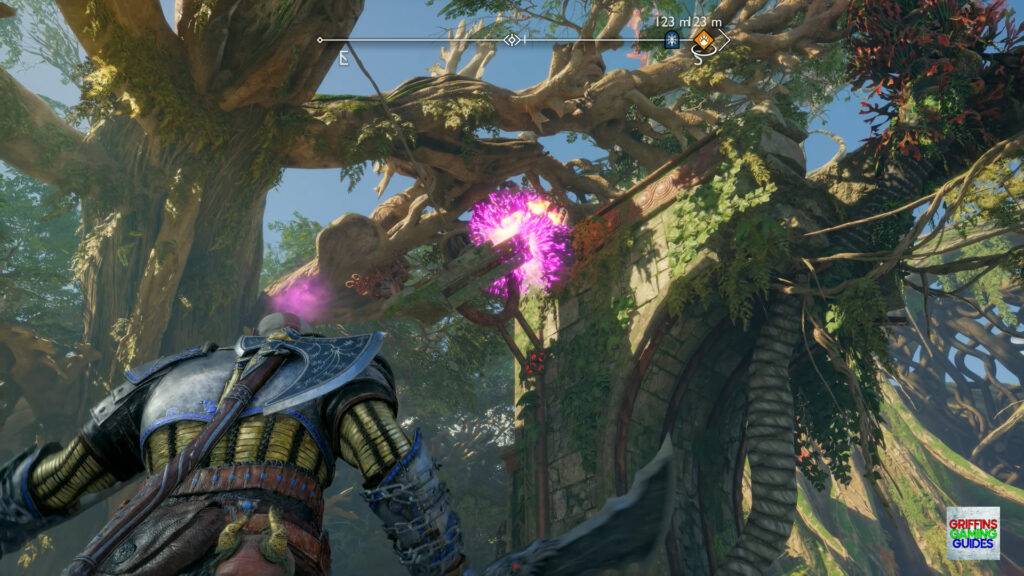
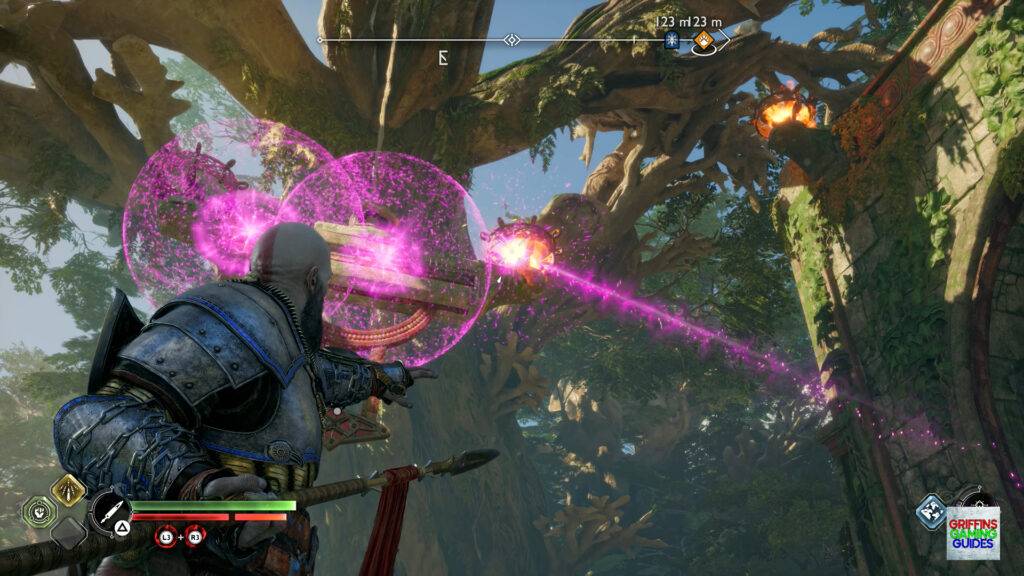
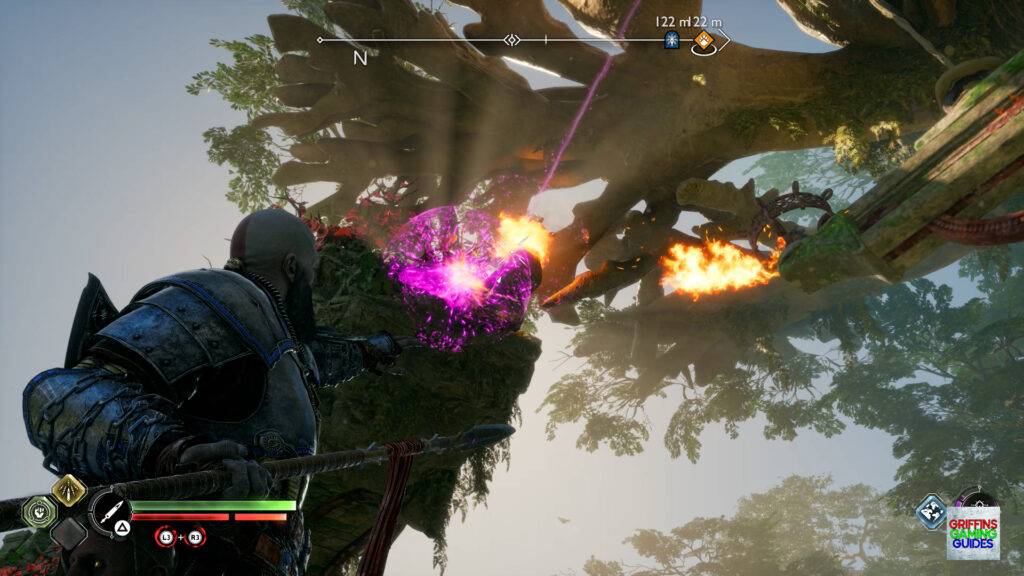
Once all enemies are down, look up and over to the right to see a contraption held in place with a breakable blue disc, break the disc then wait for it to stop swinging back and forth. Send 2 Runic Sigils in to the right unlit brazier then swing the contraption to the right where the fire on top of the ruins will explode the Sigil lighting the brazier on the right in the process.
Next, send a sigil in to the unlit brazier on the left, another in the middle then a final Runic Arrow in to the fire on the right causing a chain reaction across the contraption lighting the brazier on the left which you can then swing over to the left lighting the brazier on the top of the ruins next to the red vines.
Send a Runic Arrow in to the red vines close to the brazier then another in to the fire causing an explosion to remove the vines all the way down and along to the raised bridge.
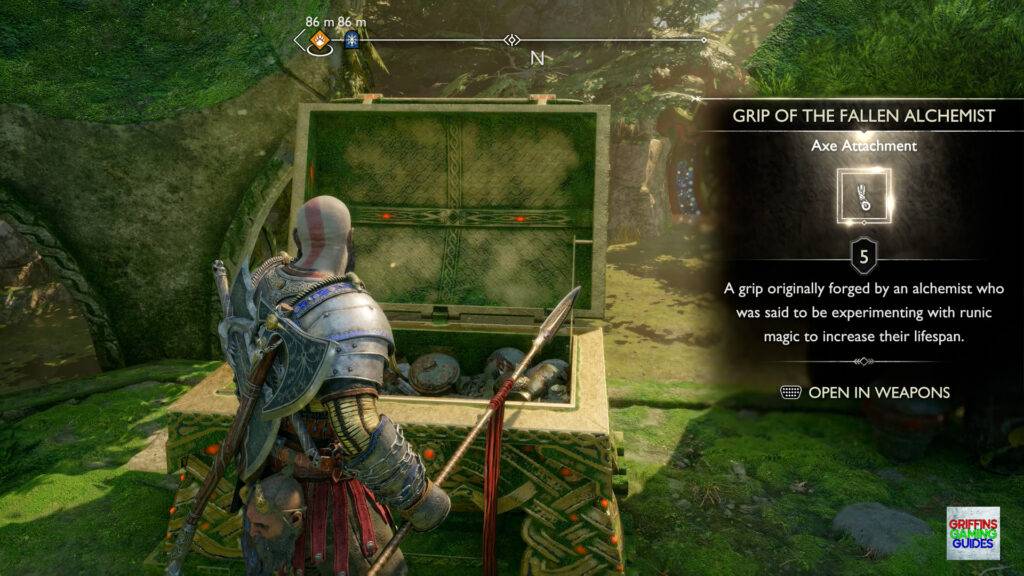
Either side of the bridge will be 2 blue discs you need to break with either a Spear or Axe throw dropping the bridge allowing you to go across and loot the Legendary Chest which contains the Grip of the Fallen Alchemist Axe Attachment.
Legendary Chest 8
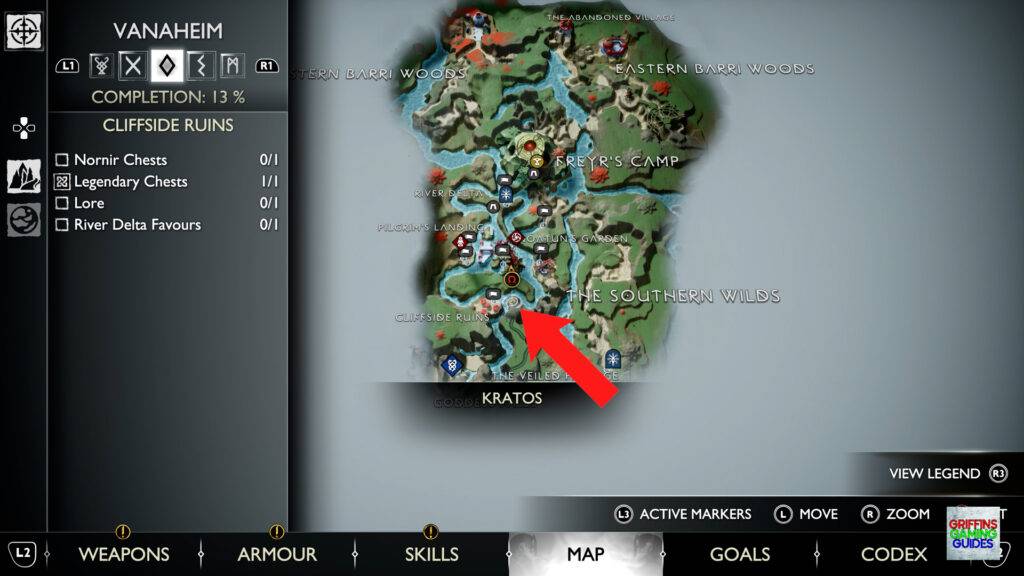
Vanaheim, The Veiled Passage (Cliffside Ruins).
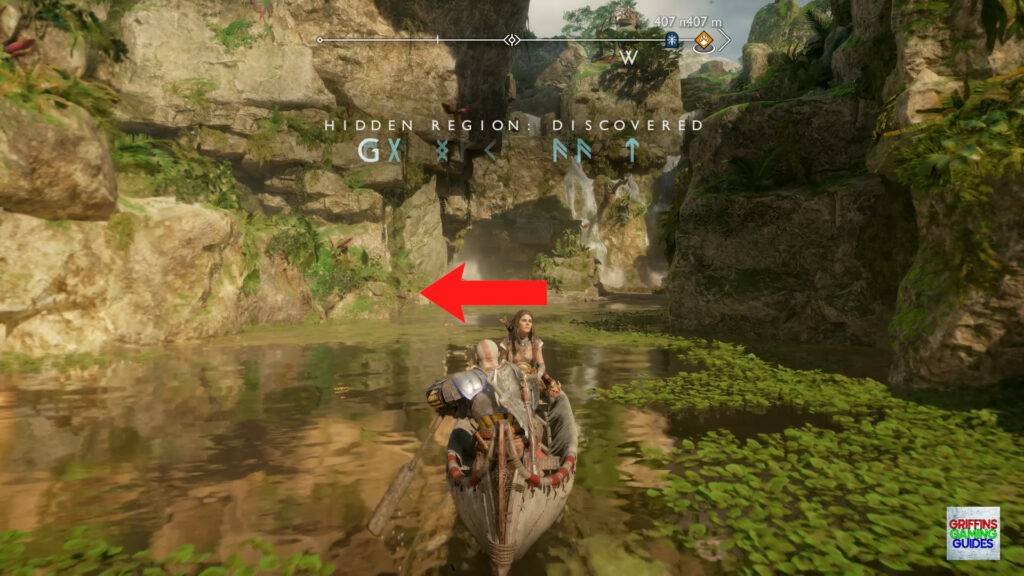
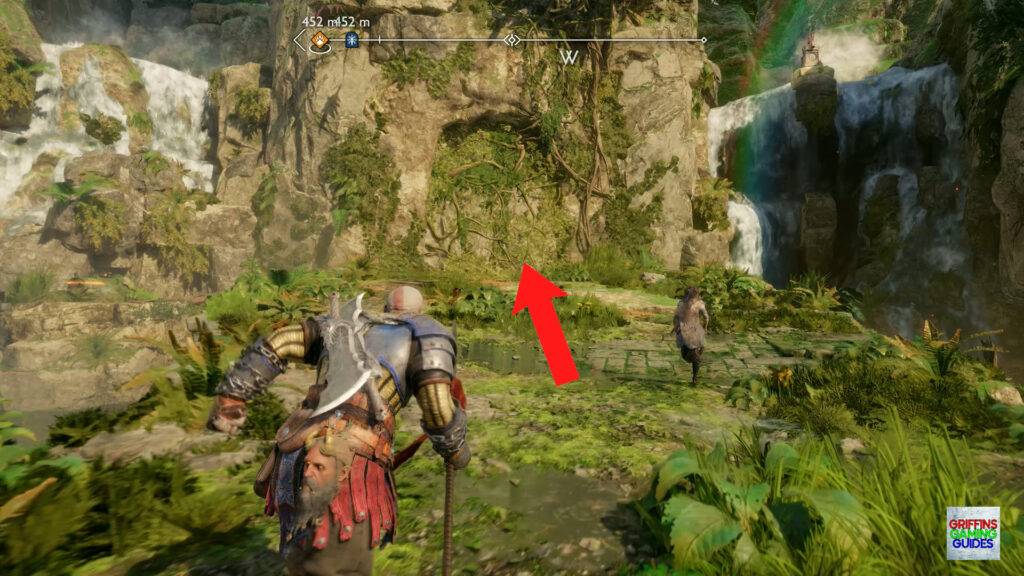
In order to access The Veiled Passage you will need to unlock the Pilgrim’s Gate which you will have done already if you have unlocked either It Was A Good Day or New Friends. If not, here’s a quick breakdown of what you need to do to open the way. Row around to Cliffside Ruins, clear the enemies and climb up the wall at the back left, go across the platforms to your left and have Freya place 3 Runic Sigils along the cliff face ensuring you have the red vines in the one on the right then ignite the Sigils with your Blades removing the vines revealing a chain you can climb up. Use the Chisel on the dish and have Freya speak the Runic word to open the Pilgrim’s Gate.
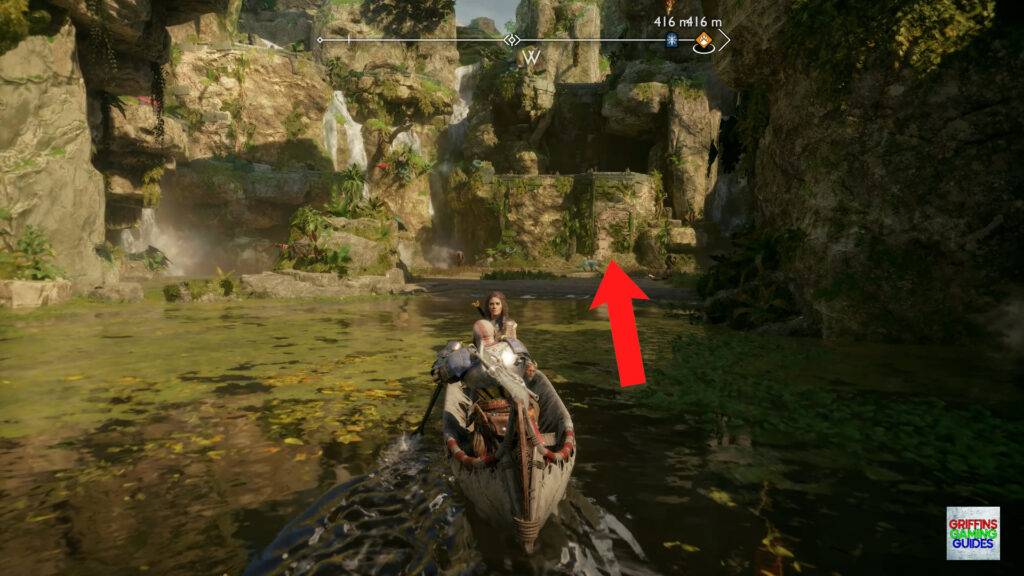
Once the Gate is open, row your boat through the canyon then take a left before you dock at Goddess Falls behind the rocks and go through The Veiled Passage to the beach at the back of the cavern.
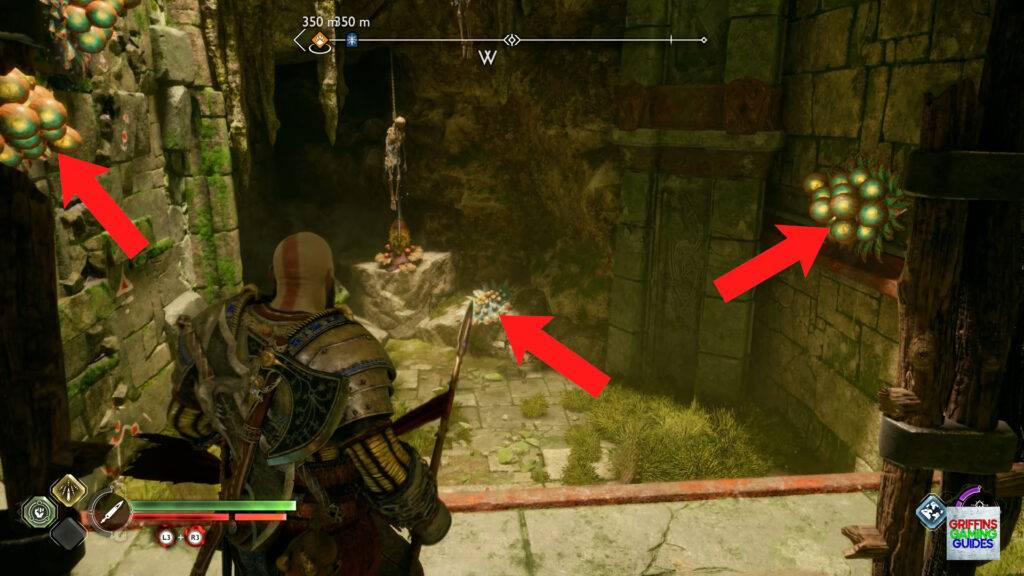
Smash through the barricade and destroy all 5 poison pods, climb up the wall and clear the enemies taking care to not stand near the blue flowers as they can rip through your health bar.
Destroy the 3 poison pods dotted around the passage and watch out for the ambushing enemies when you go round the left turn. If the poison pods are giving you grief, go round to the right and look in the alcove adjacent to the water and destroy the main pod with a blast from your Blades.
Continue through the passage to where the plant is producing poison which will also have a shielded hiding nearby. Have Freya send a Sigil to the flower then freeze it by throwing your Axe at the sigil giving you enough time to deal with the enemy and get through safely to the end.
Slide down the chain and go forward to the edge of the walkway. Look down just pass the ore on the right wall and have Freya send 2 Sigil’s on to the wall which you can ignite with a blast from the Blades allowing you to drop down.
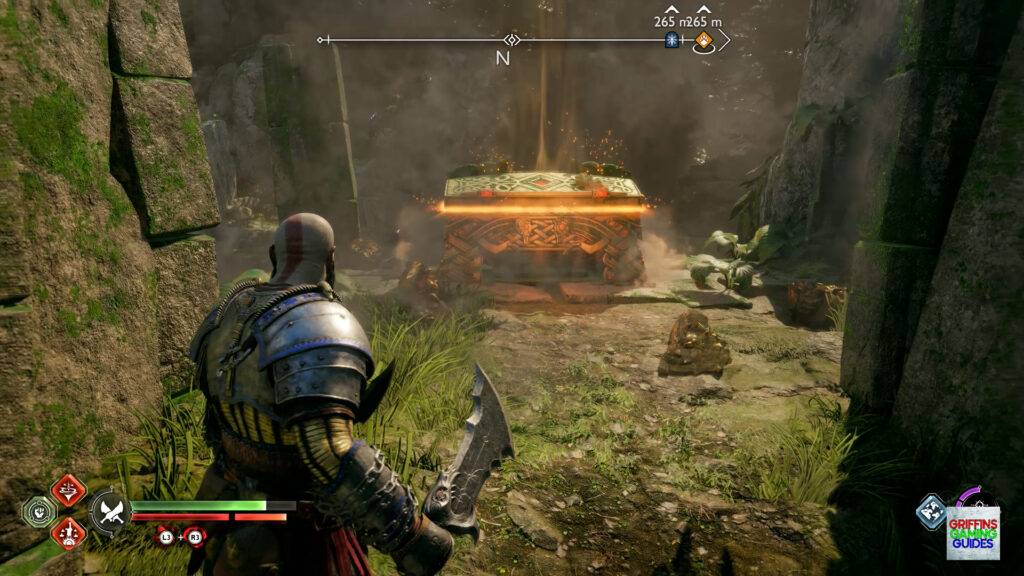
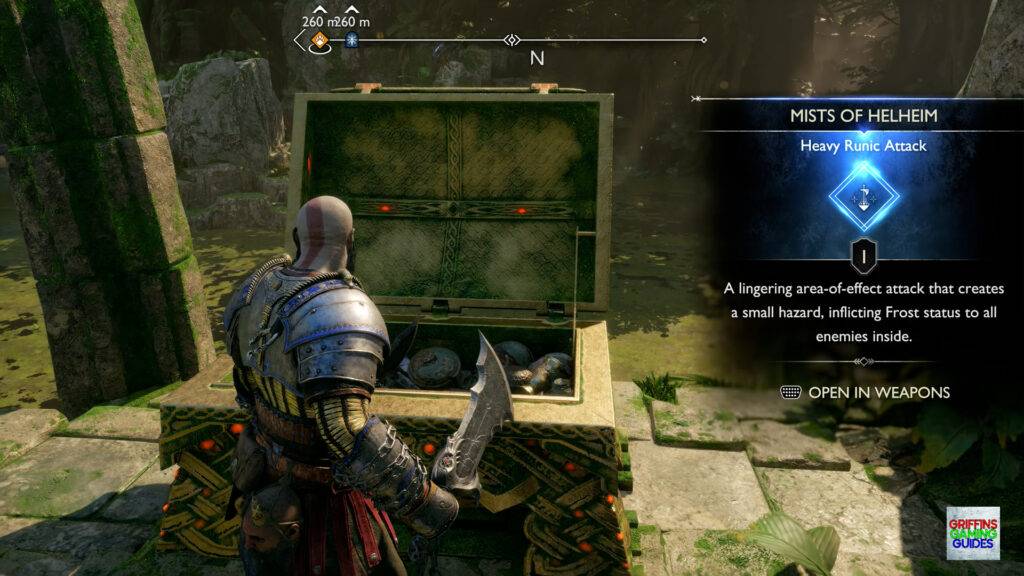
Hit the red pot to the left of the Legendary Chest clearing the debris around the Chest allowing you to open it up receiving the Mists Of Helheim Heavy Runic attack for the Leviathan Axe for your troubles.
Legendary Chest 9
Vanaheim, Vanir Shrine.
Head back around through the open Pilgrim’s Gate this time docking at Goddess Falls, clear the enemies and climb the walls up to the top then head through into Vanir Shrine.
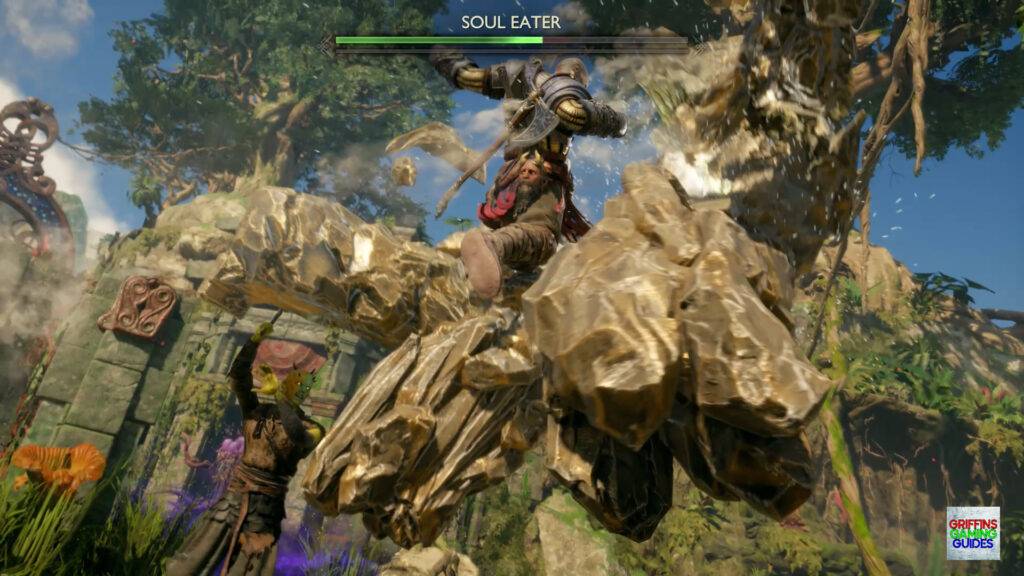
Take down the Soul Eater who appears which can only be injured when it is attacking you from its chest by throwing your in to the chest cavity whilst avoiding the Reavers and poison around.
Once all enemies are down, go to the edge of the ledge in front of you and look to your right to see a blue disc behind a raised bridge you need to break then go around to the front of the bridge, have Freya place a series of Sigils along the wall ensuring you have the red vines connected to the Sigils and remove them with a blast from your Blades whilst avoiding the poison darts.
Break the blue disc on the right dropping the bridge then follow the path around and take out the nightmares and Gulon ambush removing the poison dart pods by destroying the main pod over to your right in an alcove then proceed up and around.
Take out the 2 Revenants then wait for Freya to destroy the Circlet, follow her through the vine wall and use the Chisel on the dish to reveal half a Runic word. Before going through the vines to progress through the area, go back the way you came to find a small section of dried vines you can clear with your Blades revealing a small crack you can throw a Spear in to breaking the blue disc opening the gate back down in the lower level.
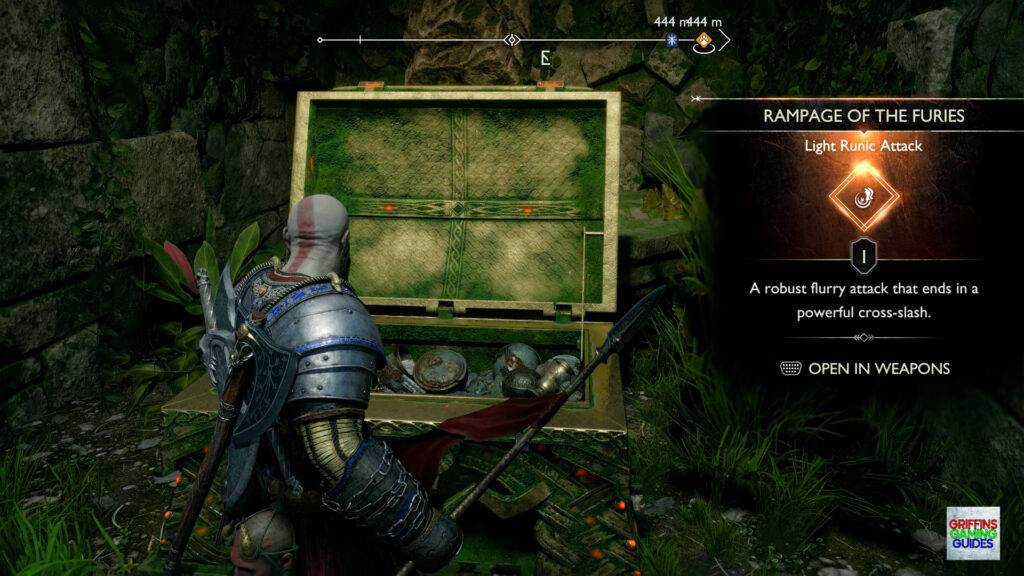
Go back down the ramp and take out the ambushing enemy where can then enter the small room, looting the Legendary Chest which contains the Rampage of the Furies Light Runic Attack for the Blades of Chaos.
Legendary Chest 10
Vanaheim, Freyr’s Camp.
After Kratos and Atreus have been to Helheim you will need be tasked with going back to Vanaheim where you will meet Hildisvíni who will ask for your help allowing you to leave through the previously locked wooden gate out of Freyr’s Camp. Follow Hildisvíni to the rock you can clear with your Spear, go through the gap, jump across the chasm and through in to an area where you will take down a Centaur and a pack of Wisps.
Go along the jetty through the building to where you are ambushed by Gulon and Nokken. One they’re all down, look to the wall on your left, throw the spear in to the weak point and clear the wall out of the way revealing a section of wall you can climb up.
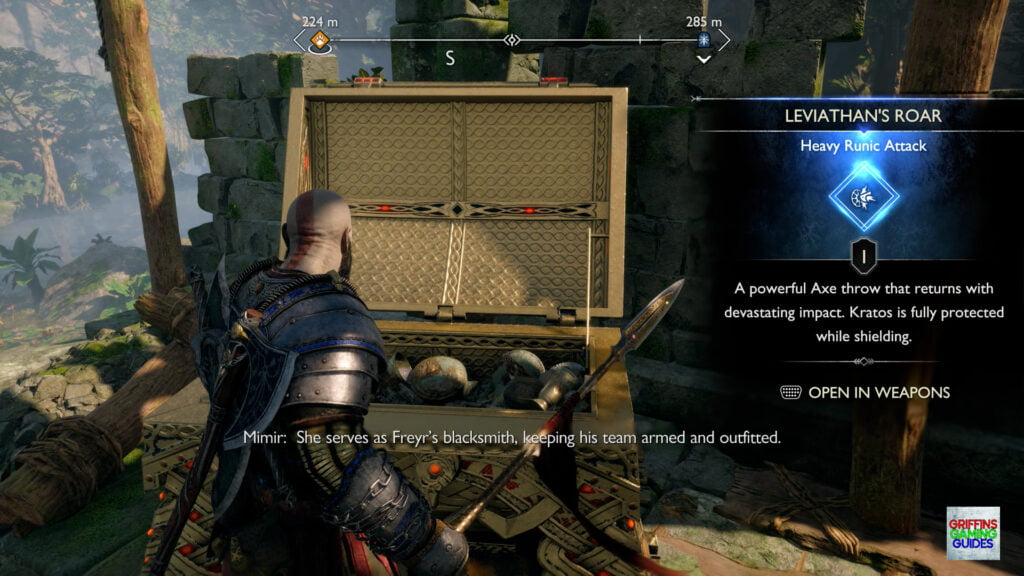
Jump across to the logs and shimmy along to the next platform where you can mantle up to the platform and loot the Legendary Chest which contains the Leviathan’s Roar Heavy Runic Attack for the Leviathan Axe.
Legendary Chest 11
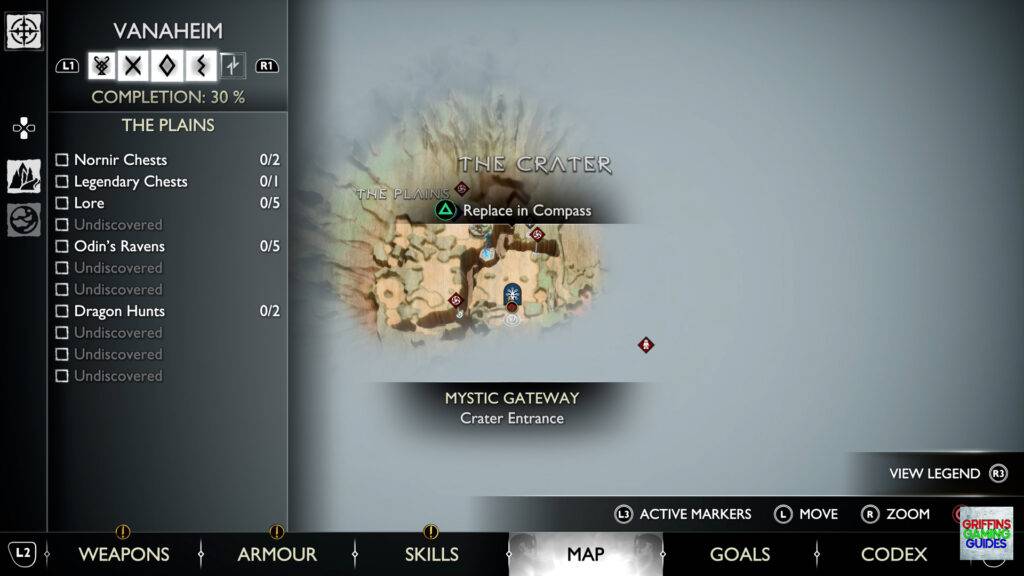
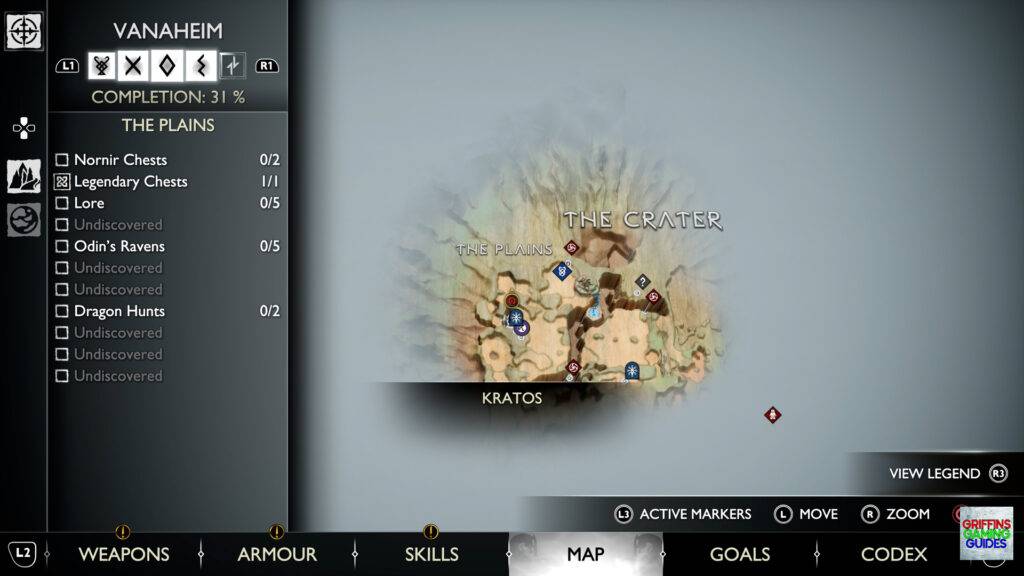
Vanaheim, The Crater, The Plains.
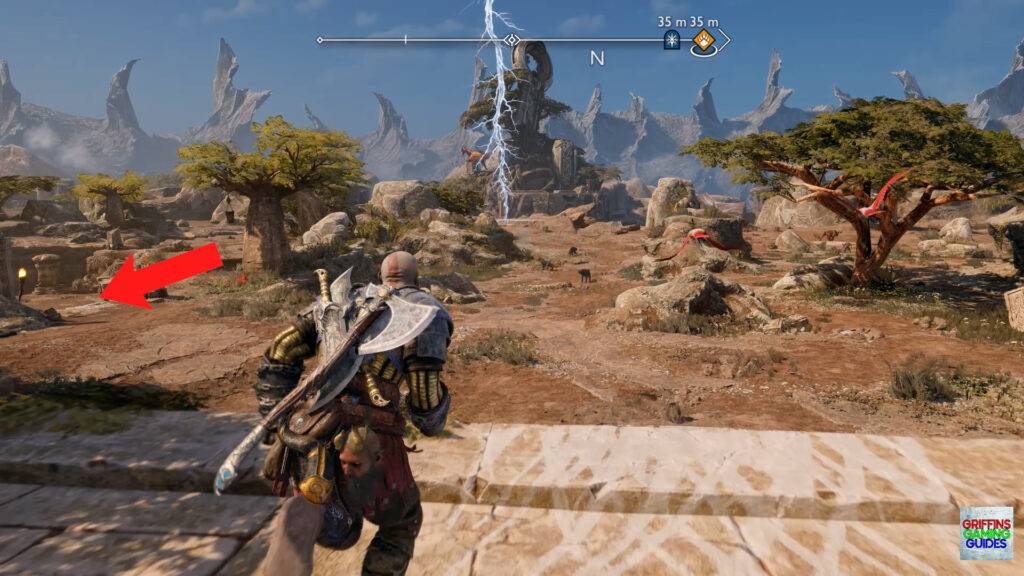
Ensure you have completed the Creatures of Prophecy main story quest where you rescue Freyr then complete the Scent of Survival Favour by following Helka through the area where you will eventually land in The Crater. Once there, you will be at The Plains. Mantle up and over the cliff in front of you from the Mystic Gateway, take a left dropping down then make your way across the chasm and mantling up again where you can clear out the enemies whilst avoiding the Dragon’s attacks as best as you can.
Once all the enemies are down (the Dragon isn’t slayable yet so move quickly through this next section if it’s still there), go forward where you will see a cut out section in the cliff face you can throw 2 Spears in to then change weapons to something else as we need to leave the Spears in place.
Go round to the right of the cliff avoiding the poison pods as you go, drop down the swing across twice, mantling up to the right when you can.
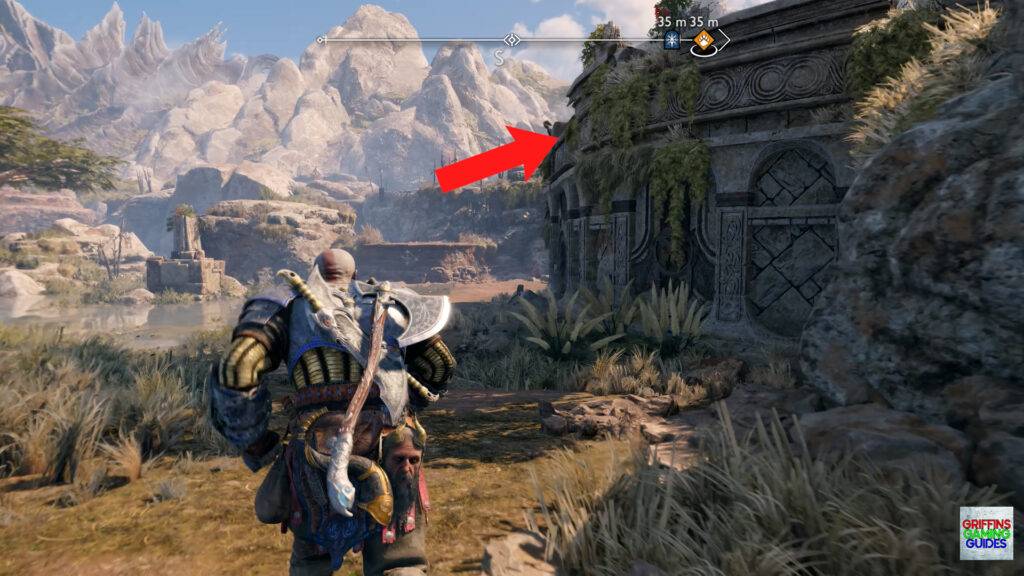
Follow the left side of the path around to the Mystic Gateway then look off to the right below you where you can throw a Spear in to the third point of the rock you previously left 2 Spears in then once it’s accurately placed, blow the Spears removing the rock from your path.
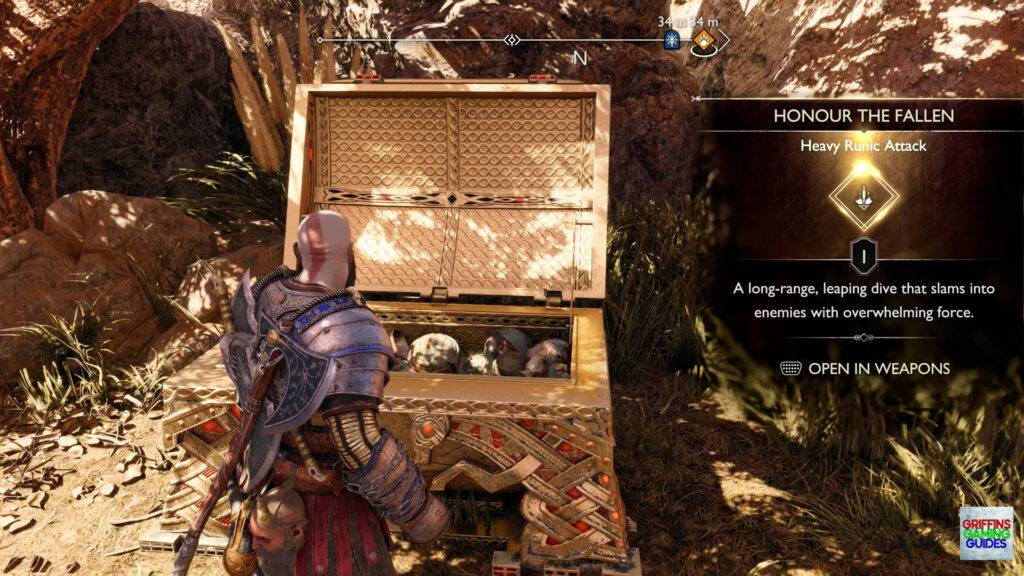
Kick the shield off the side of the cliff just past the Celestial Altar and go round to the left where you can loot the Legendary Chest over to your right which contains the Honour The Fallen Heavy Runic Attack for the Draupnir Spear.
Legendary Chest 12
Vanaheim, The Crater, The Jungle.
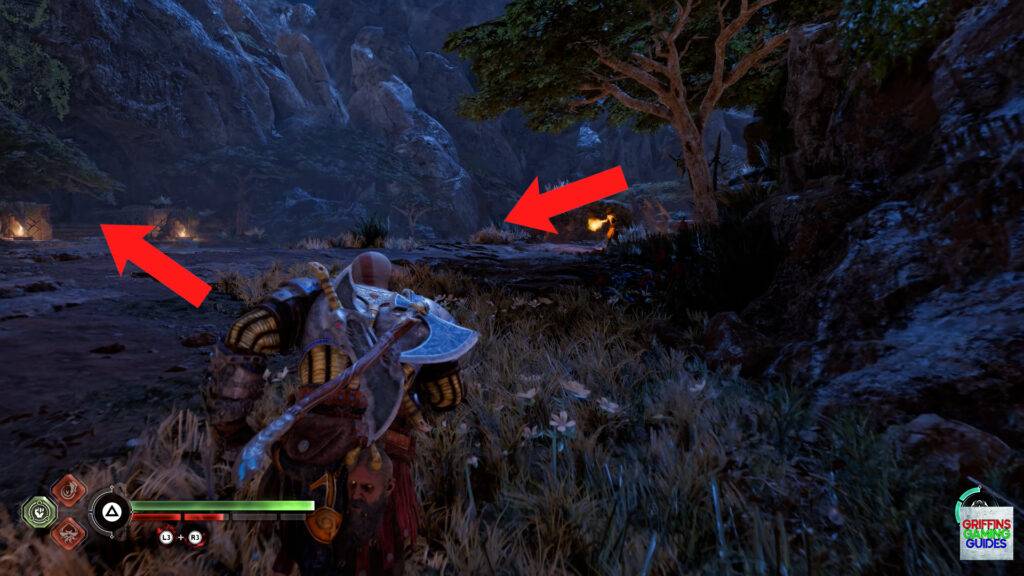
Head back up to the Celestial Altar you passed when going for Legendary Chest 11, interact with it changing the time of day from Day to Night. Drop back down and make your way around to the right taking out either the Wisp or the Seidr who spawns and take the rock bridge across to the temple with the 2 Dragon statues either side of the steps.
Take out the 2 shielded Seidr and make your way through the corridor avoiding the poison pods to the wall you climb up and across.
Once across the wall, look to the left wall to see a wooden section you can throw your axe through clearing the way through to The Jungle.
Go through The Jungle, dropping down to the right, freezing the poison plant, killing the Wulvers, climbing up and around taking out the Gulon ambush and complete the Return of the River Favour by going up in the lift and opening the floodgates making a lot more areas in The Jungle accessible by boat. You can find all the details in the complete Return of the River Favour guide.
Ride the lift back down after flooding The Crater then take the boat over to your right across the water to the next dock point where you will be ambushed by 2 Wulvers and a Nokken who is hiding at the back of the area healing the Wulvers so take it down as a priority.
Once the Wulvers and Nokken are down, go left towards the Celestial Altar and mantle up to the right, continue going right then follow the path left throw the corridor using the mantle points at the end to get up to the higher level.
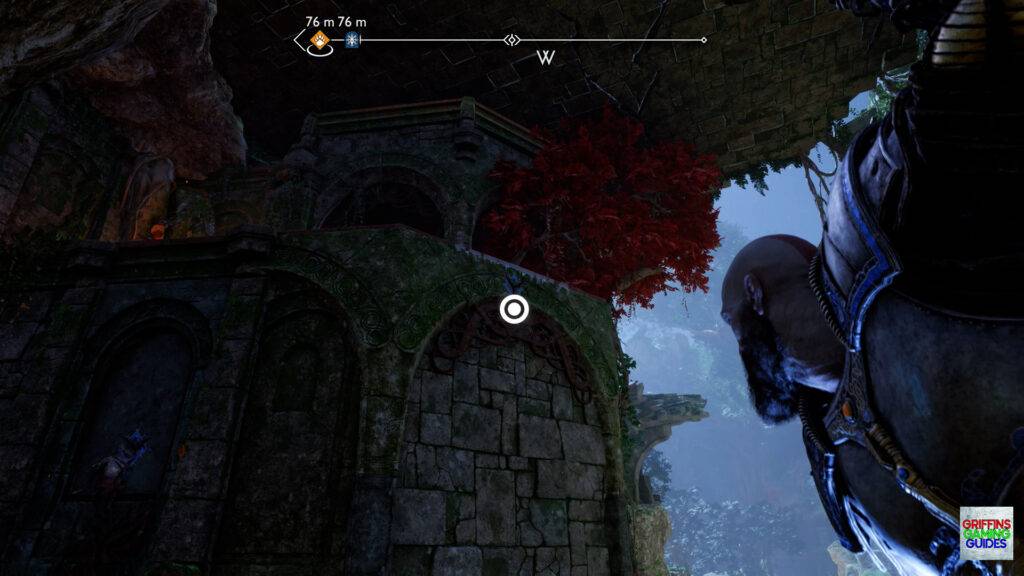
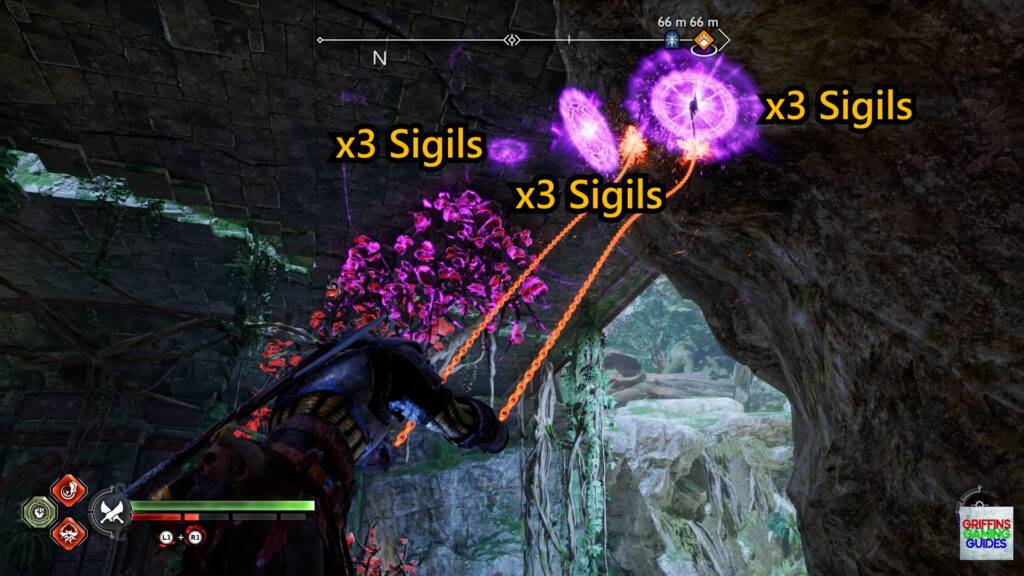
From here, send 3 Runic Sigils in to the ceiling near the red vines, 2 more to the right of the first triple then another 2 to the right of the 2nd set then ignite the Sigils with your Blades causing a chain reaction removing the Vines.
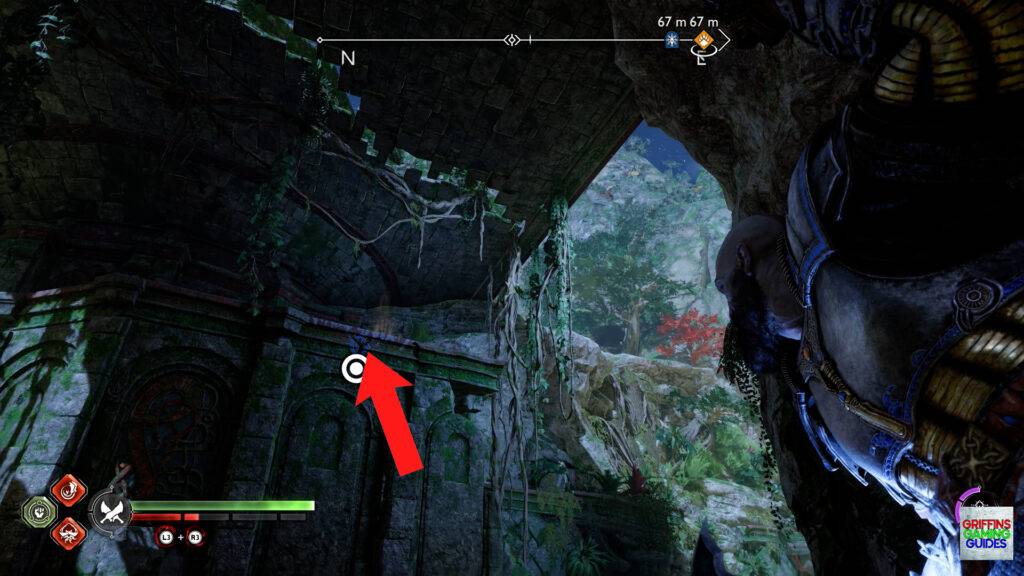
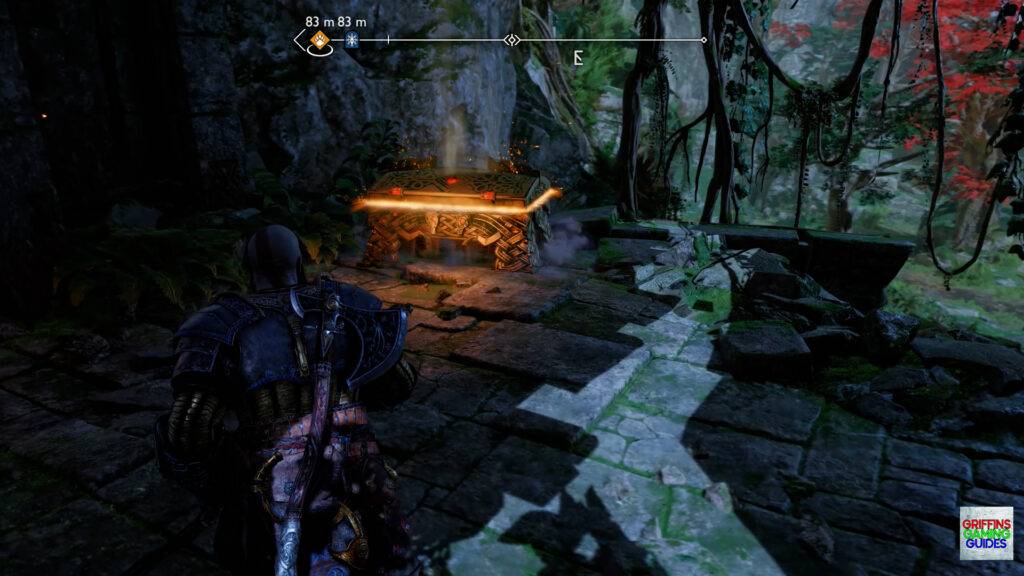
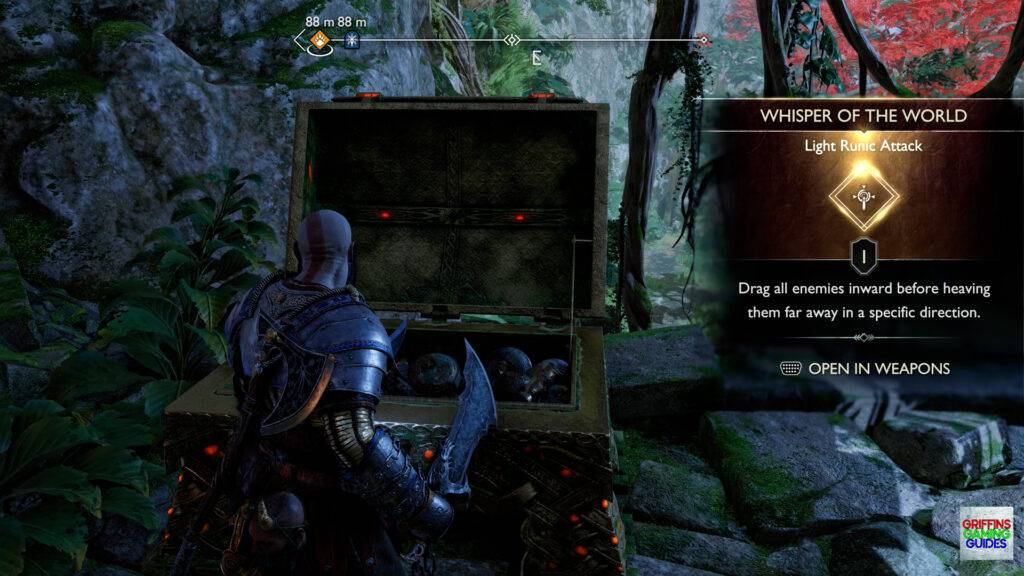
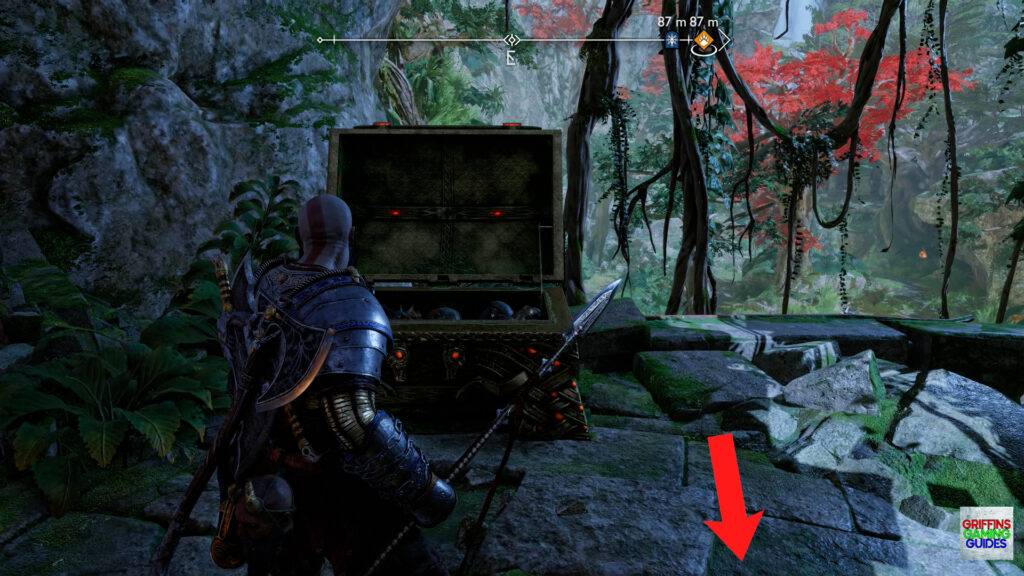
Drop back off the ledge and mantle across to the now accessible walkway where you can look to your right to find the Legendary Chest which contains the Whisper of the World Light Runic Attack for the Draupnir Spear.
Legendary Chest 13
Vanaheim, The Crater, The Jungle.
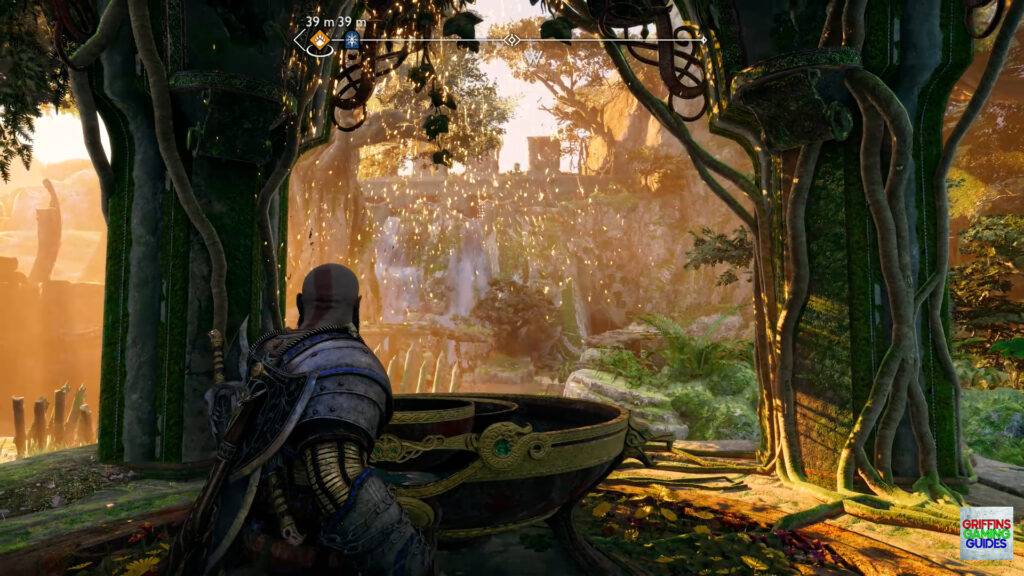
Turn around once you have Legendary Chest 12, grapple across the gap then kick the shield down allowing you to drop down to the area where you fought the Wulver and Nokken. Go right up the stairs and interact with the Celestial Altar to turn the time of day from Night to Day then get in to your boat.
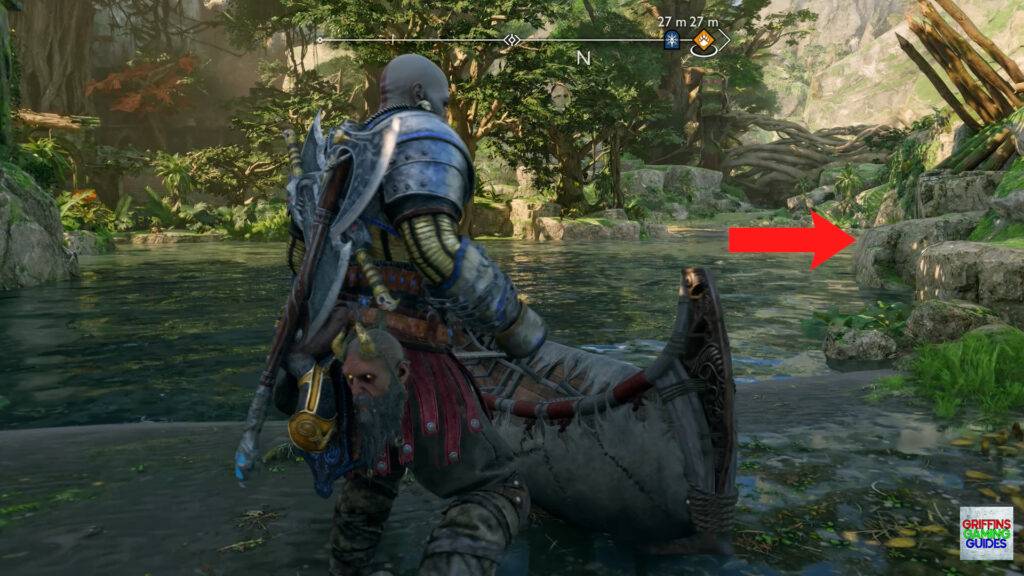
Row round to the right then take a left through the narrow passageway to the dock and head through the gap to take on 2 Ogres and 2 Nokken.
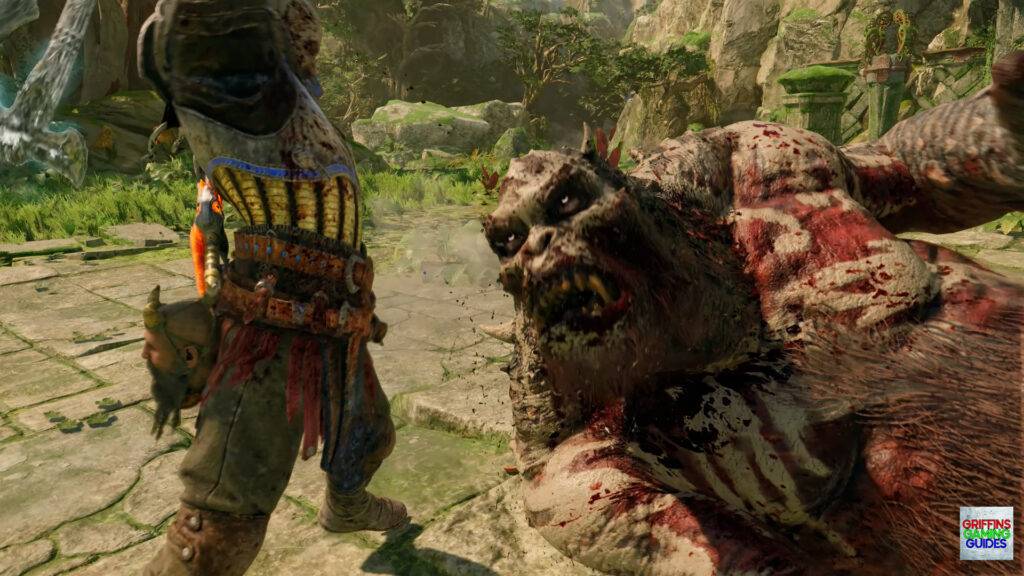
Take the Nokken out as a priority then focus on the Ogres. The red Ogre will hit harder but it will also leave the battlefield once you injure it enough so focus on the red one first then take out the remaining Ogre.
Once both Ogres are down look to the wall opposite the crack you squeezed through to see a section you can rip away with your Blades, then, with it being Daytime there will be a grapple point you can use to jump across to the next island.
Follow the pathway around taking care not to get hit by the poison darts then take a right when you can squeezing through and around the gap in between the wall.
Drop down in to the pit in the centre of the area, turn around and place a Runic Sigil on the gear in front of you, look up to see a board you can throw the Axe in to. You need to do this next bit quickly so practice as much as you need to until you get the timing down, throw the Axe at the left side of the spinning board, quickly recall the Axe and throw it in to the Sigil on the gear before the cage lowers back down allowing you to escape your confinement.
Once your out of the cage go forward and look to your right to find the Legendary Chest which contains a Jewel of Yggdrasil.
That’s where to find and how to unlock all 13 Legendary Chests in Vanaheim.

