Lies Of P The Story Of The Prince Trophy Guide
15 G
The Story of the Prince
Find out about the last story of Venigni.
Here is the Lies of P The Story of the Prince trophy guide which you help you find out about the last story of Venigni which you will be able to start in Chapter 3 and won’t be concluded until you’re a good way through Chapter 11 and there are many missable steps along the way.
Just to give you background as it will help you through the required elements, the story of Venigni is a tragic one as he witnessed a puppet murder his parents in front of him, the murderer as you find out early was Arlecchino the self proclaimed King of Riddles and someone who you will be talking to a fair amount as you work towards unlocking End of Riddles. There are 10 steps I have broken the guide into to help you through each element but as a standard rule of thumb, any time you see Venigni’s avatar next to the Hotel Krat fast travel point from the Stargazer’s you need to go and speak with him, exhausting his dialogue each time.
Venigni's Last Story
The steps you need to complete in order to unlock, The Story of the Prince are as follows:
- Step 1, Meet Venigni.
- Step 2, Venigni introduces Pulcinella.
- Step 3, Acquire The Scandal! V, The Tragedy Behind The Flamboyance Book.
- Step 4, Decipher Cryptic Vessels And Return Venigni Collection Boxes.
- Step 5, Defeat the Corrupted Parade Master boss.
- Step 6, Lie to Venigni.
- Step 7, Decipher Alidoro’s Cryptic Vessel.
- Step 8, Access the Arche Abbey Trinity Sanctum.
- Step 9, Speak to Arlecchino.
- Step 10, Return the Moon World Warrior Toy.
Step 1, Meet Venigni
Location: Chapter 3, Venigni Works Control Room.
Head through the Venigni Factory towards the King’s Flame, Fuoco boss to the room with the large green vat in the middle of it. Turn left as soon as you’re in the room and go up the stairs, turn around coming back on yourself to find the Venigni Works Control Room Stargazer as well as a scared Venigni standing at the edge of the balcony. Speak with him where you will then receive the Fear Gesture, you are now free to go and defeat the King’s Flame Fuoco boss where Venigni will then appear in Hotel Krat opposite Eugenie.

Step 2, Venigni Introduces Pulcinella
Location: Chapter 3, Hotel Krat
Once the King’s Flame, Fuoco boss is defeated, fast travel to Hotel Krat then speak with Venigni exhausting all of his dialogue where you will then receive the Swagger Gesture after he is done talking about Pulcinella.

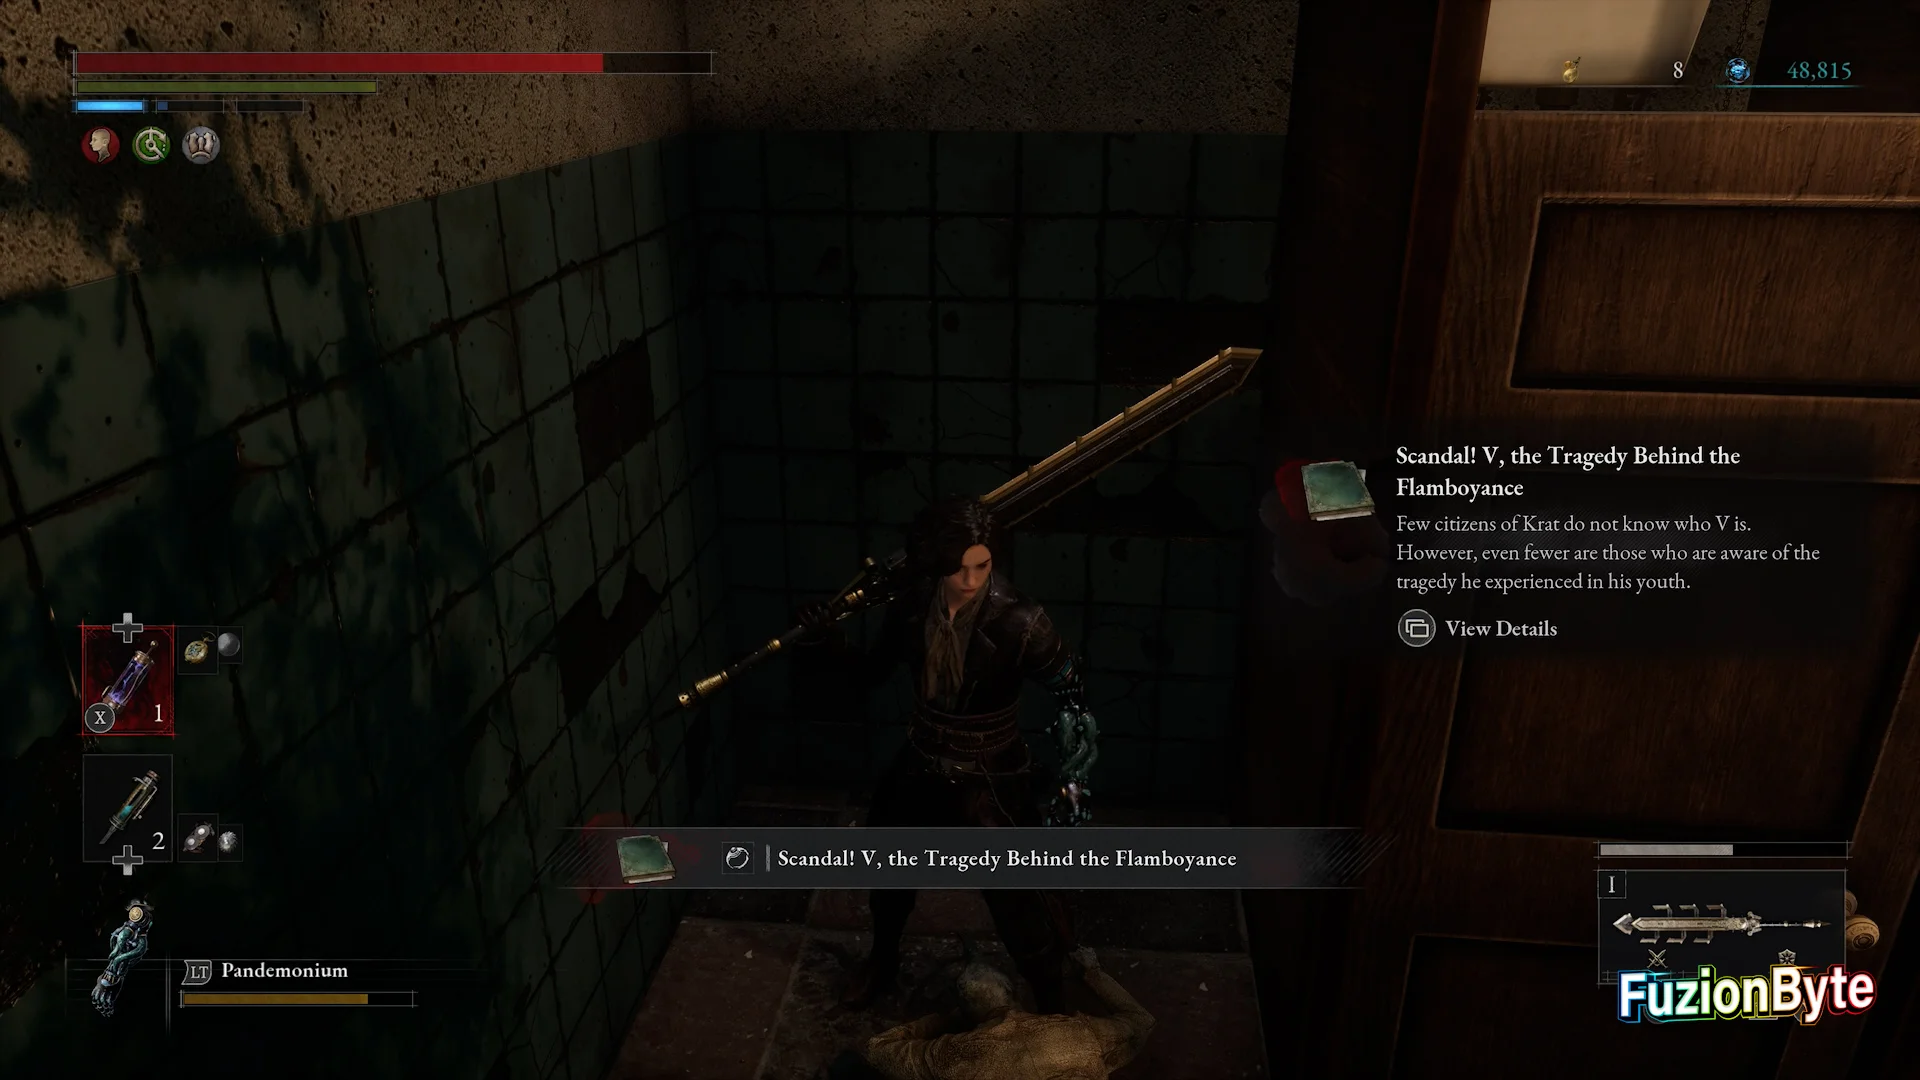
Step 3, Acquire The Scandal! V, The Tragedy Behind The Flamboyance Book
Location: Chapter 7, Lorenzini Arcade.
As you progress through the Lorenzine Arcade biome you will inevitably come across a Merchant next to a fountain in the vegetated area of the Arcade. Go into the toilet stools in the small room just before the Merchant and loo the Scandal! V, the Tragedy Behind the Flamboyance book. Go into your Bag> Collection then open the book (switch display) which you need to scroll through all 4 pages of. You will be doing this again shortly just to ensure it works properly but for now keep the book in your inventory.

Step 4, Decipher Cryptic Vessels And Return Venigni Collection Boxes
Location: Various.
Progress through the game to where you take down the Walker of Illusions boss. Along the way you will be able to decipher several Cryptic Vessels with Venigni as well as return 2 of the 3 Venigni Collection Boxes to Pulcinella, Venigni’s puppet Butler. You will begin to build a rapport with Venigni as he tells you of his love for decryption as he uses his self proclaimed genius to decode the ciphers with ease each time.


Step 5, Defeat The Corrupted Parade Master Boss
Location: Chapter 9, Krat Central Station Street.
Once the Walker of Illusions boss is down, ensure you have everything geared and you are fully equipped with offensive fire elements before going down the elevator as in doing so the Stargazer’s will all be locked and the only way to travel out of the biome you are in is to defeat the formidable Corrupted Parade Master boss. Once the Decay based (weak to fire) monstrosity is down, go to the Hotel and speak with Venigni twice where he will thank you for dealing the threat in your usual style.

Step 6, Lie To Venigni
Location: Chapter 10, Relic of Trismegistus Entrance.
Go through the Relic of Trismegistus Entrance biome and take down the Black Rabbit Brotherhood boss. Fast travel back to Hotel Krat and speak to Venigni where he will ask you if you can hear who caused the Puppet Frenzy. Upon listening you will learn Geppetto is behind the puppet rampage. However, when Venigni asks if you heard anything you need to answer with “I couldn’t hear” which will frustrate Venigni. Step 5 can be done in conjunction with Step 6.

Step 7, Decipher Alidoro's Cryptic Vessel
Location: Chapter 10, Relic of Trismegistus Combat Field.
Go through the Relic of Trismegistus Entrance biome and take down the Black Rabbit Brotherhood boss. From here, go up the slope and speak to Alidoro, exhausting all of his dialogue where you will then have the option to attack Alidoro. Confirm your choice when prompted then give the imposter a slap putting him down where you will then receive Alidoro’s Cryptic Vessel.

Location: Chapter 10, Relic of Trismegistus Combat Field.
Go through the Relic of Trismegistus Entrance biome and take down the Black Rabbit Brotherhood boss. From here, go up the slope and speak to Alidoro, exhausting all of his dialogue where you will then have the option to attack Alidoro. Confirm your choice when prompted then give the imposter a slap putting him down where you will then receive Alidoro’s Cryptic Vessel. Once you have the Vessel it’s important that you speak to Venigni and have him decipher the Vessel before you speak to Eugenie otherwise it will lock you out of her questline. Deciphering the Cryptic Vessel will intrigue Venigni as to the level of craftsmanship gone into making Alidoro’s Cryptic Vessel.


Step 8, Access The Arche Abbey Trinity Sanctum
Location: Chapter 11, Arche Abbey Outer Wall.
Proceed through the game to Chapter 11’s Arche Abbey, Outer Wall biome, go around pass the Tiger-Scorpion hybrid enemy, climb the stairs and take out the puppet-gunner. Look to your left to see a ladder. Before climbing it, go back down the stairs and open the shortcut back to the Stargazer by kicking the ladder down.
Before you can access the Trinity Sanctum in the Arche Abbey you will need to ensure you have firstly gained access to the 4 previous Sanctums as well as having obtained the Chosen One’s Trinity Key in the Chapter 10, Relic of Trismegistus Entrance biome. You can find out how to do all of this by referring to the End of Riddles trophy guide. Once you’re all set, come back and climb the ladder.
Carefully make your way down using the planks and ladders whilst taking out the enemies as you go, then, at the bottom of the area you will be ambushed by a Macho Man who hits a lot harder and faster than the one you will have fought in Chapter 7. With the Macho Man dead, look to the side wall to see the Trinity Sanctum. Unlock the door and go through.

Step 9, Speak To Arlecchino
Location: Chapter 11, Arche Abbey Outer Wall.
Arlecchino is a puppet who has gotten himself tangled in telephone wires which is how he could communicate with you using the payphones. Speak with him answering “Human” when prompted which is a lie.

Speak with Arlecchino again after you receive the Alchemist’s Cape and the Quartz where you will now have dialogue options to choose with the necessary ones being “About whether he is a serial killer“. Work through the dialogue then ensure you have read the book you acquired in Step 3.


Speak to Arlecchino again where you will now have a new dialogue option “the truth behind the Venigni incident“. Listen to the whole story where you will then receive the Moon World Warrior Toy.


Step 10, Return The Moon World Warrior Toy
Location: Chapter 11, Hotel Krat.
Now you have the Moon World Warrior Toy, return it to Venigni in Hotel Krat, go through his dialogue where you will then unlock The Story of the Prince once Venigni has finished talking.

That’s the Lies of P The Story of the Prince trophy guide complete, I hope it helped you work through Venigni’s complicated story.