Oxenfree 100% Walkthrough
Welcome to the Oxenfree 100% walkthrough which will help guide you through the three required playthroughs for platinum; the “Good Playthrough“, “Mean Playthrough“, and “Silent Playthrough“. This guide will also help you with all the collectables and miscellaneous trophies for platinum. The platinum for this game should take about 10 – 12 hours.
Important Information
- Important dialogue – Each playthrough has a goal of reaching a different ending, and to do this, you need to change up your dialogue and choices. All important dialogue is highlighted in this guide with the [Important Choice] tag. Specific dialogue you need to press is highlighted with “Quotation marks, bold, and italics”. Otherwise you can just ignore all other dialogue or pick what you wish.
- Playthroughs – This guide starts with the nice playthrough, then the mean playthrough, then the silent playthrough. The last two walkthroughs will mostly only list the important dialogue you need to choose, since you’ve already completed the game once.
- When starting a new playthrough – From the main menu select Options, Start Over, and choose to start a new timeline. Otherwise you’d be playing on New Game+, which will have differences in gameplay.
- Controls – Press L1 / L2 to open the map, R1 / R2 to use your radio, Cross to jump / climb / interact, and Square, Triangle or Circle to select dialogue.
- Images – You can click on any image to enlarge it.
If you spot any mistakes in the guide, please leave a comment and they will be fixed!
Good Playthrough
The “Good Playthrough” will consist of you convincing Ren and Nona to date, (unlocks Matchmaker) and making sure Jonas becomes your new stepbrother (unlocks New Beginnings). Matchmaker will take quite a few decisions over the entire playthrough, and New Beginnings largely comes down to a single choice at the end of the game. There are 37 steps required on a Good Playthrough which are:
Step 1
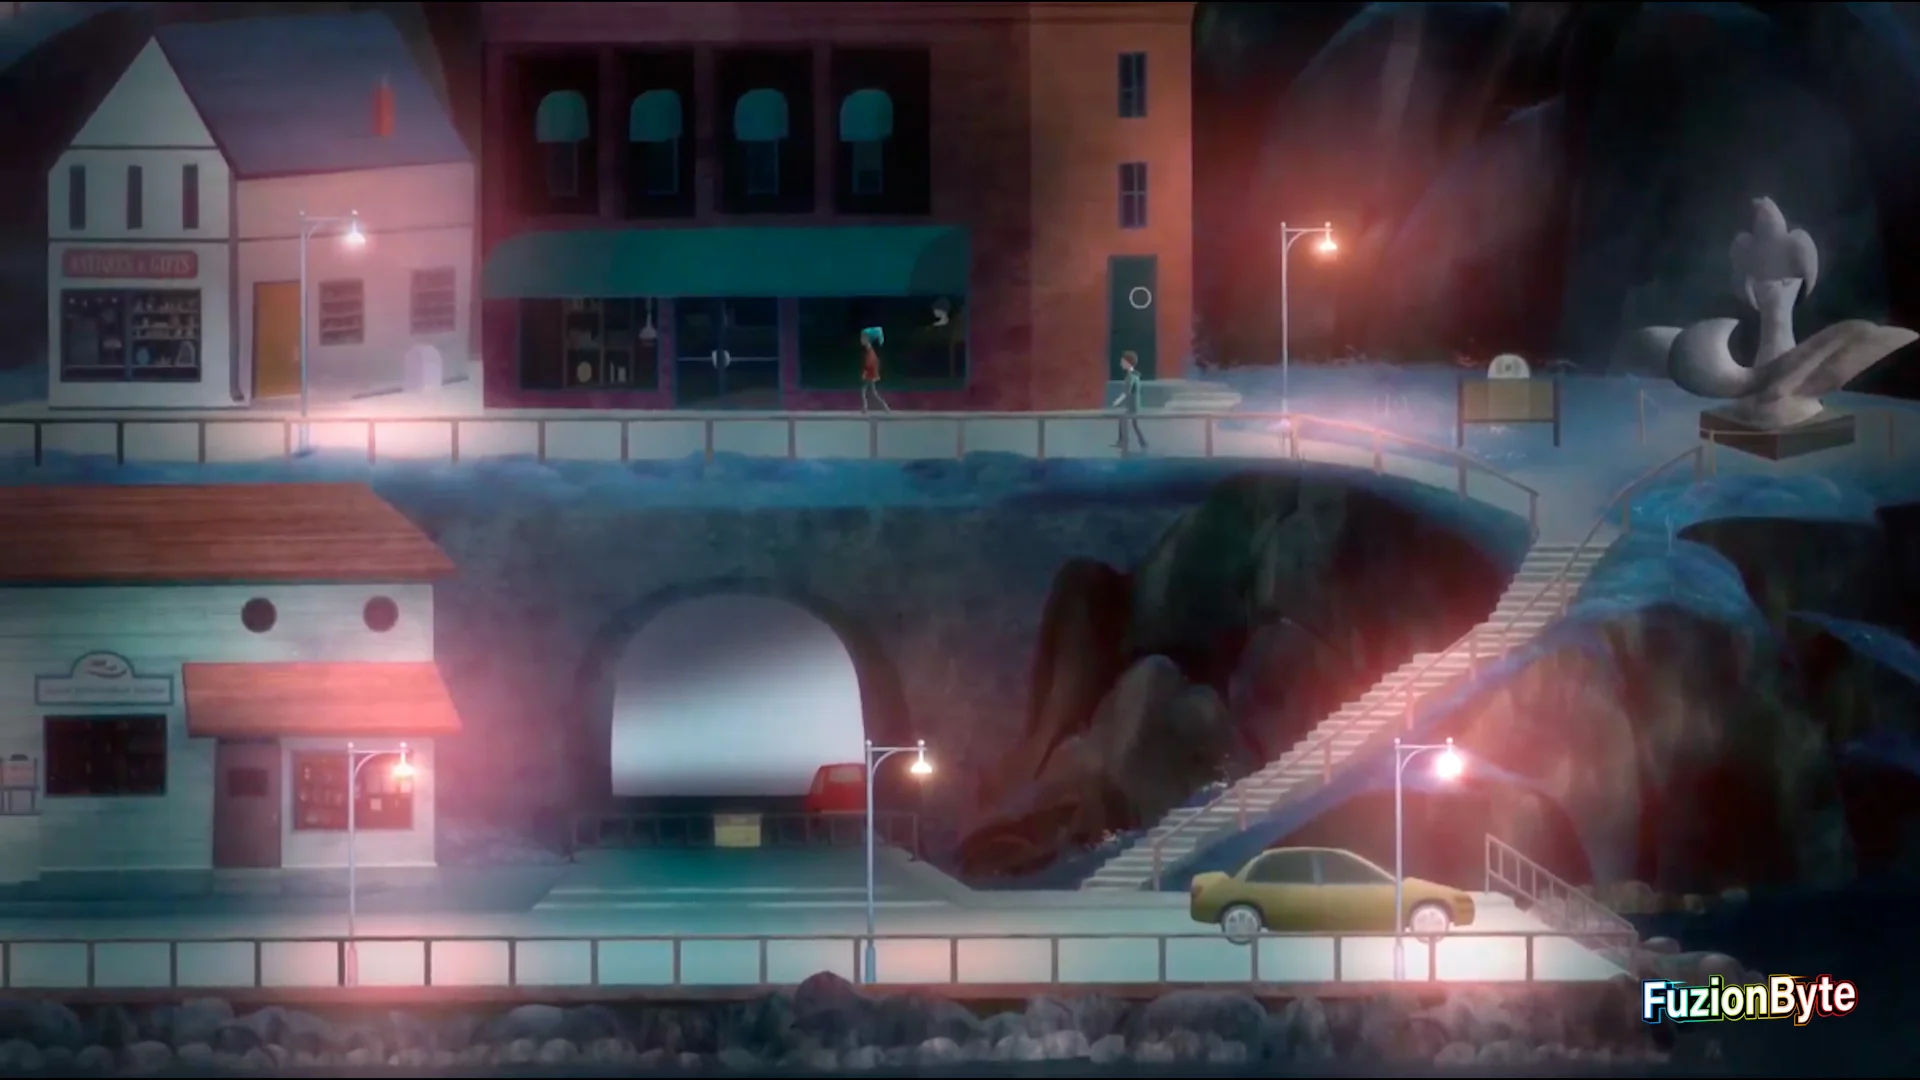
Once off the boat, walk through the city and make your way to the beach with the entire group. Any dialogue during this section does not matter.
Step 2
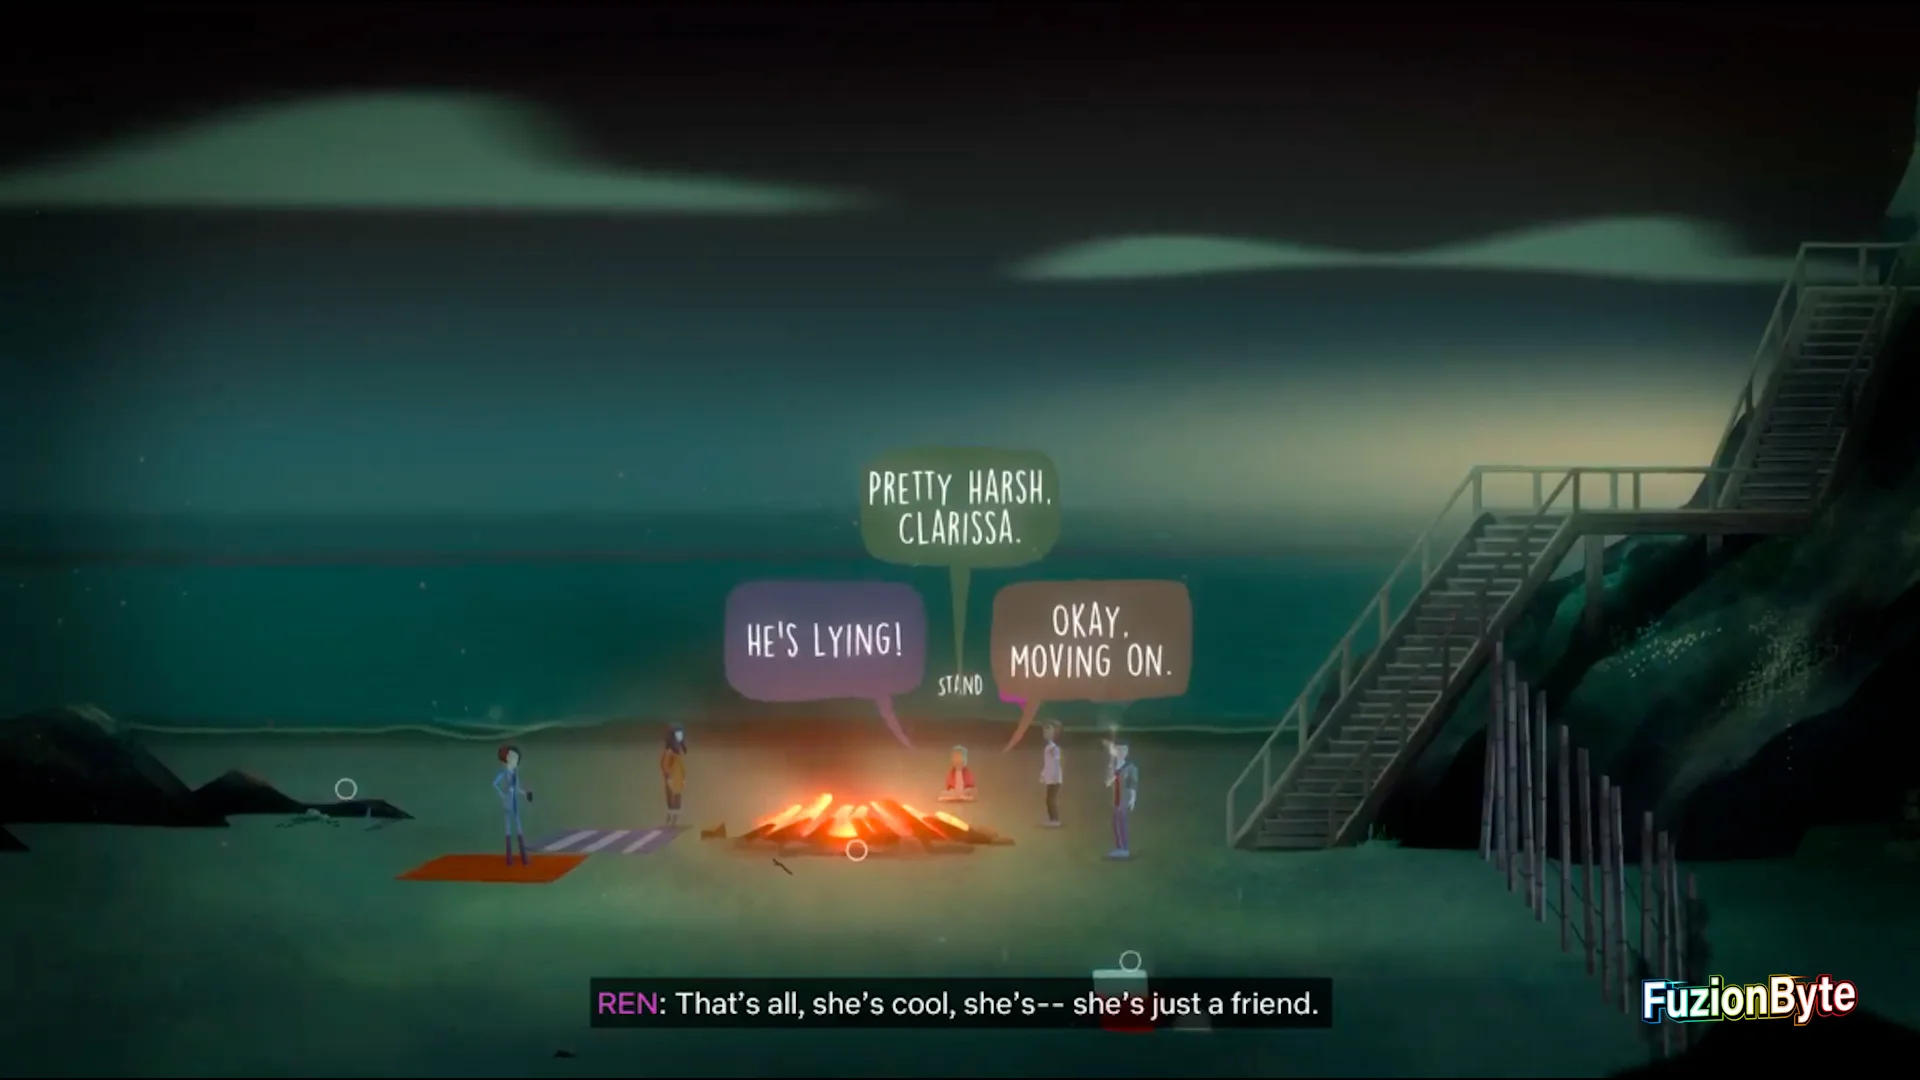
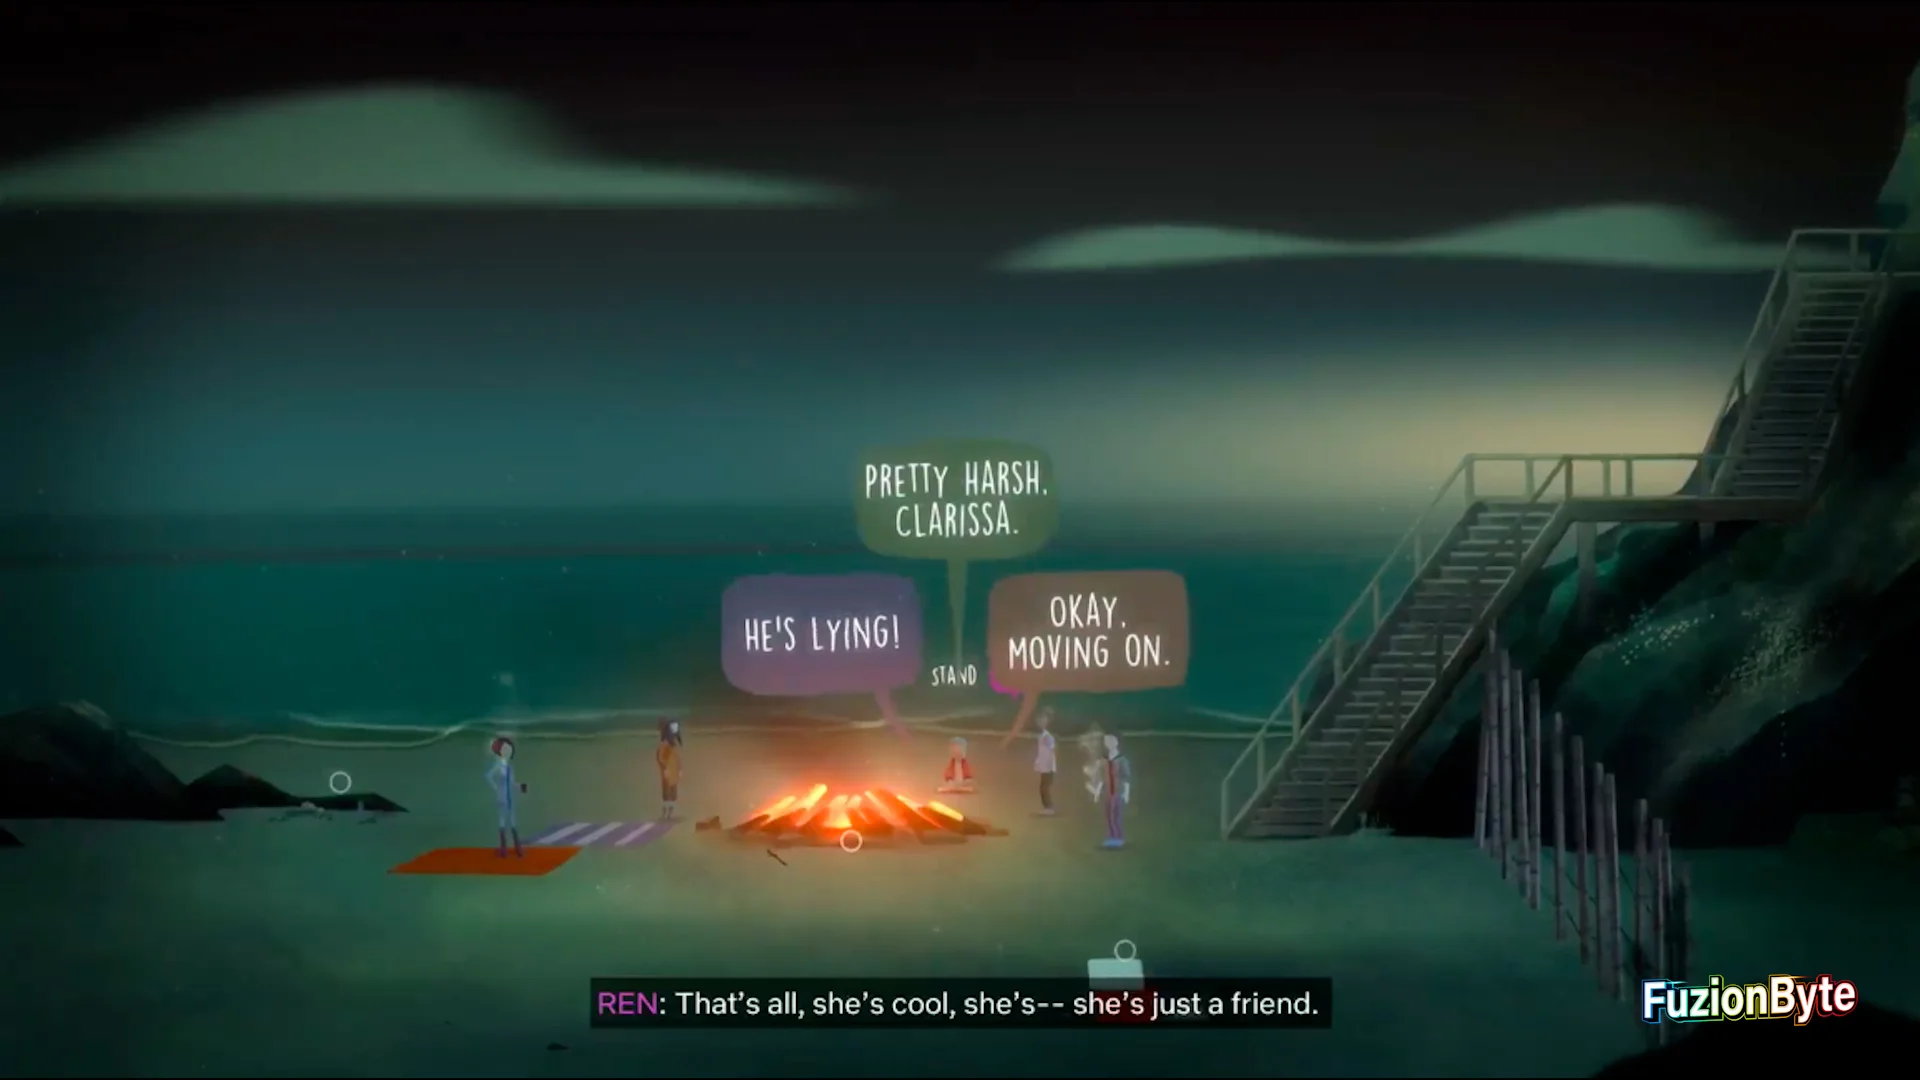
Important Choice.
While on the beach, the group will start playing “Truth or Slap”. For the first question, Clarissa will question Ren about his crush on Nona. You will need to back Ren’s denials, choosing the “Okay, Moving On” dialogue option.
Step 3
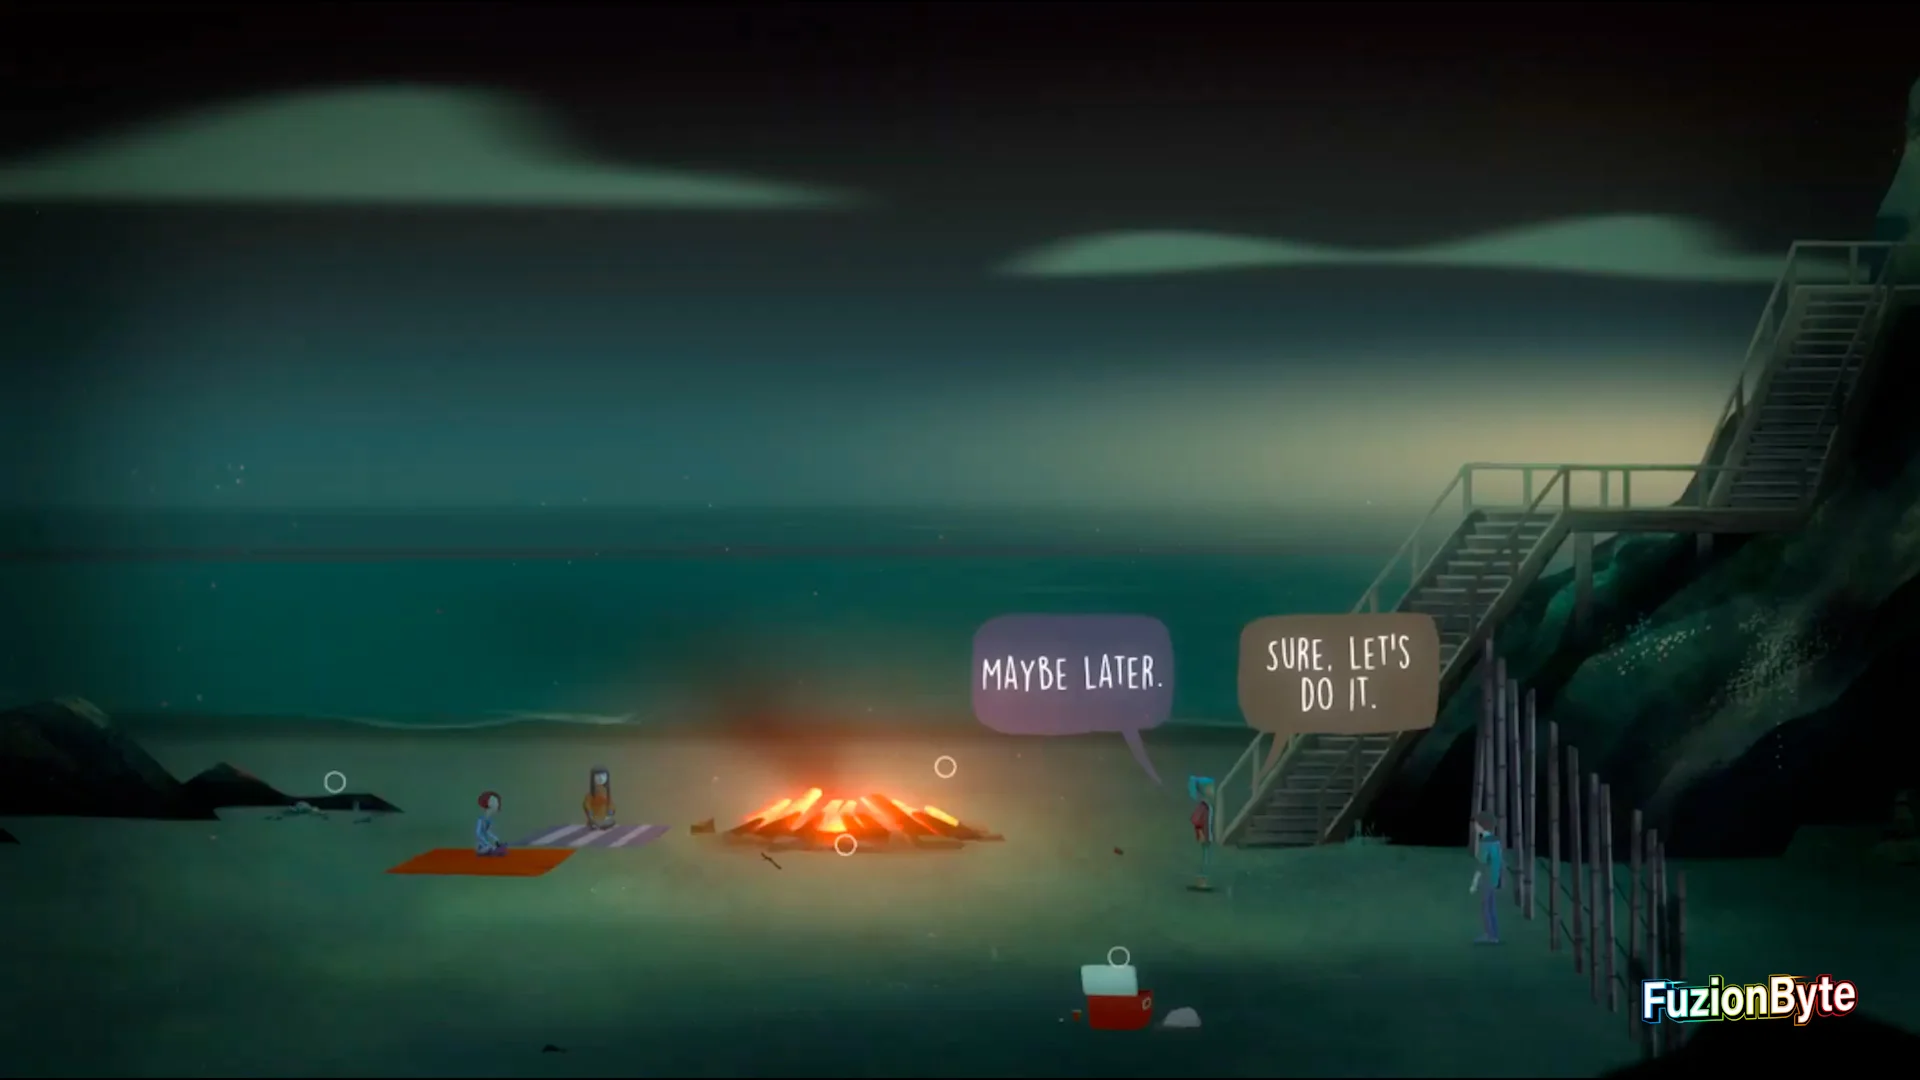
Important Choice.
After the game of Truth or Slap, you, Ren, and Jonas will plan to jump a fence into the cave. Select the “Maybe Later” dialogue option when talking to Jonas by the fence.
Step 4
Important Choice.
Walk over to Nona sitting on the towel and press Cross to engage in dialogue. Select “So… About Ren…” and none of the other selections matter.

Step 5
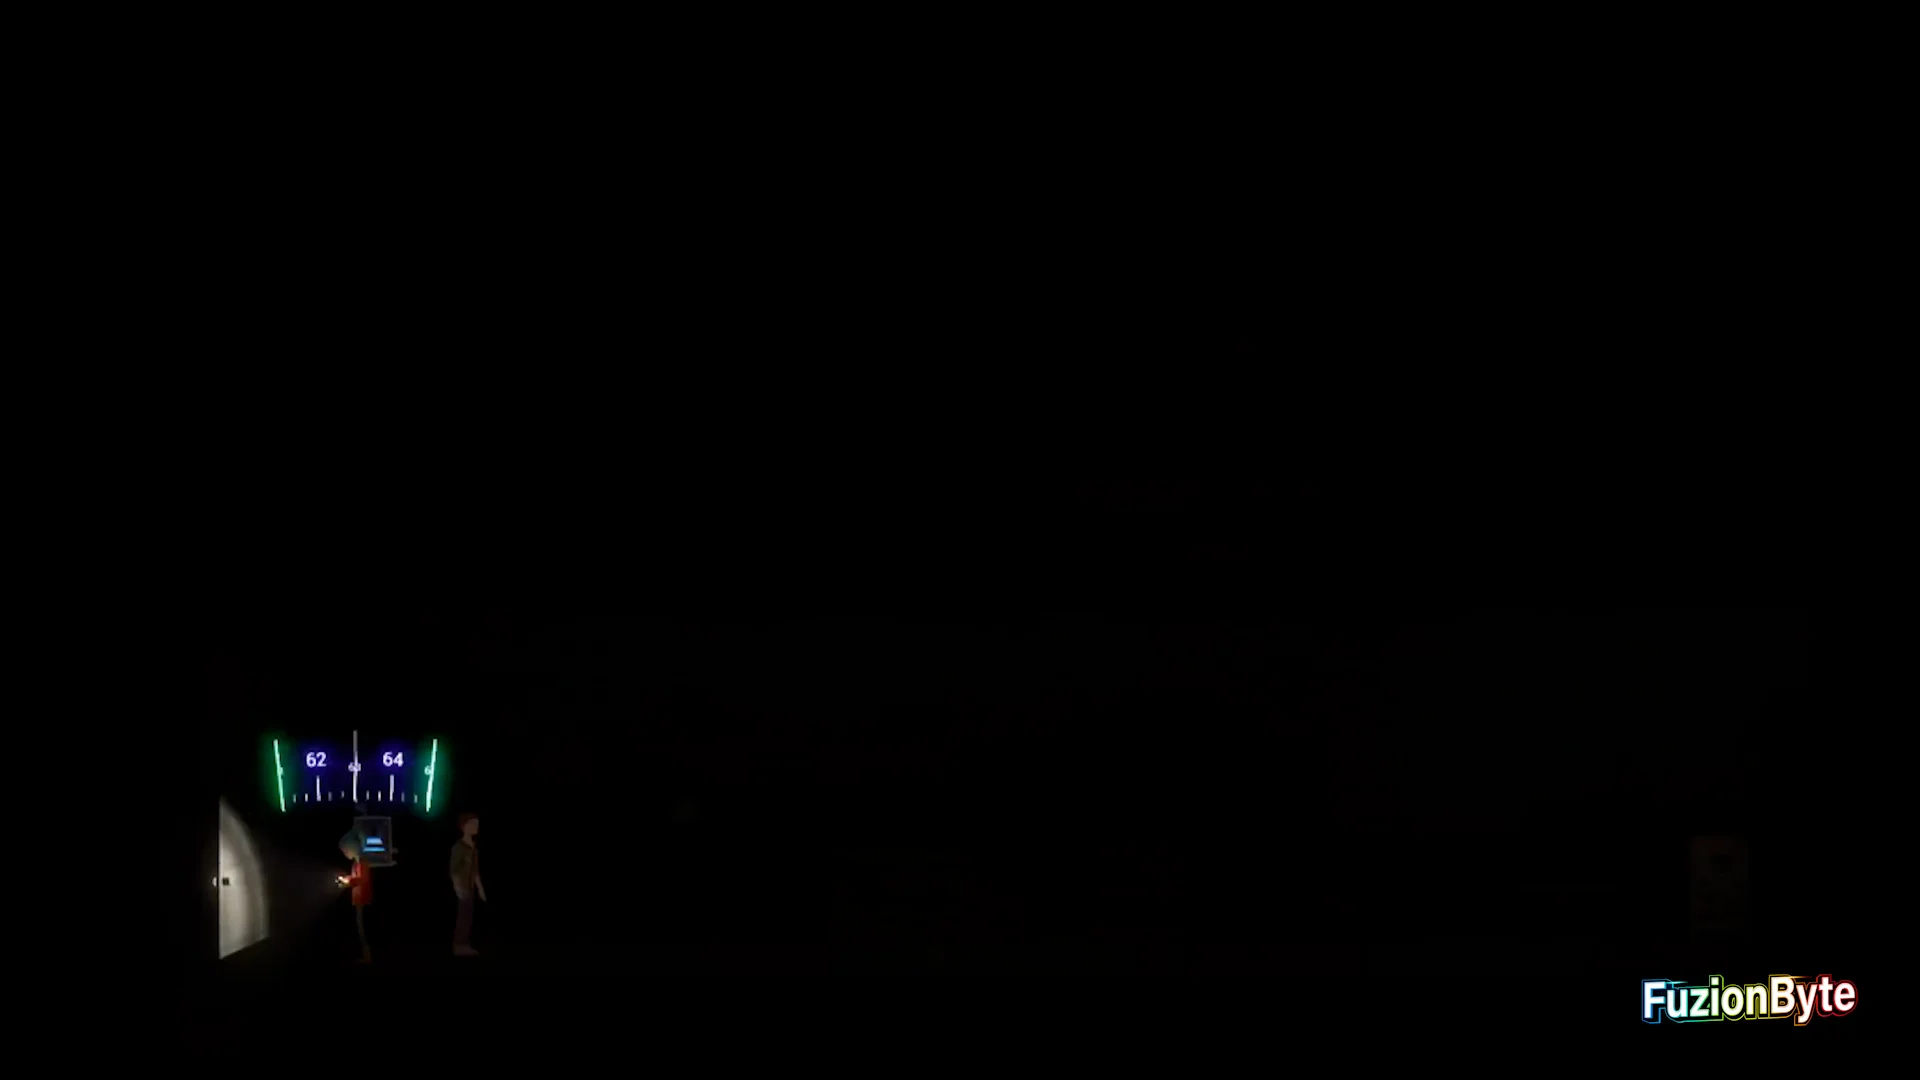
Walk over to Jonas waiting at the fence and make your way through the caves. None of the dialogue options matter while in the caves.

Step 6
Once you reach the end of the cave, tune into frequency 89 on your radio. This will cause the triangle to grow. Then tune into 93 and 91 to complete the triangle. Choose whichever dialogue options you wish and you will eventually be transported outside the cave.

Step 7
Important Choice.
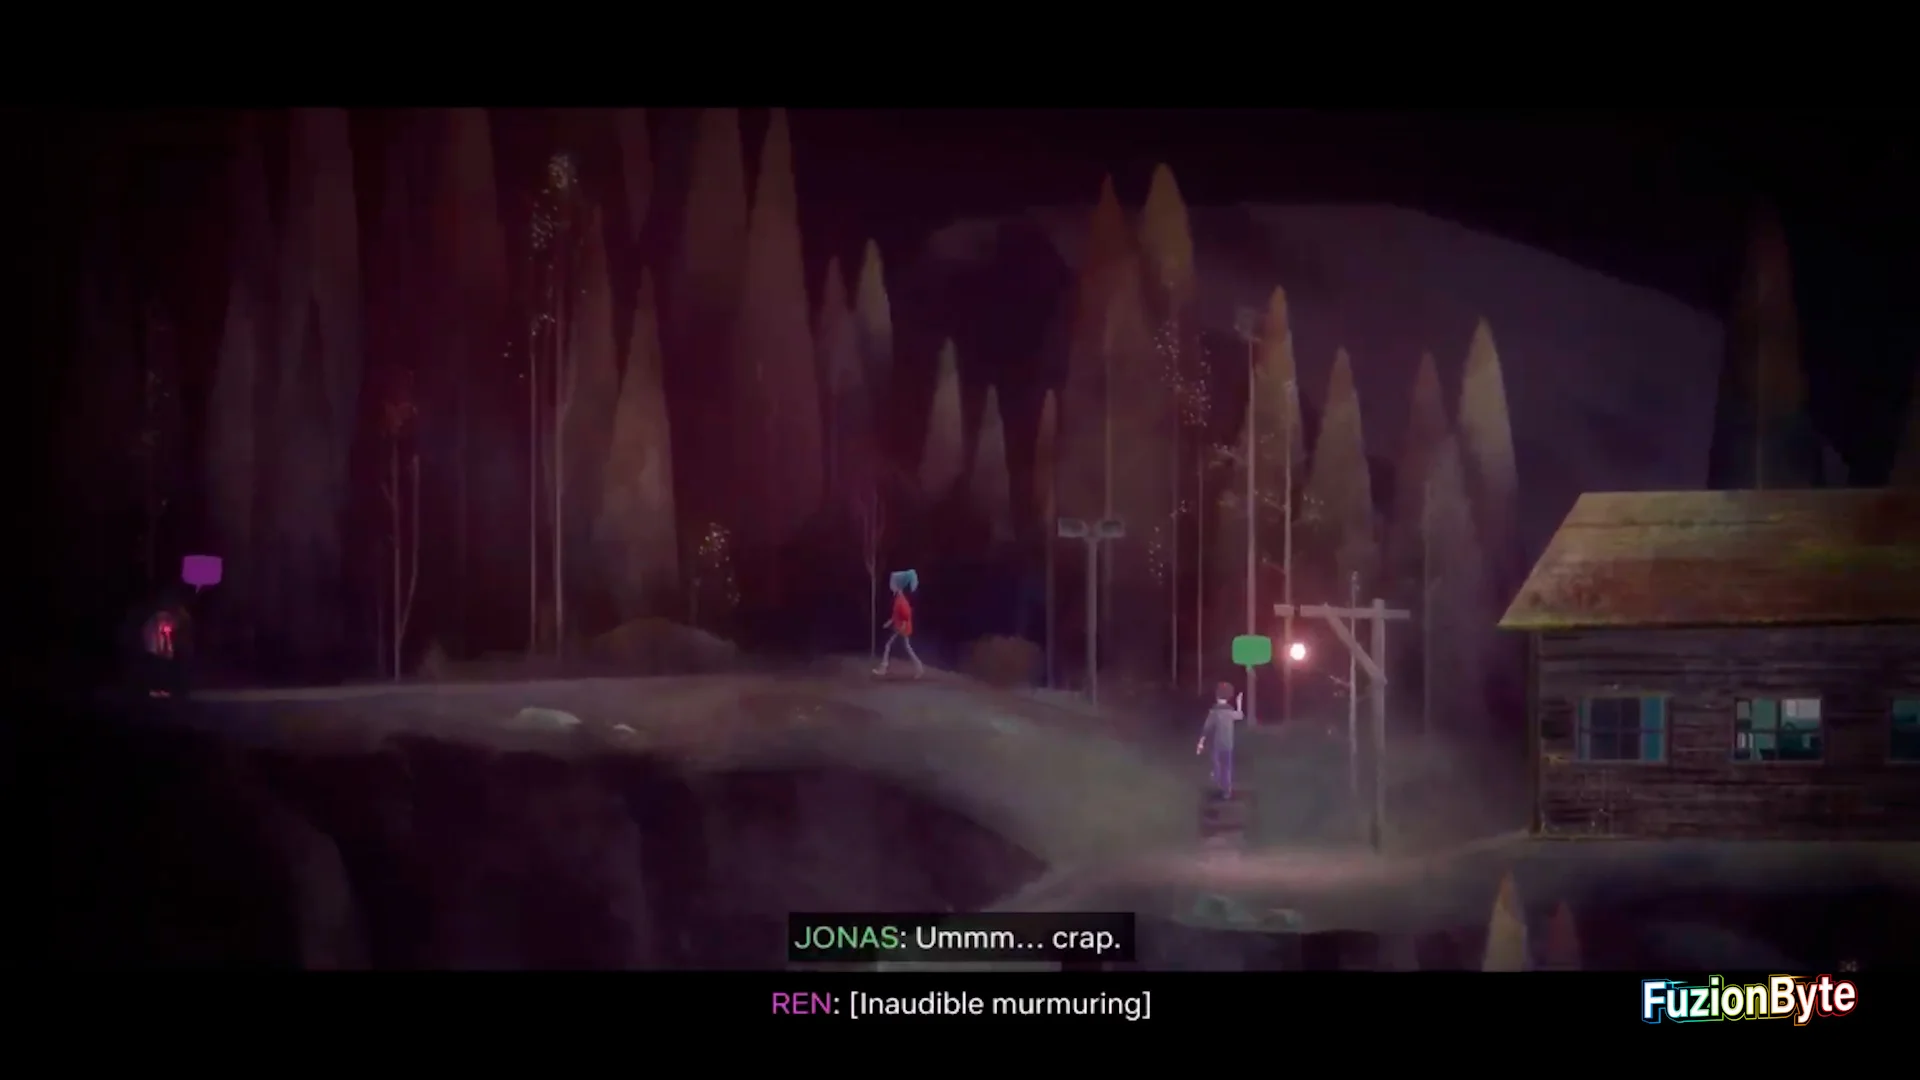
Walk to the top of the communications tower with Jonas and get inside. Interact with the phone on the desk and you will call Ren. When the other caller (Clarissa) attempts to call, ignore her calls and continue to stay on the line with Ren. You will now need to go save Ren. Make your way down the tower and towards Towhee Woods to the left. Check your map with L1.

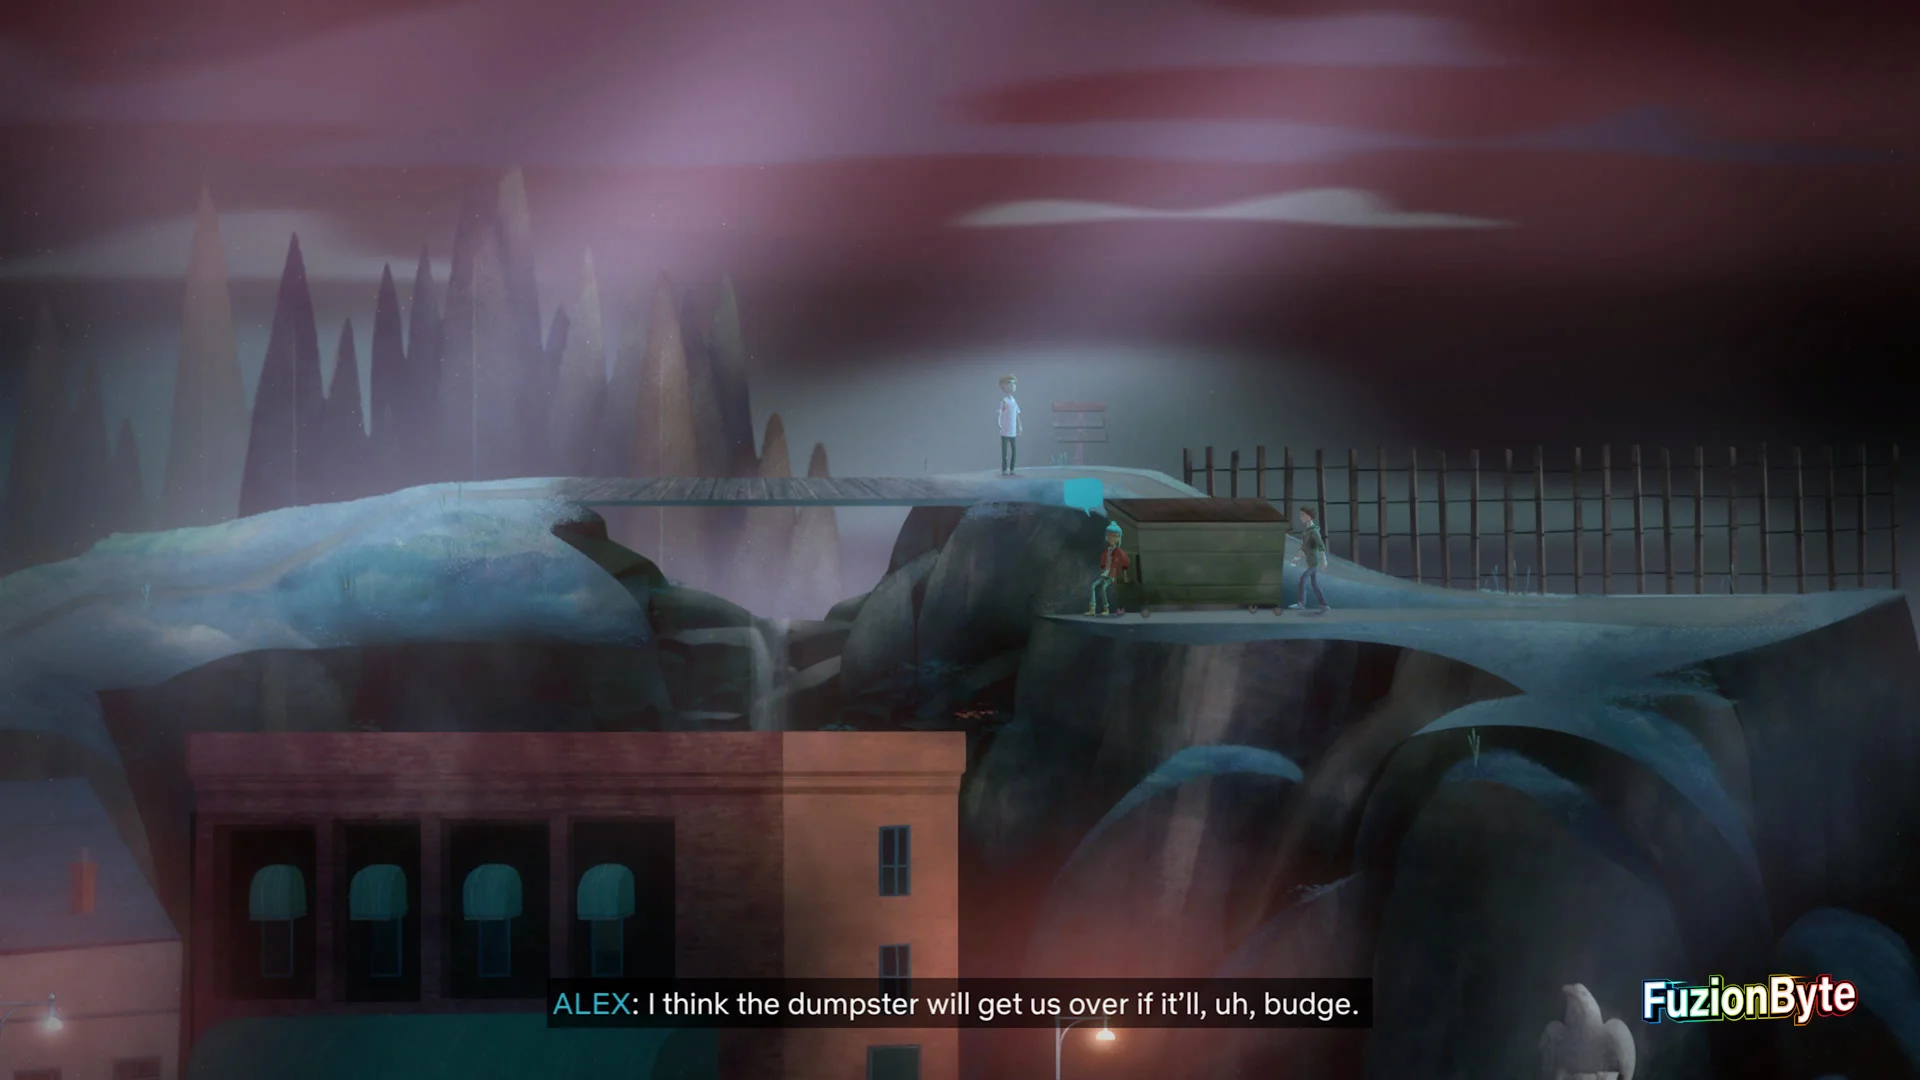
Step 8
While in Towhee Woods, jump across the gap in the woods (pictured) with Cross to unlock It’s A Me. Continue making your way towards Ren.

Step 9
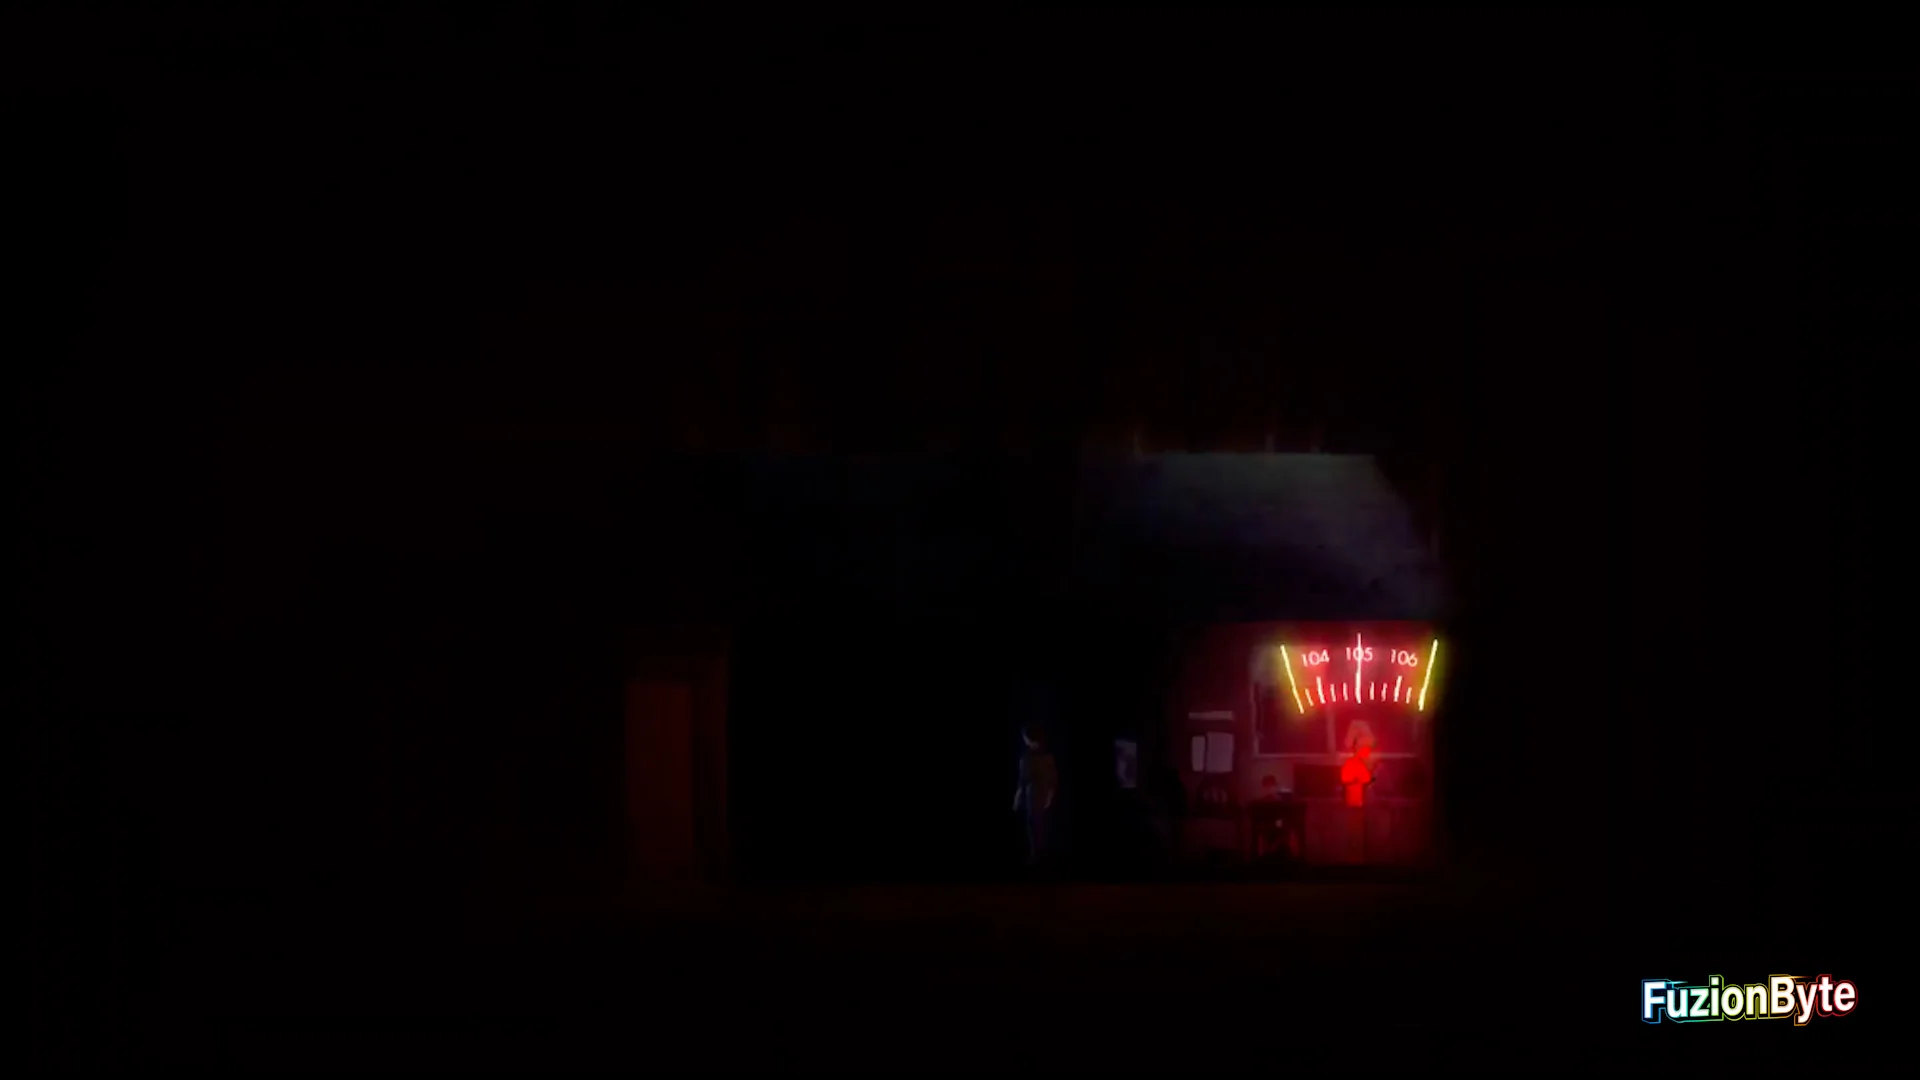
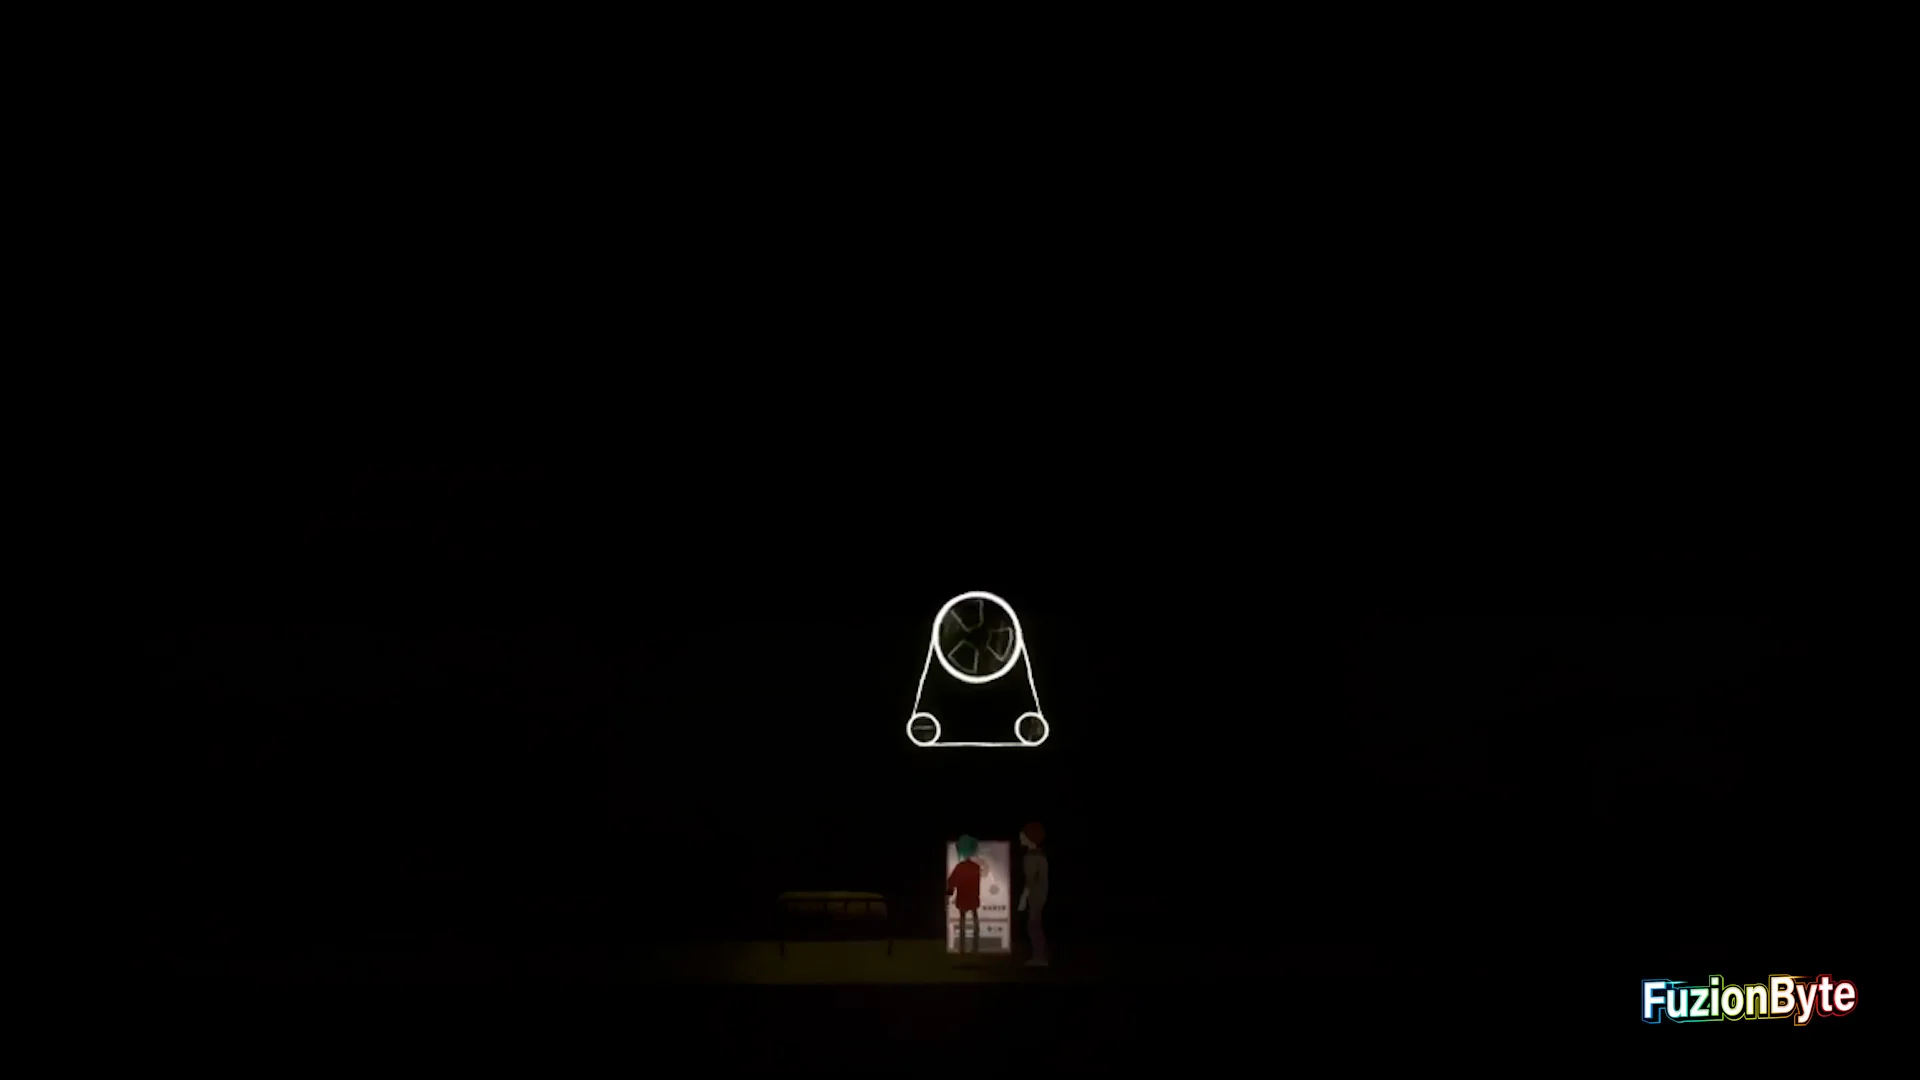
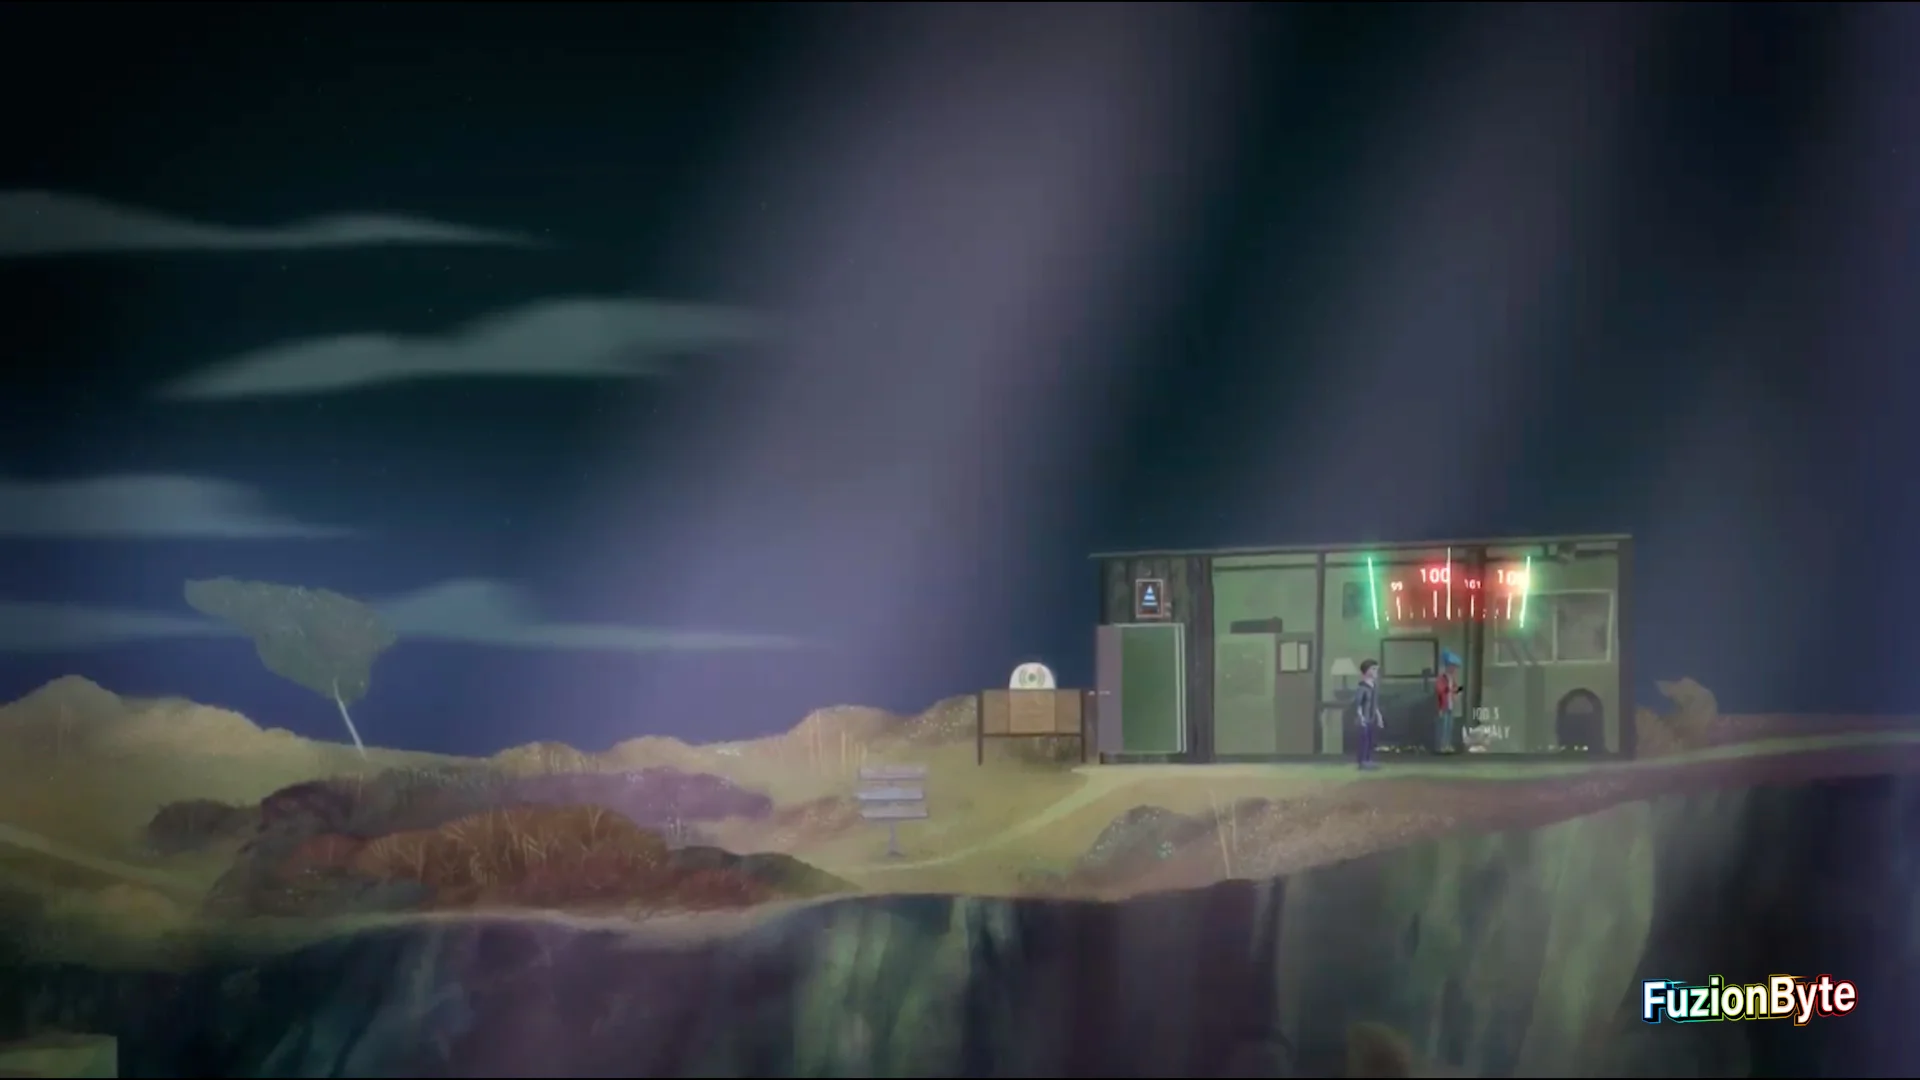
While in the power generator room after Towhee Woods, you will become locked inside. Pull out your radio and select frequency 105. Continue making your way towards Ren, across the cable line.
Step 10
While you are stuck in your first time loop, keep walking all the way to the left and more things will start appearing. Eventually a Tape Player will appear next to the tent (pictured). Go up to it and spin it to break out of the loop. Continue making your way towards Ren.

Step 11
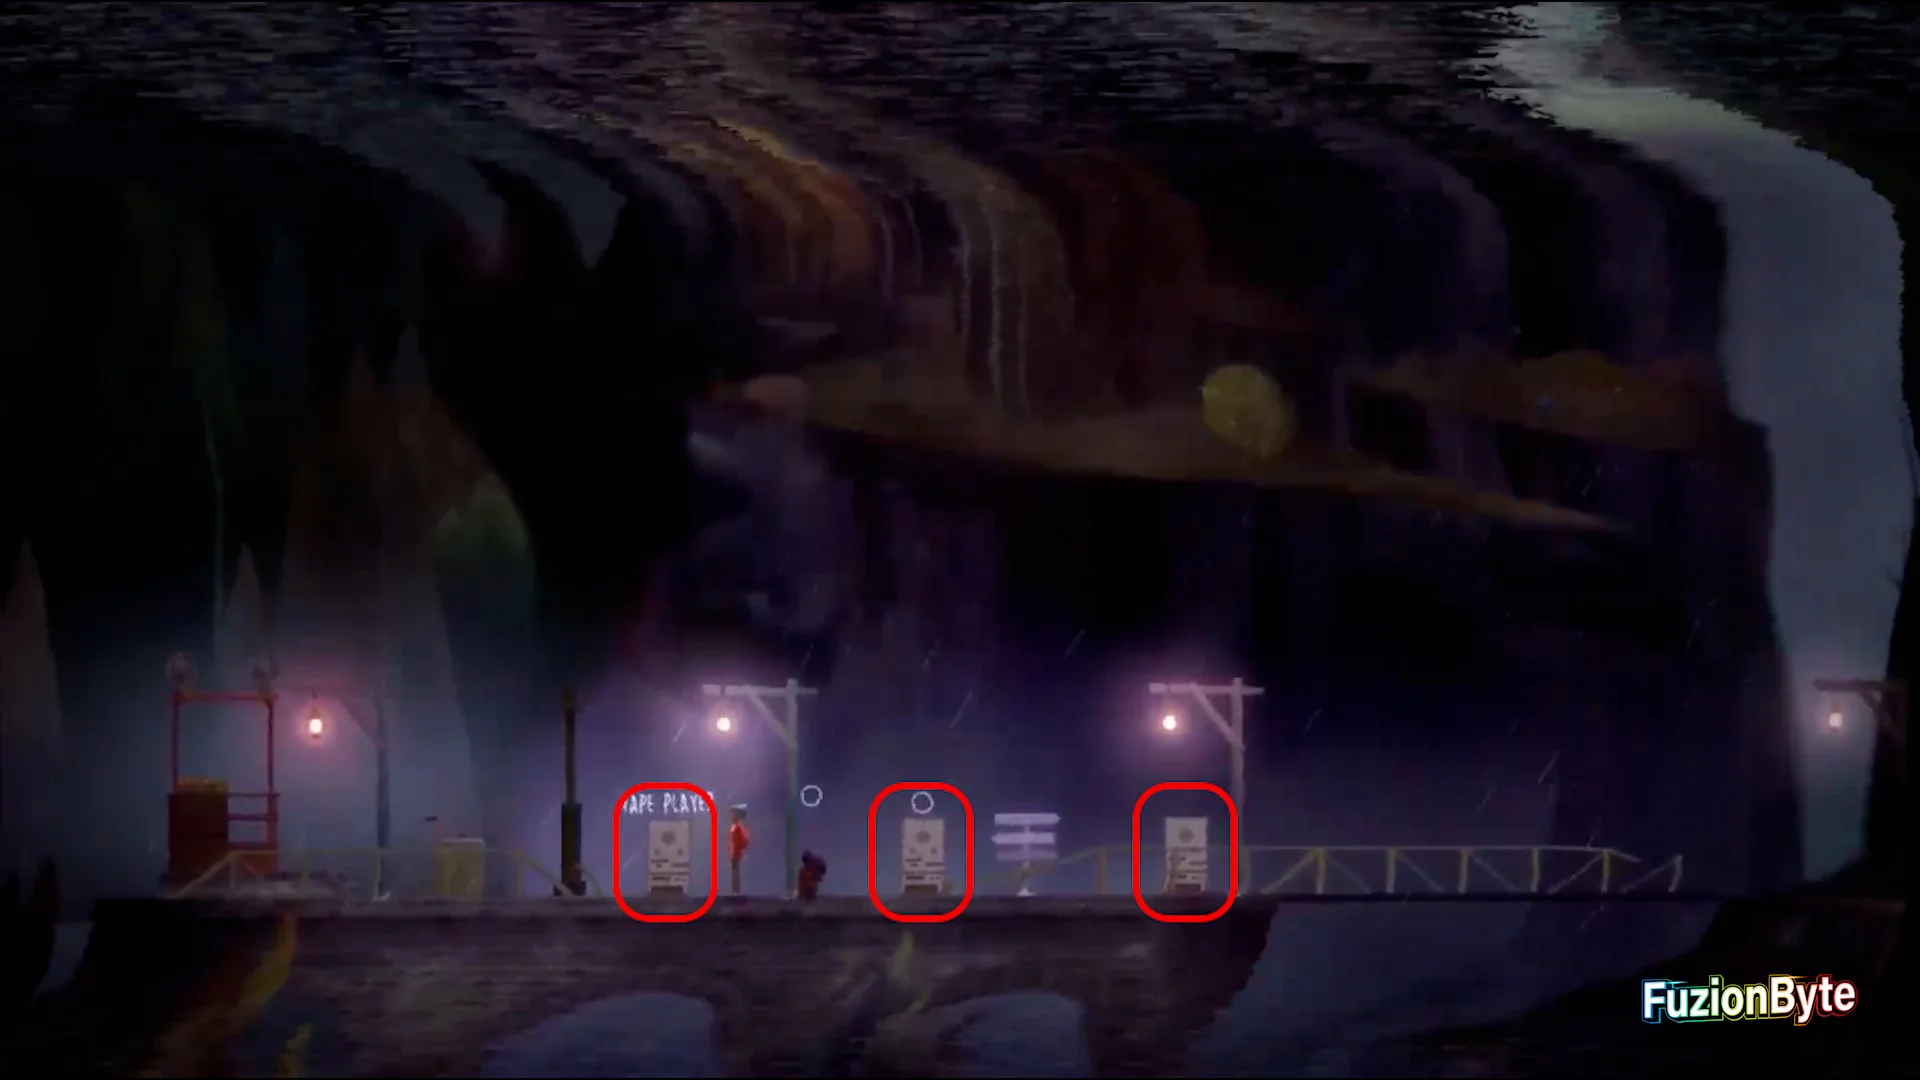
Once you find Ren, you will enter a short loop and he will become possessed. Follow him and he will walk near two Tape Recorders. Complete them both and Ren will teleport away.

Step 12
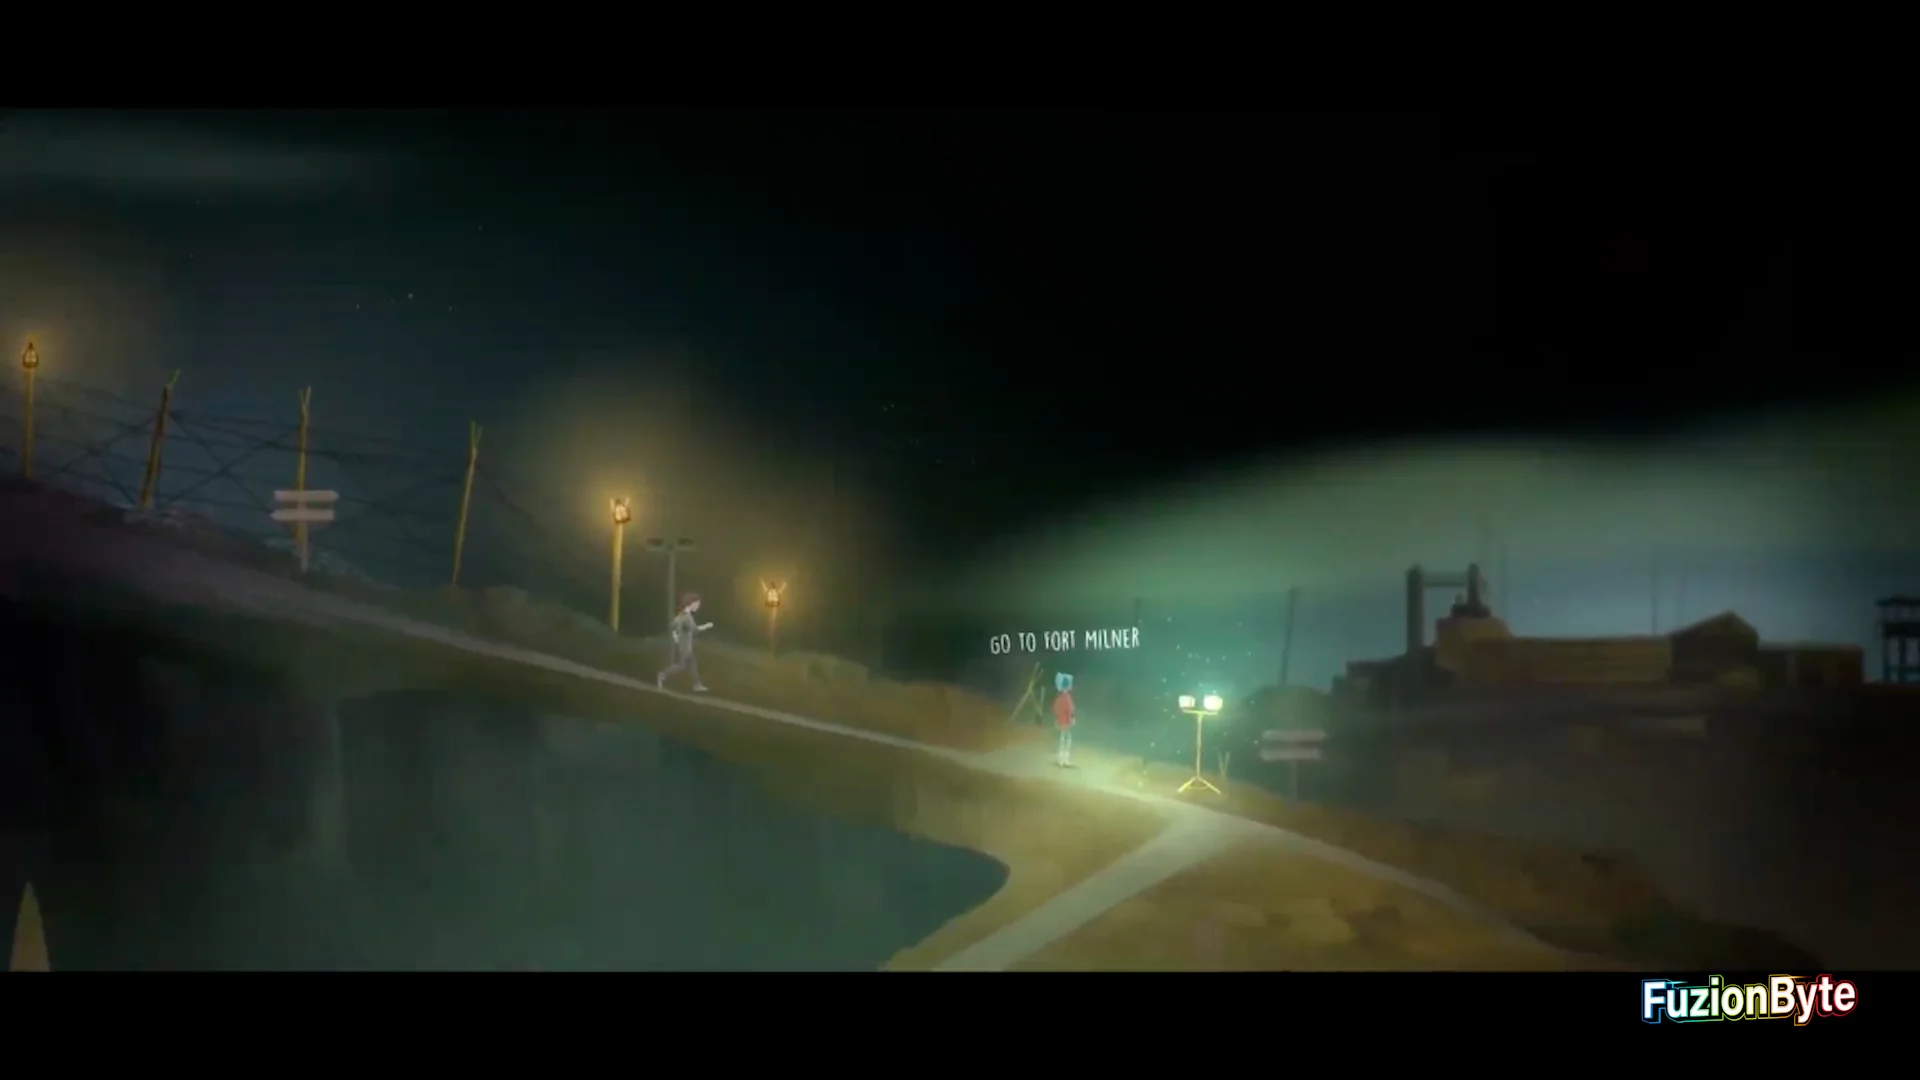
Walk towards Ren, who teleported to the left side of the Relay Point. Tune your radio to frequency 98, 105, and 99 to complete the triangle. Ren will eventually come back. Now you will need to go retrieve Clarissa, she is in Fort Milner.
Step 13
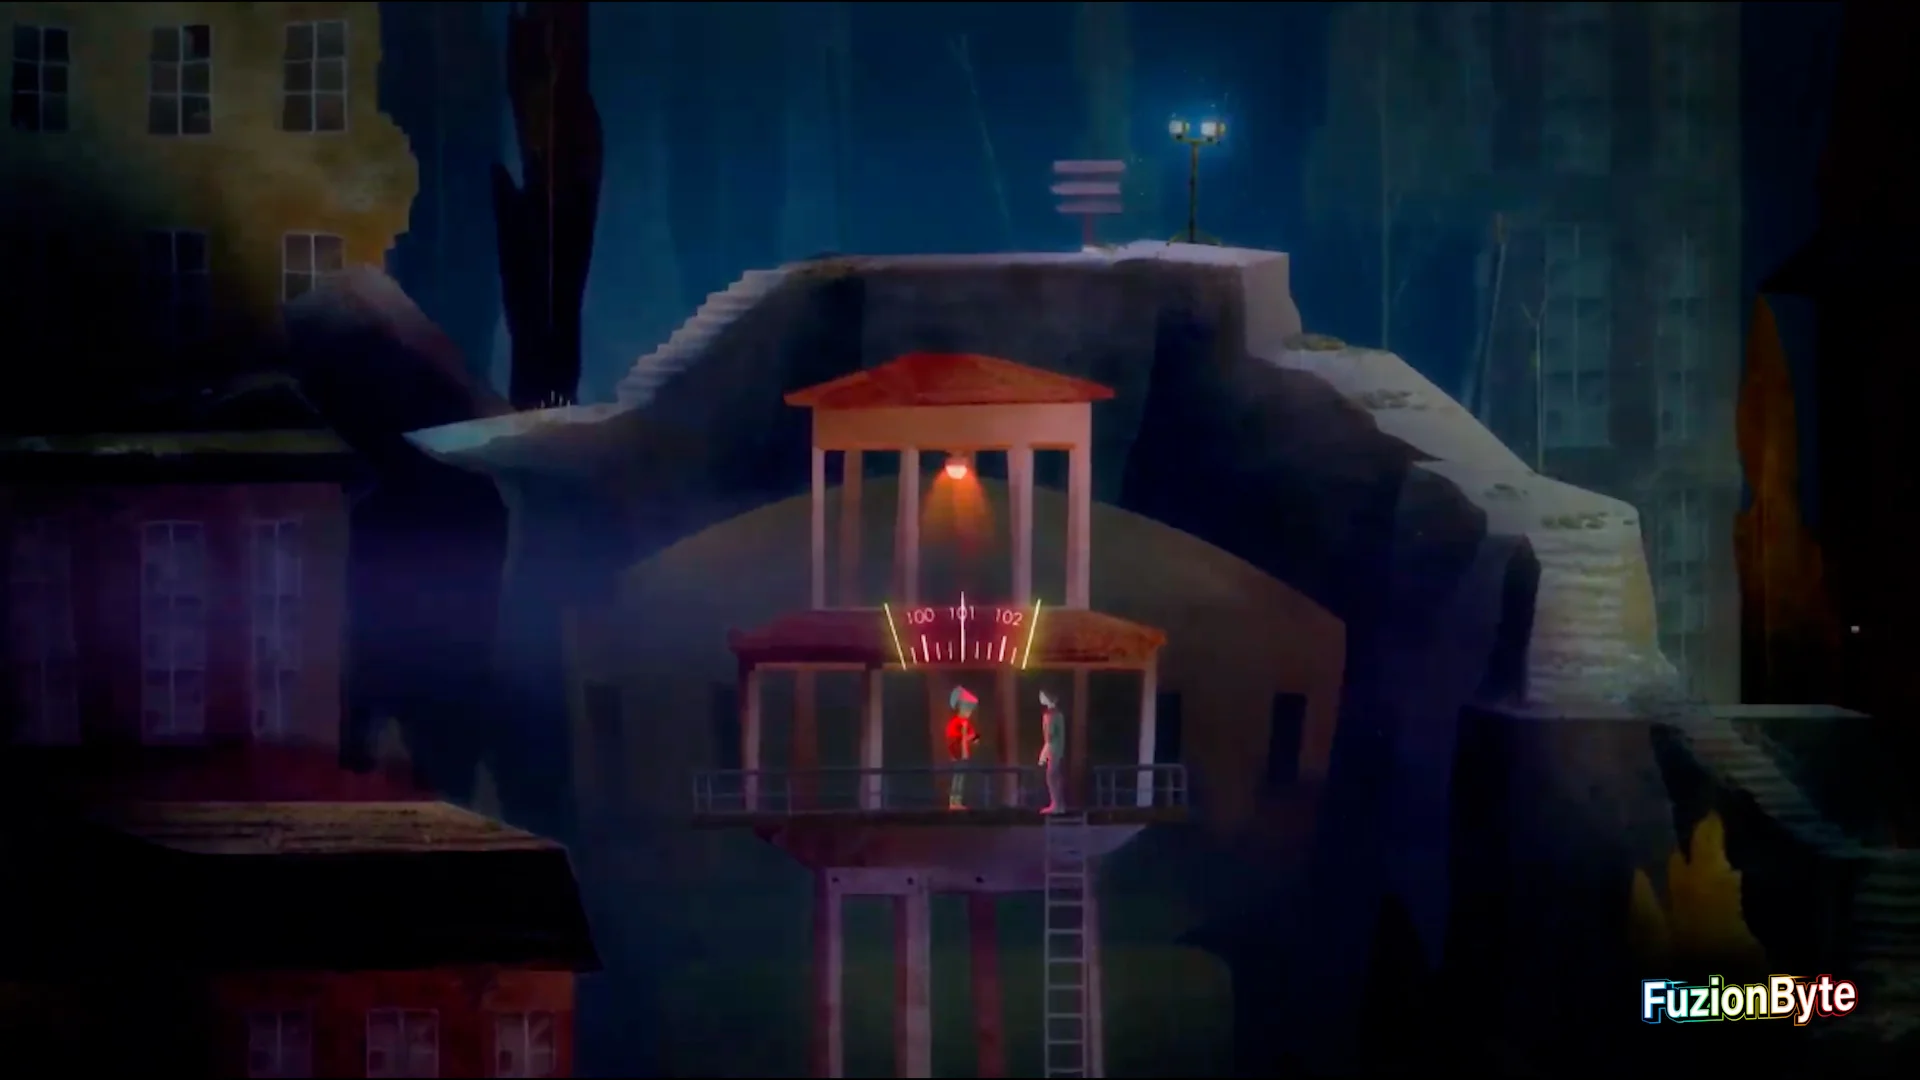
While at Milner Outpost, to open the closed door, go to the top of the tower and tune into frequency 101.
Step 14
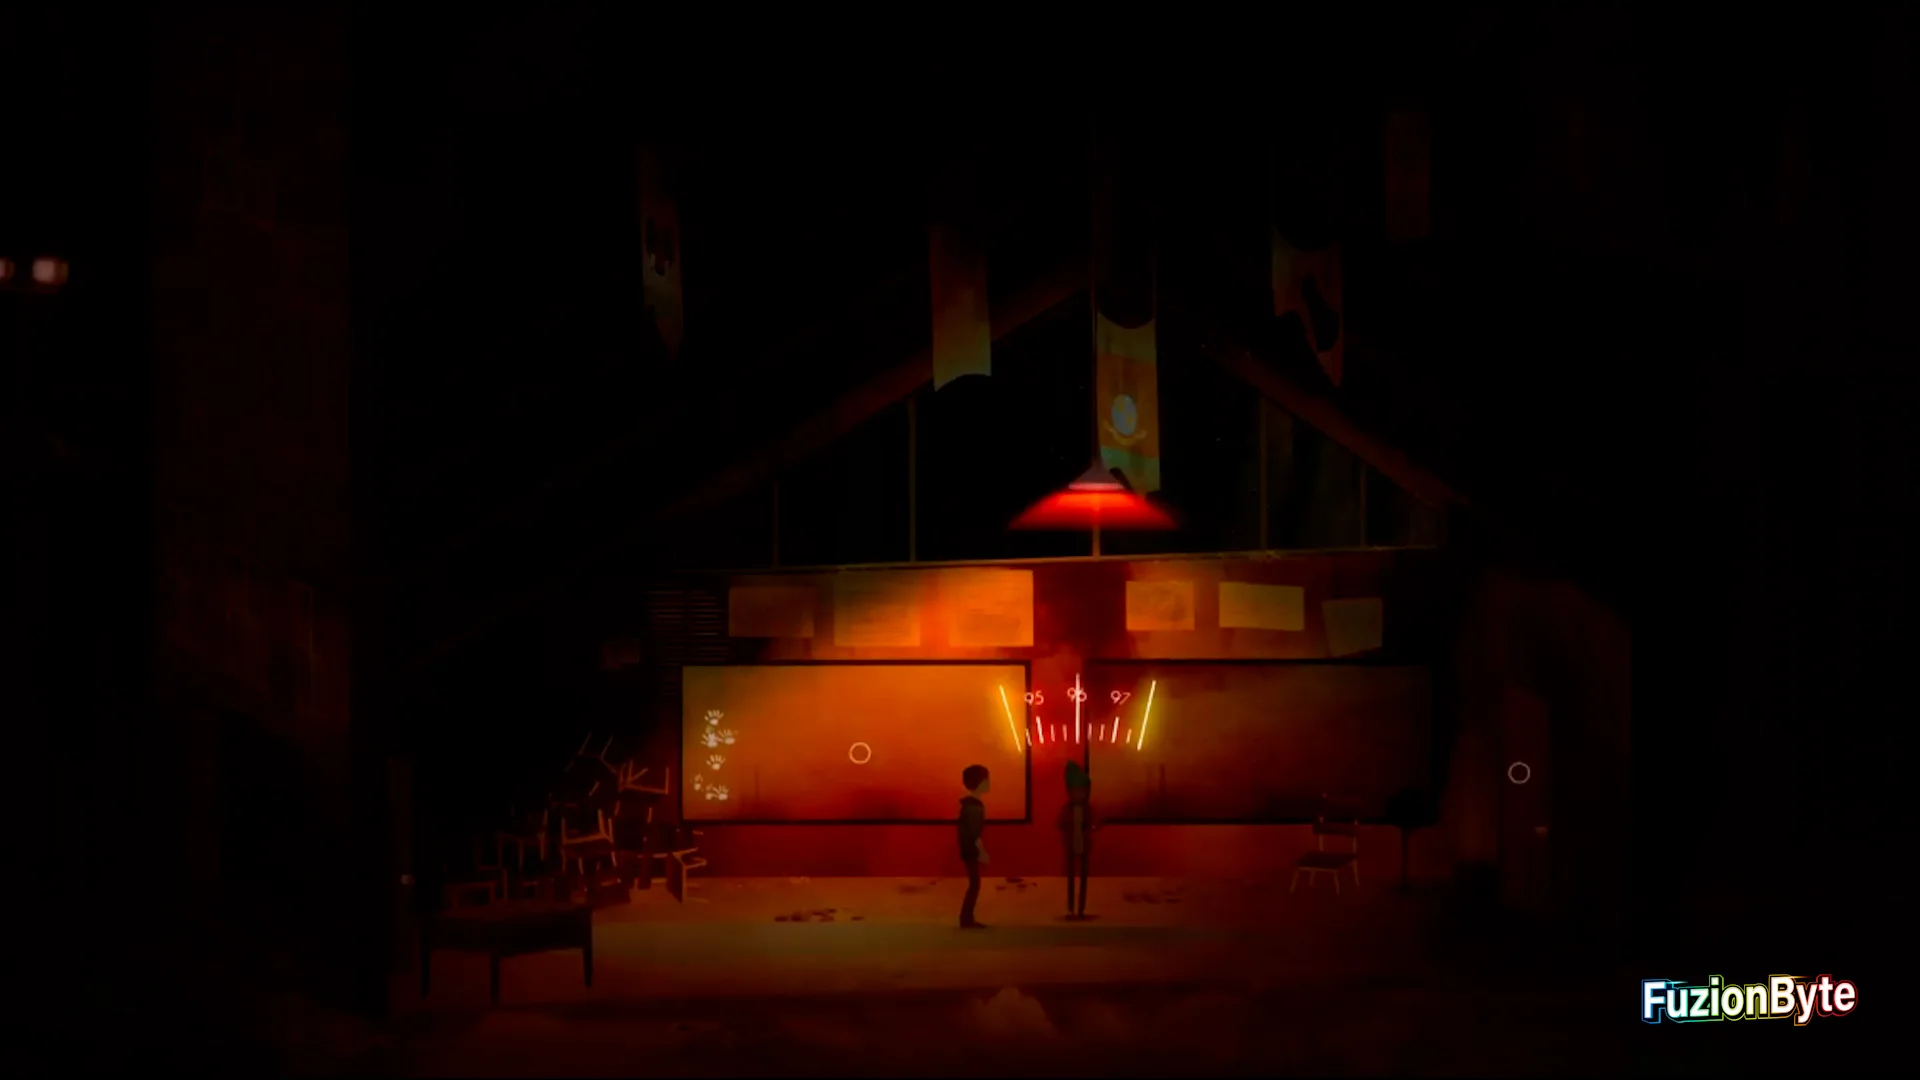
While inside Fort Milner, you will come across a classroom that Clarissa ran into, that has a red light. Tune into frequency 96 to continue.
Step 15
After the quiz inside the classroom, tune into frequency 106, 92, and 104 to complete the triangle.

Step 16
After Clarissa jumps out the window, go back to the communications tower when instructed.

Step 17
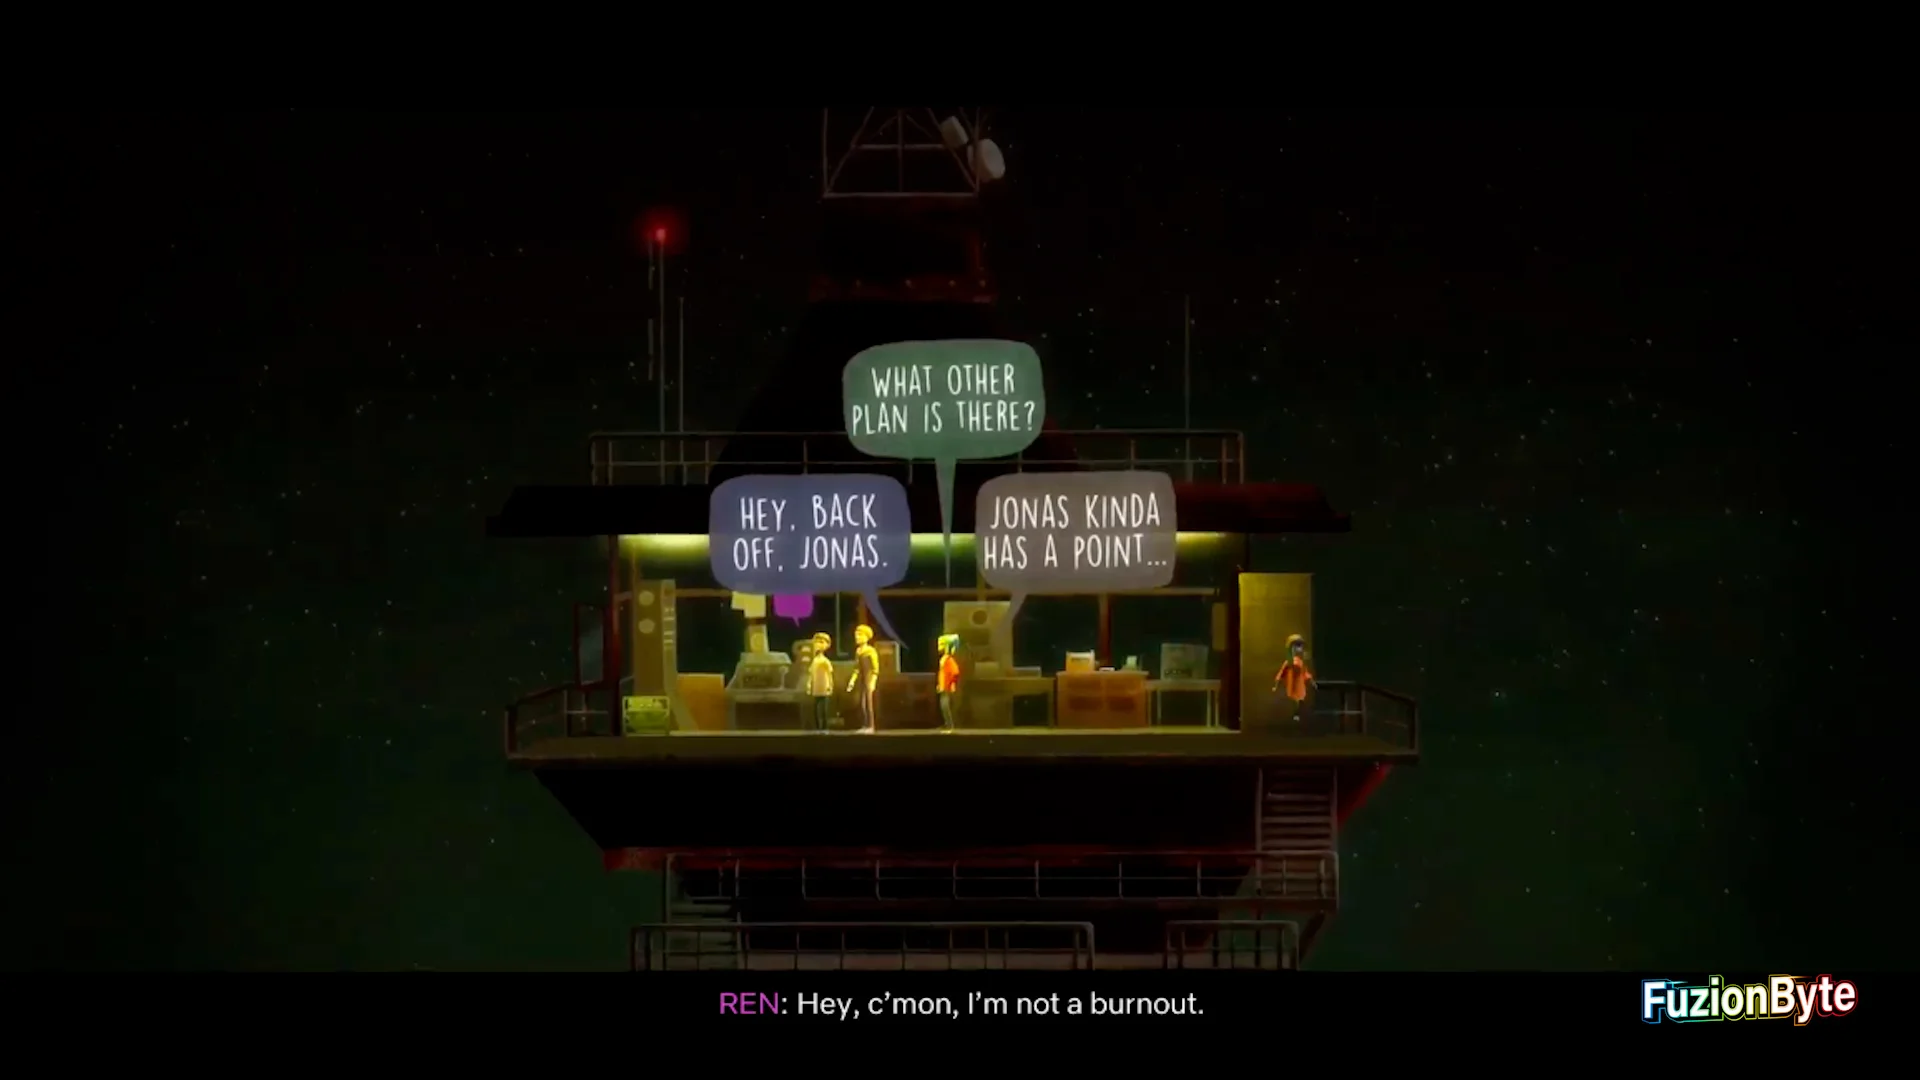
Important Choice.
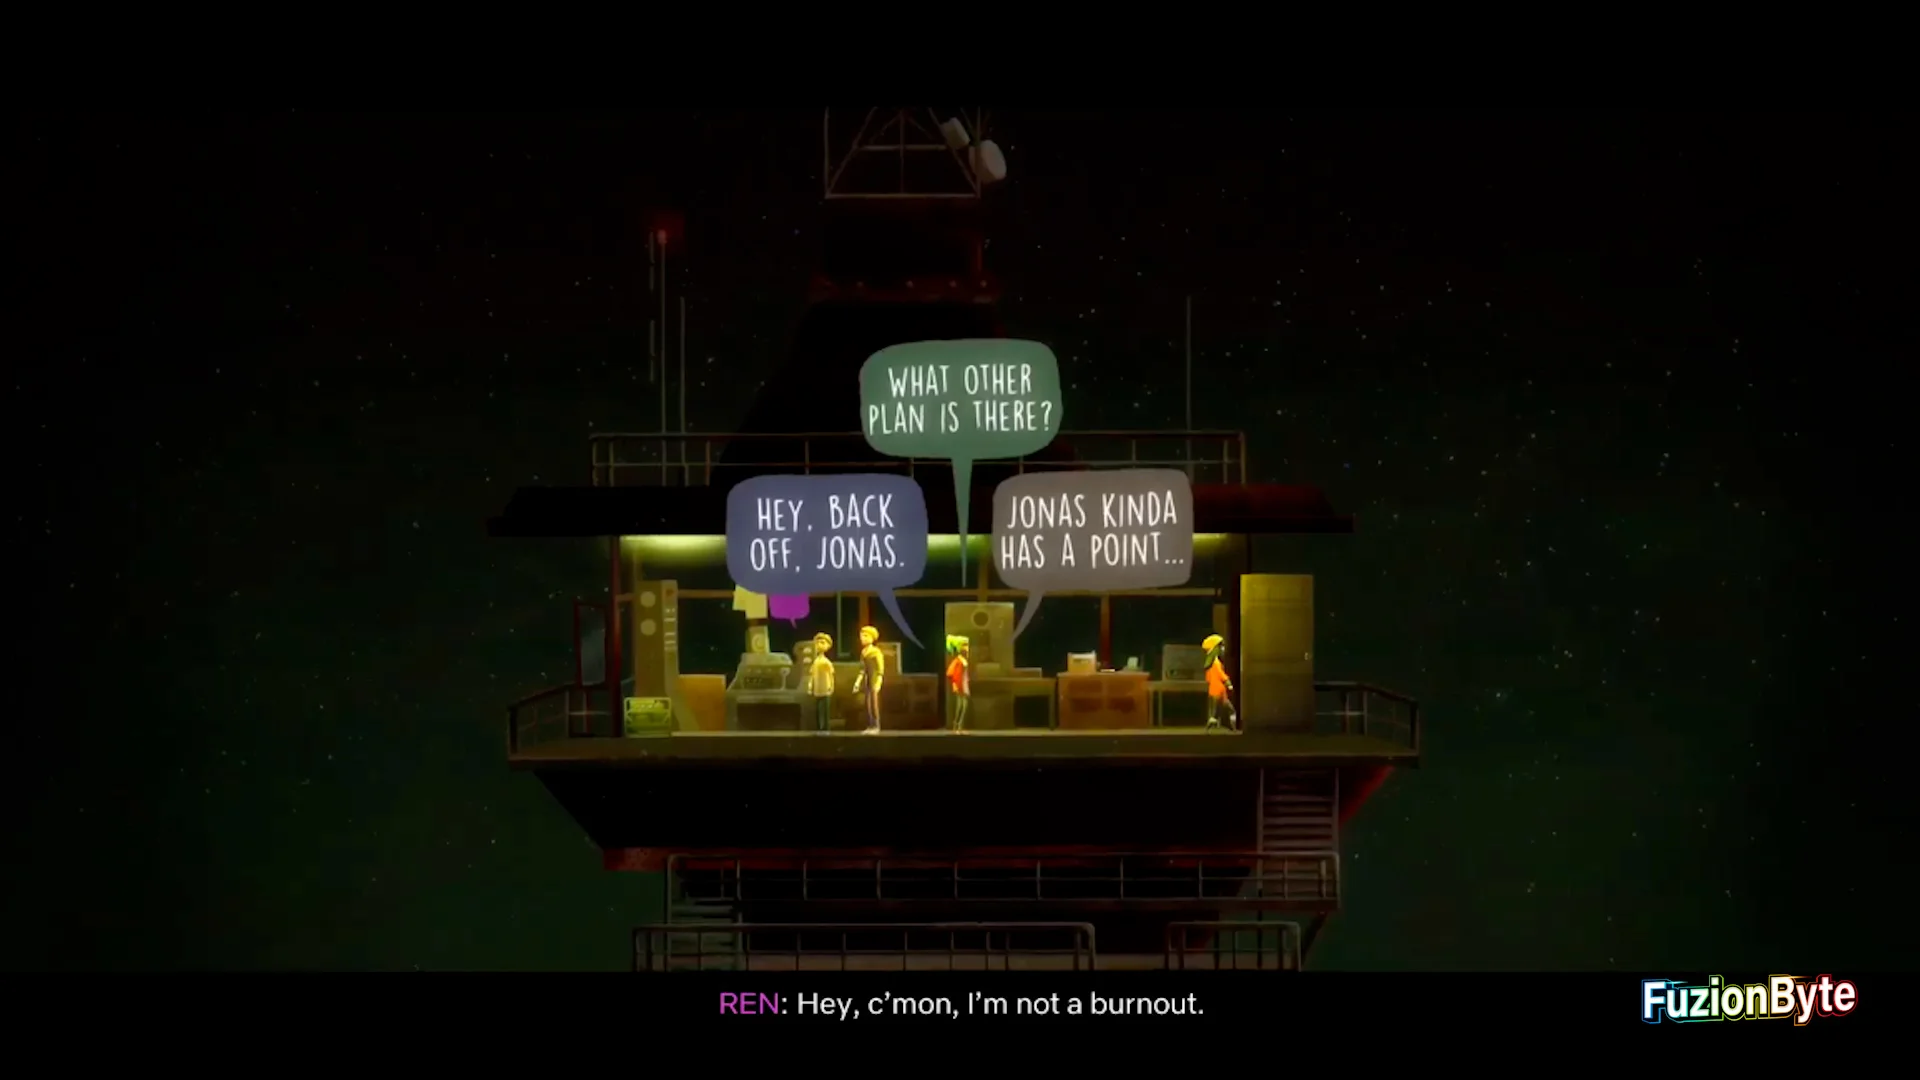
When you get to the communication tower, Ren and Jonas will start arguing and you will have a chance to speak. You must select “What other plan is there?“, or whichever option you have for Triangle.
Step 18
Important Choice.
During this same argument, Jonas will tell Ren it is his fault. Select “C’mon, it was nobody’s fault.“.

Step 19
Important Choice.
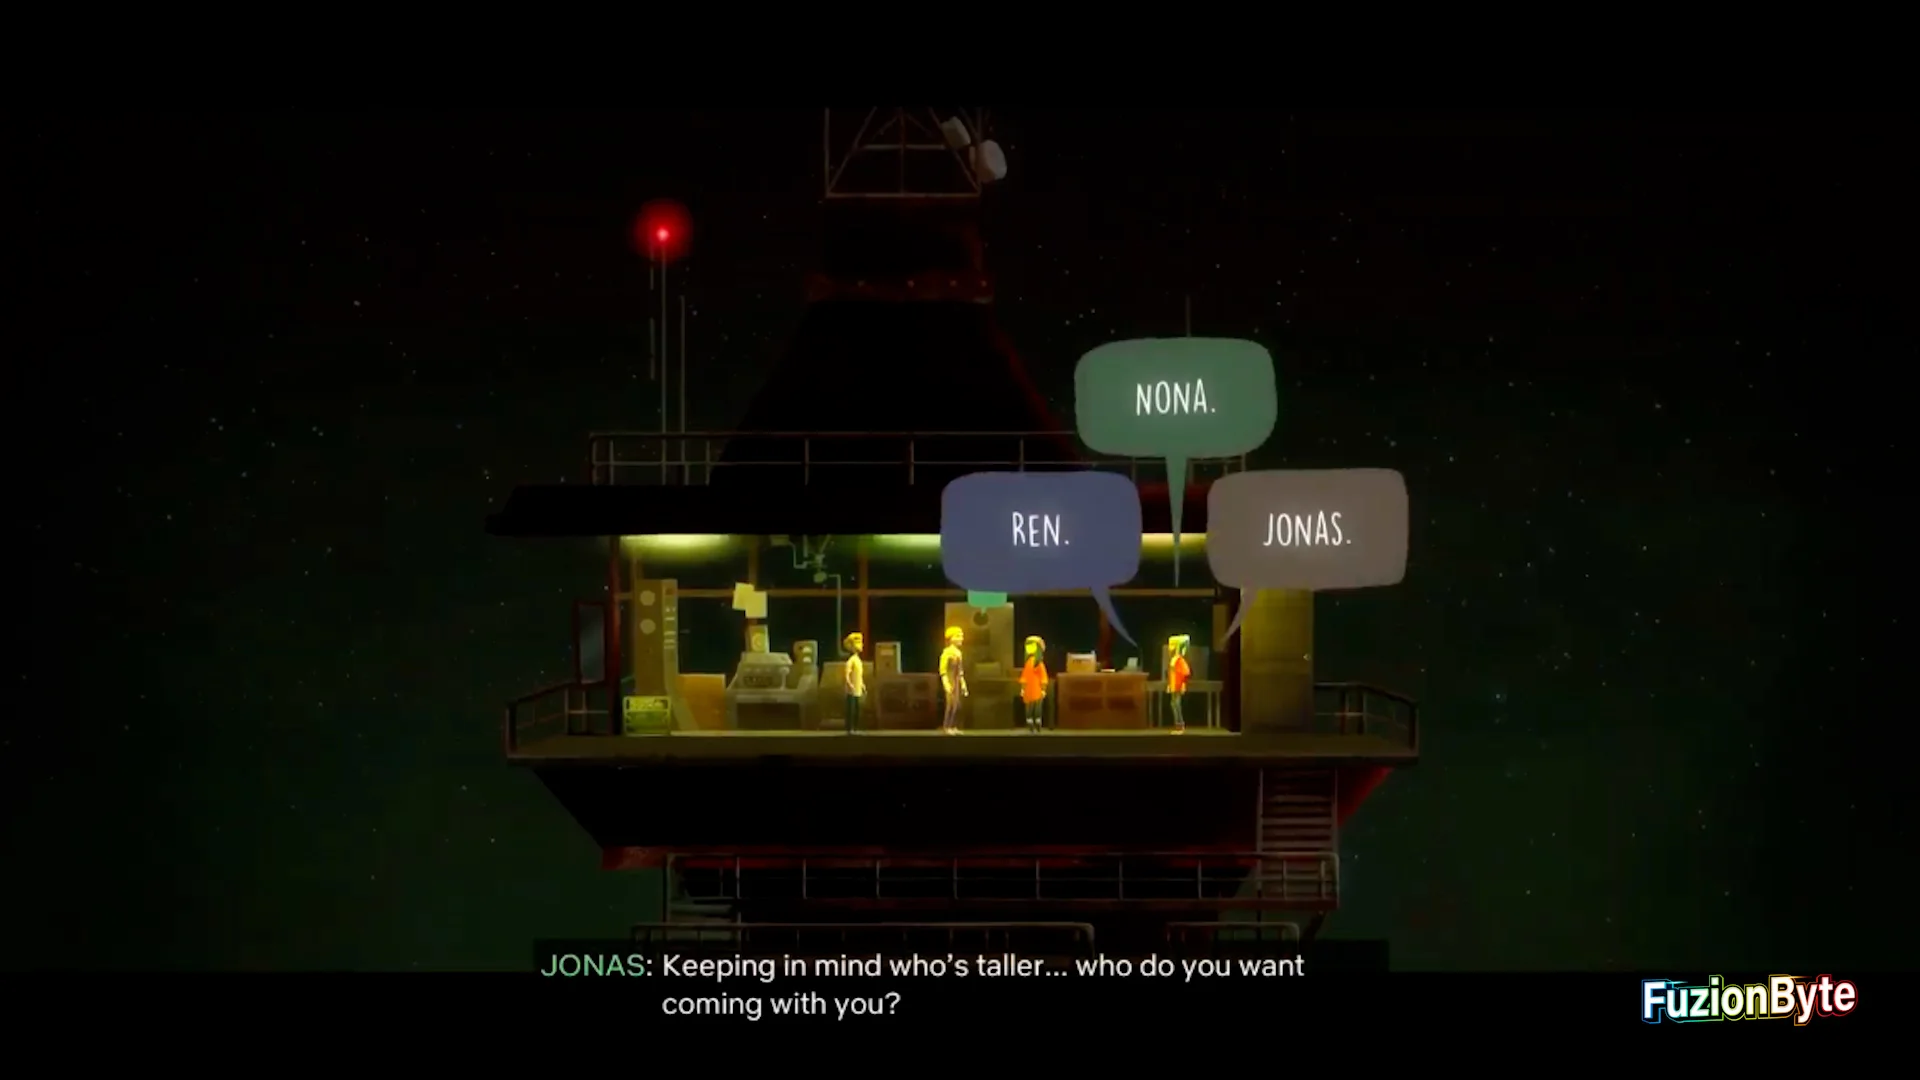
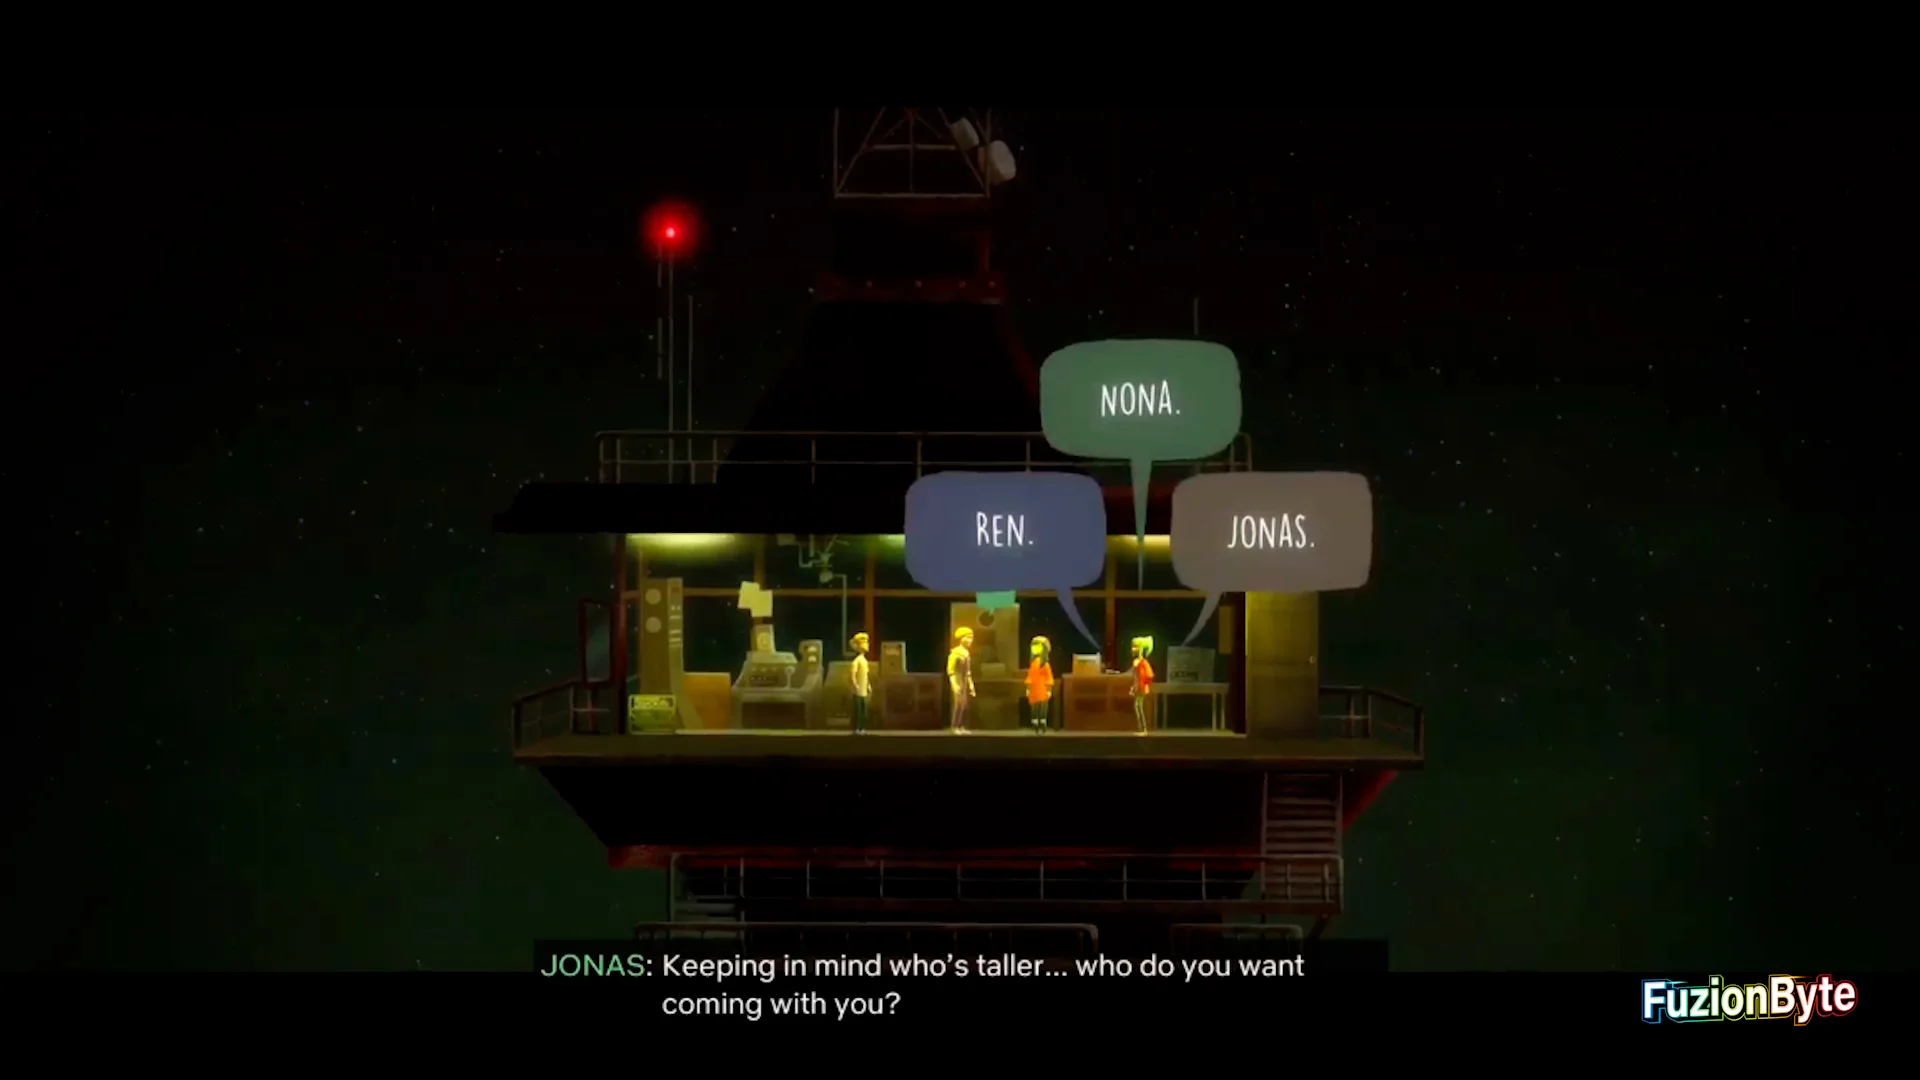
Still in the communications tower, you will have to make a choice between the three people on who will come with you to town. You must select Jonas. This will give Nona and Ren some “alone time”. Now make your way to Main Street to get the gate key.
Step 20
You will come across possessed Clarissa inside the town. Use radio frequency 102 and 91 to continue.
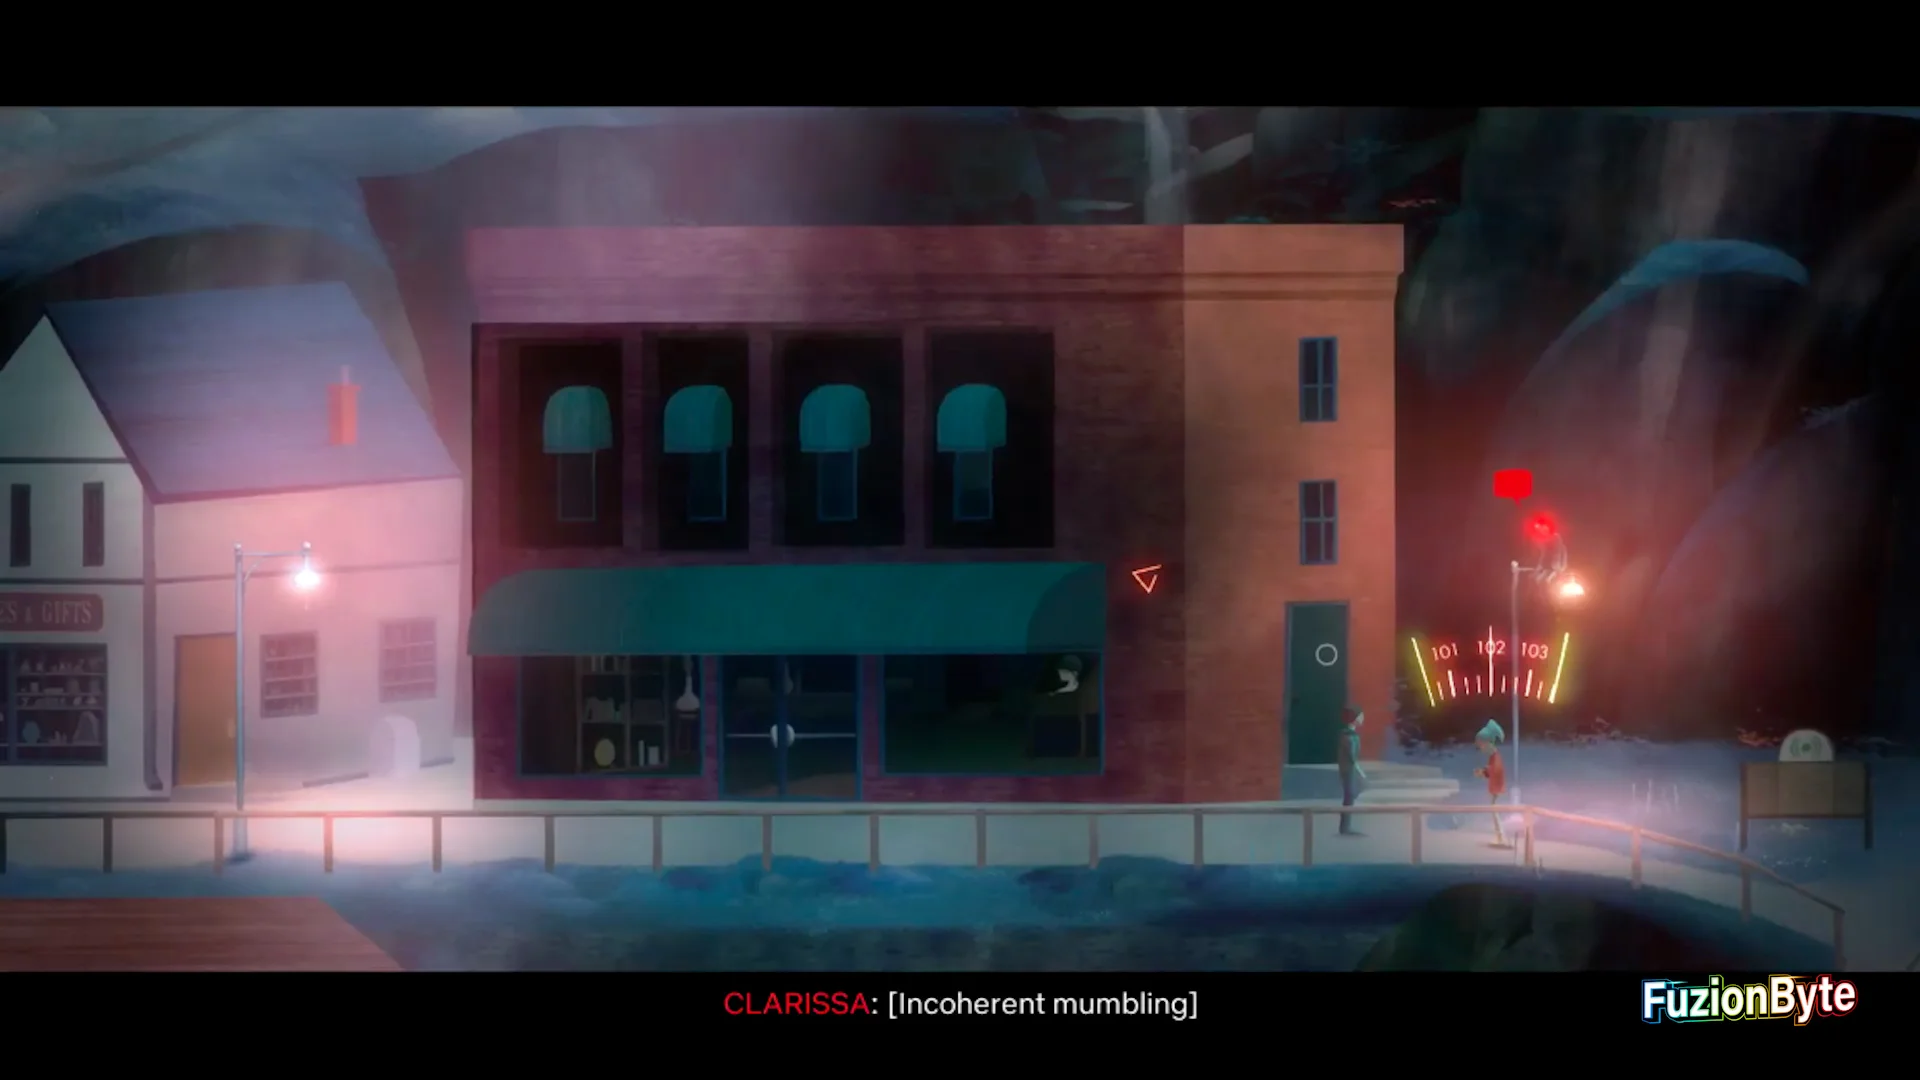
Step 21
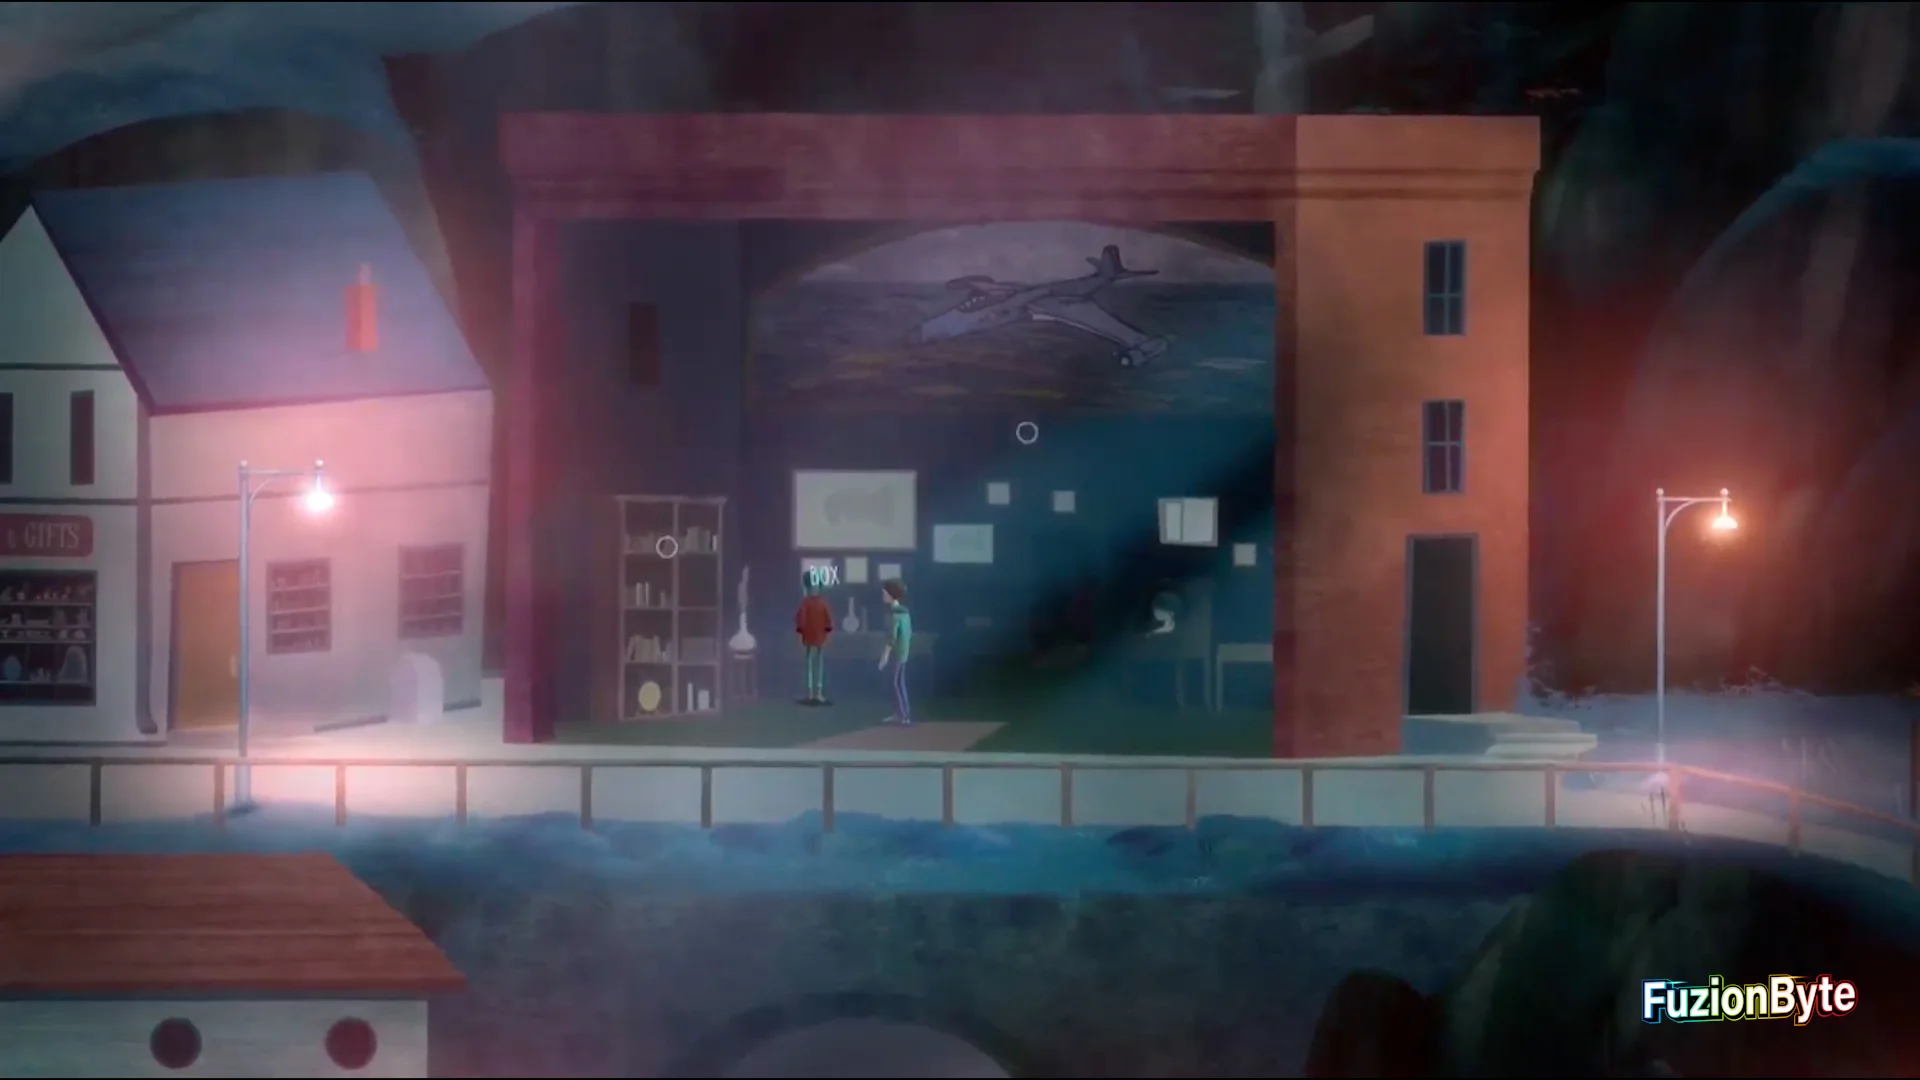
Once inside the store in the town, investigate the box and you will find another pocket radio. This pocket radio will allow you to gather all the collectables in the game, and spawns all the collectables on the island.
Step 22
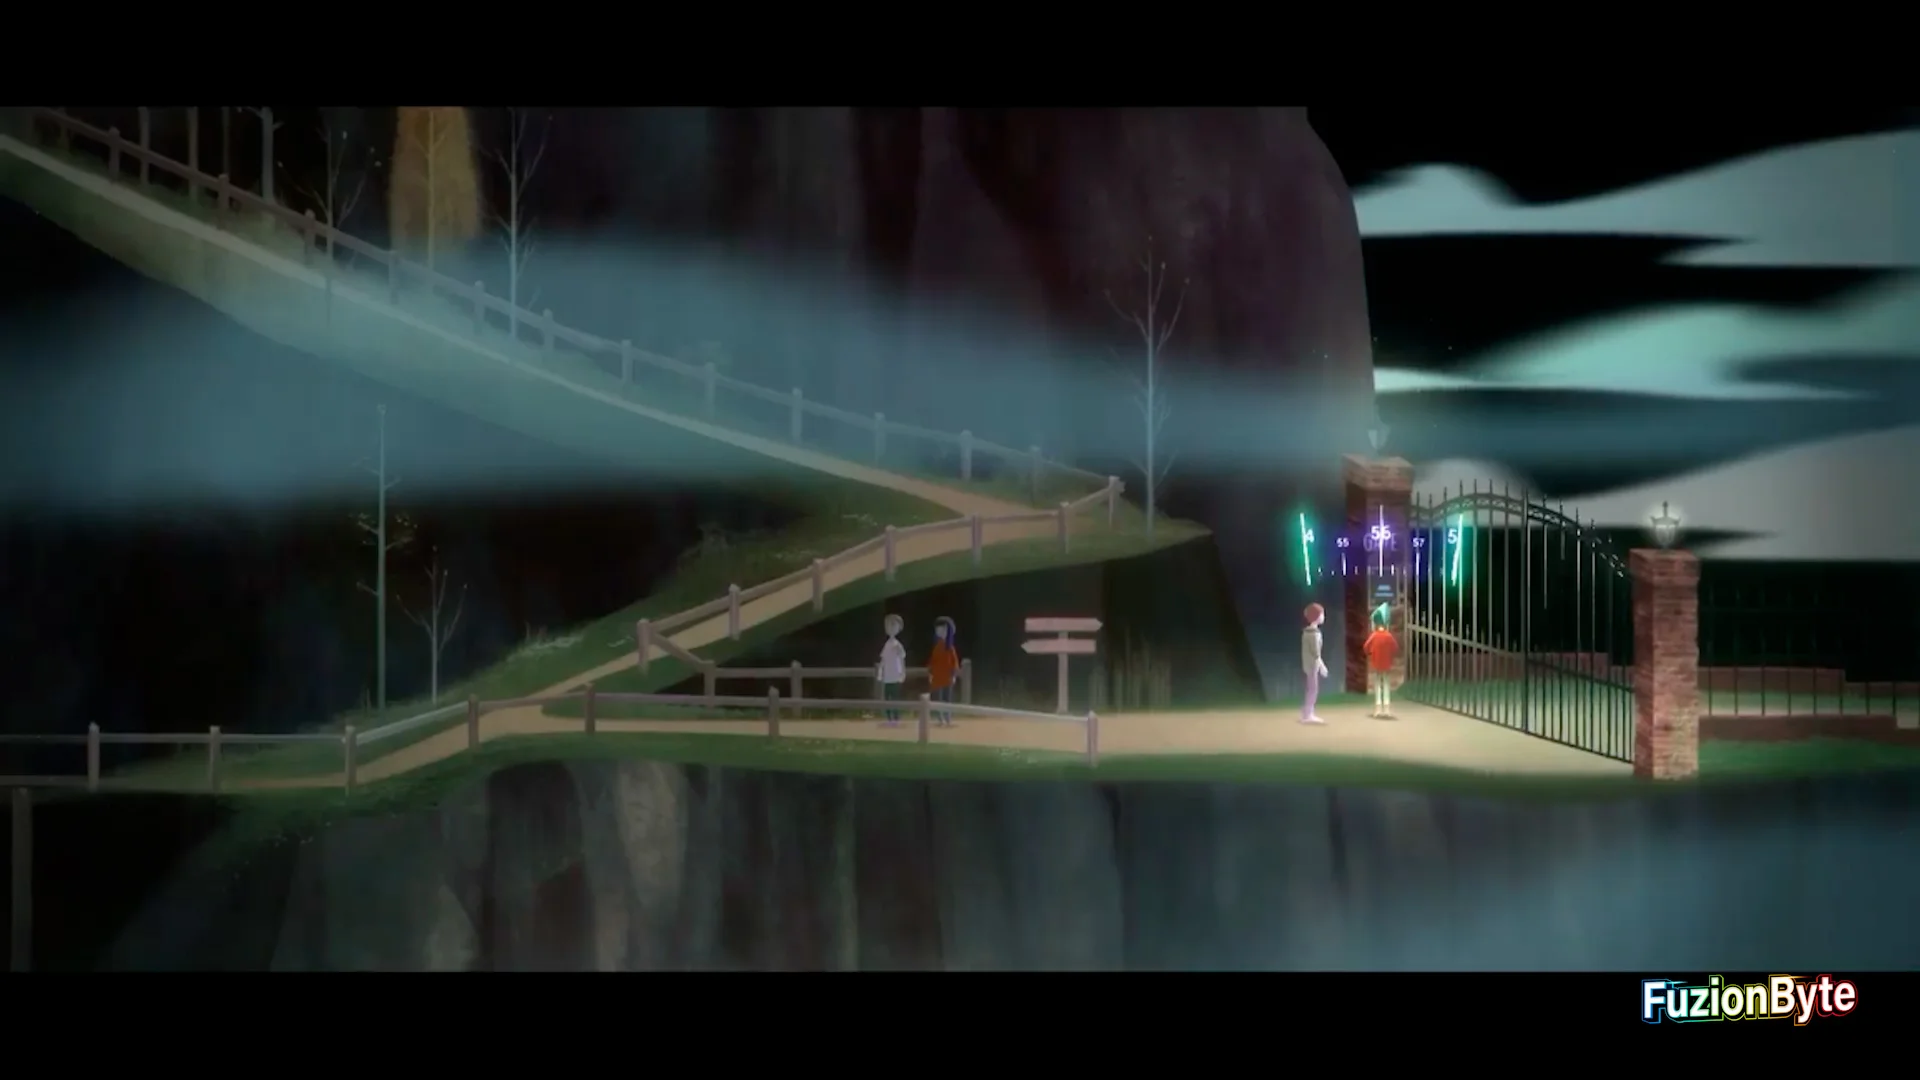
After a flashback scene you will arrive to the Adler estate gate. Unlock it by tuning into frequency 56.
Step 23
At the front door to the Adler house, tune into frequency 118 to unlock it.
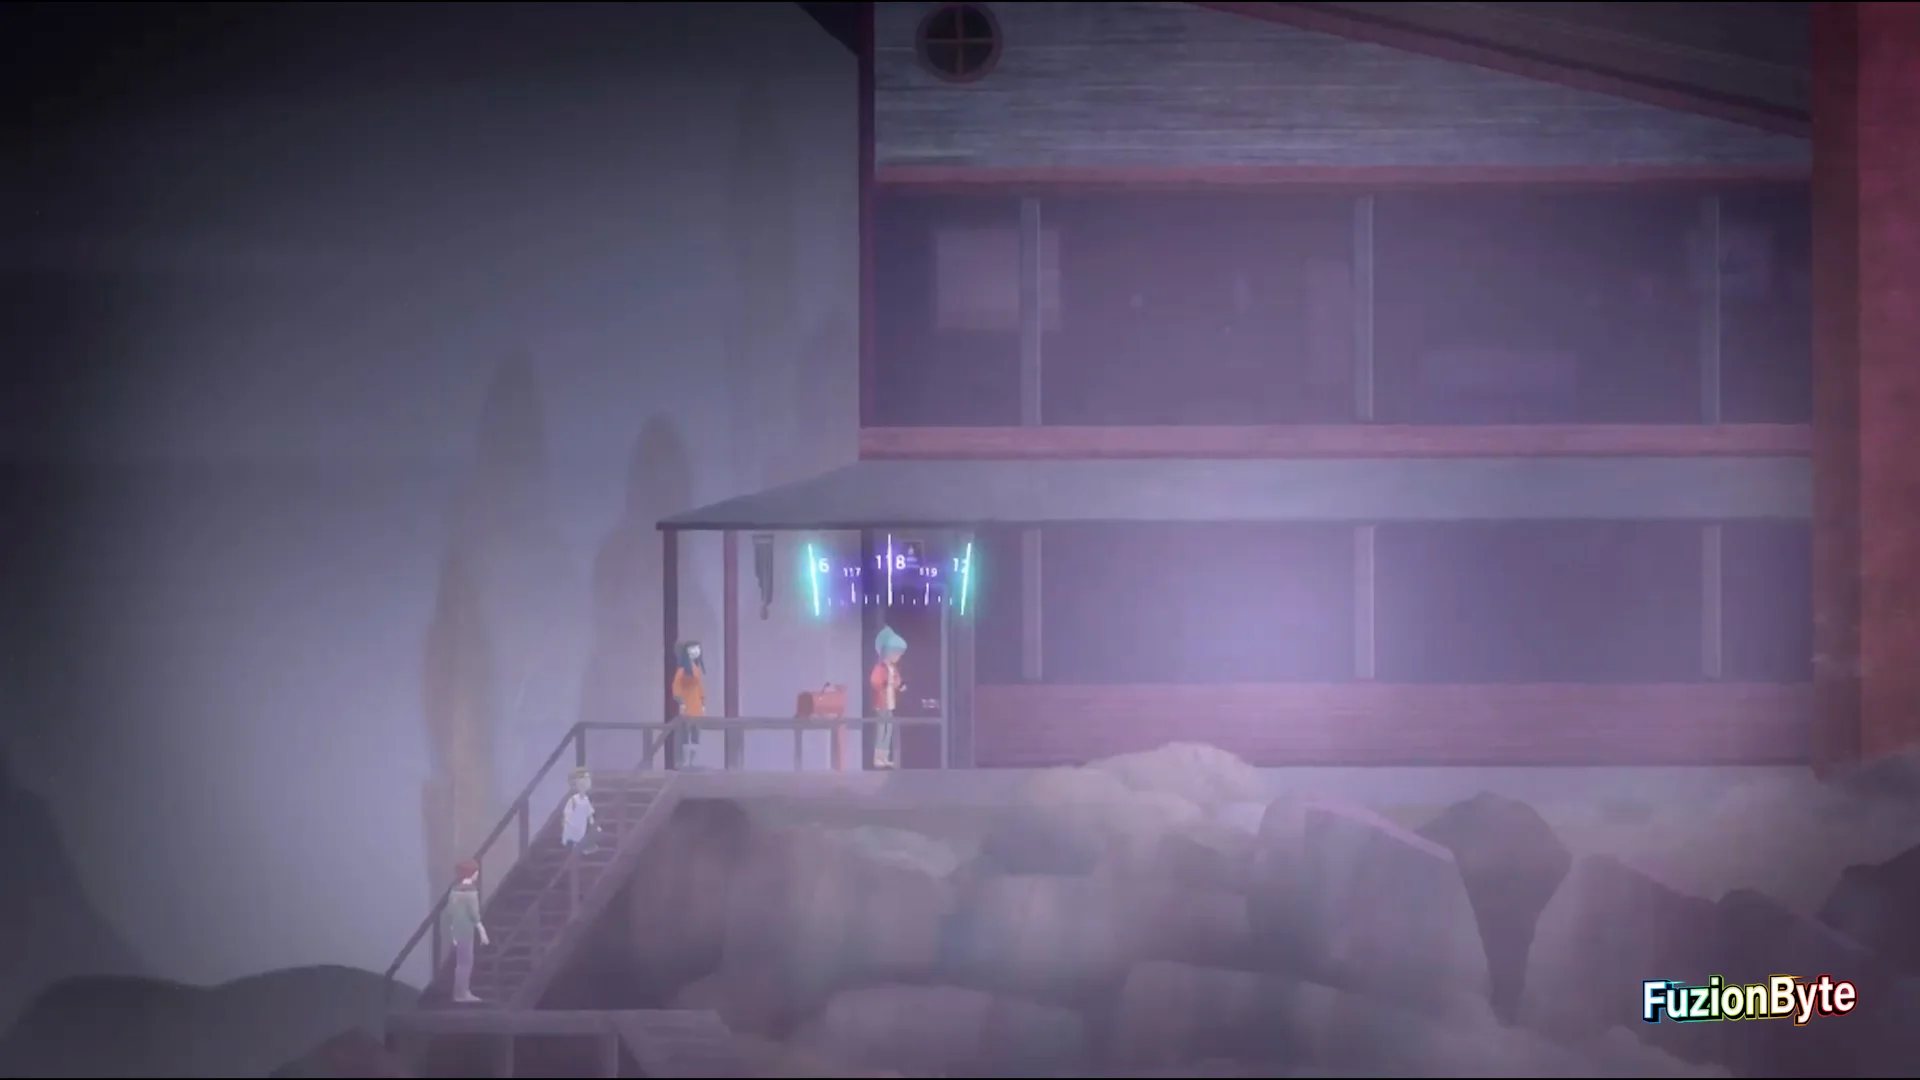
Step 24
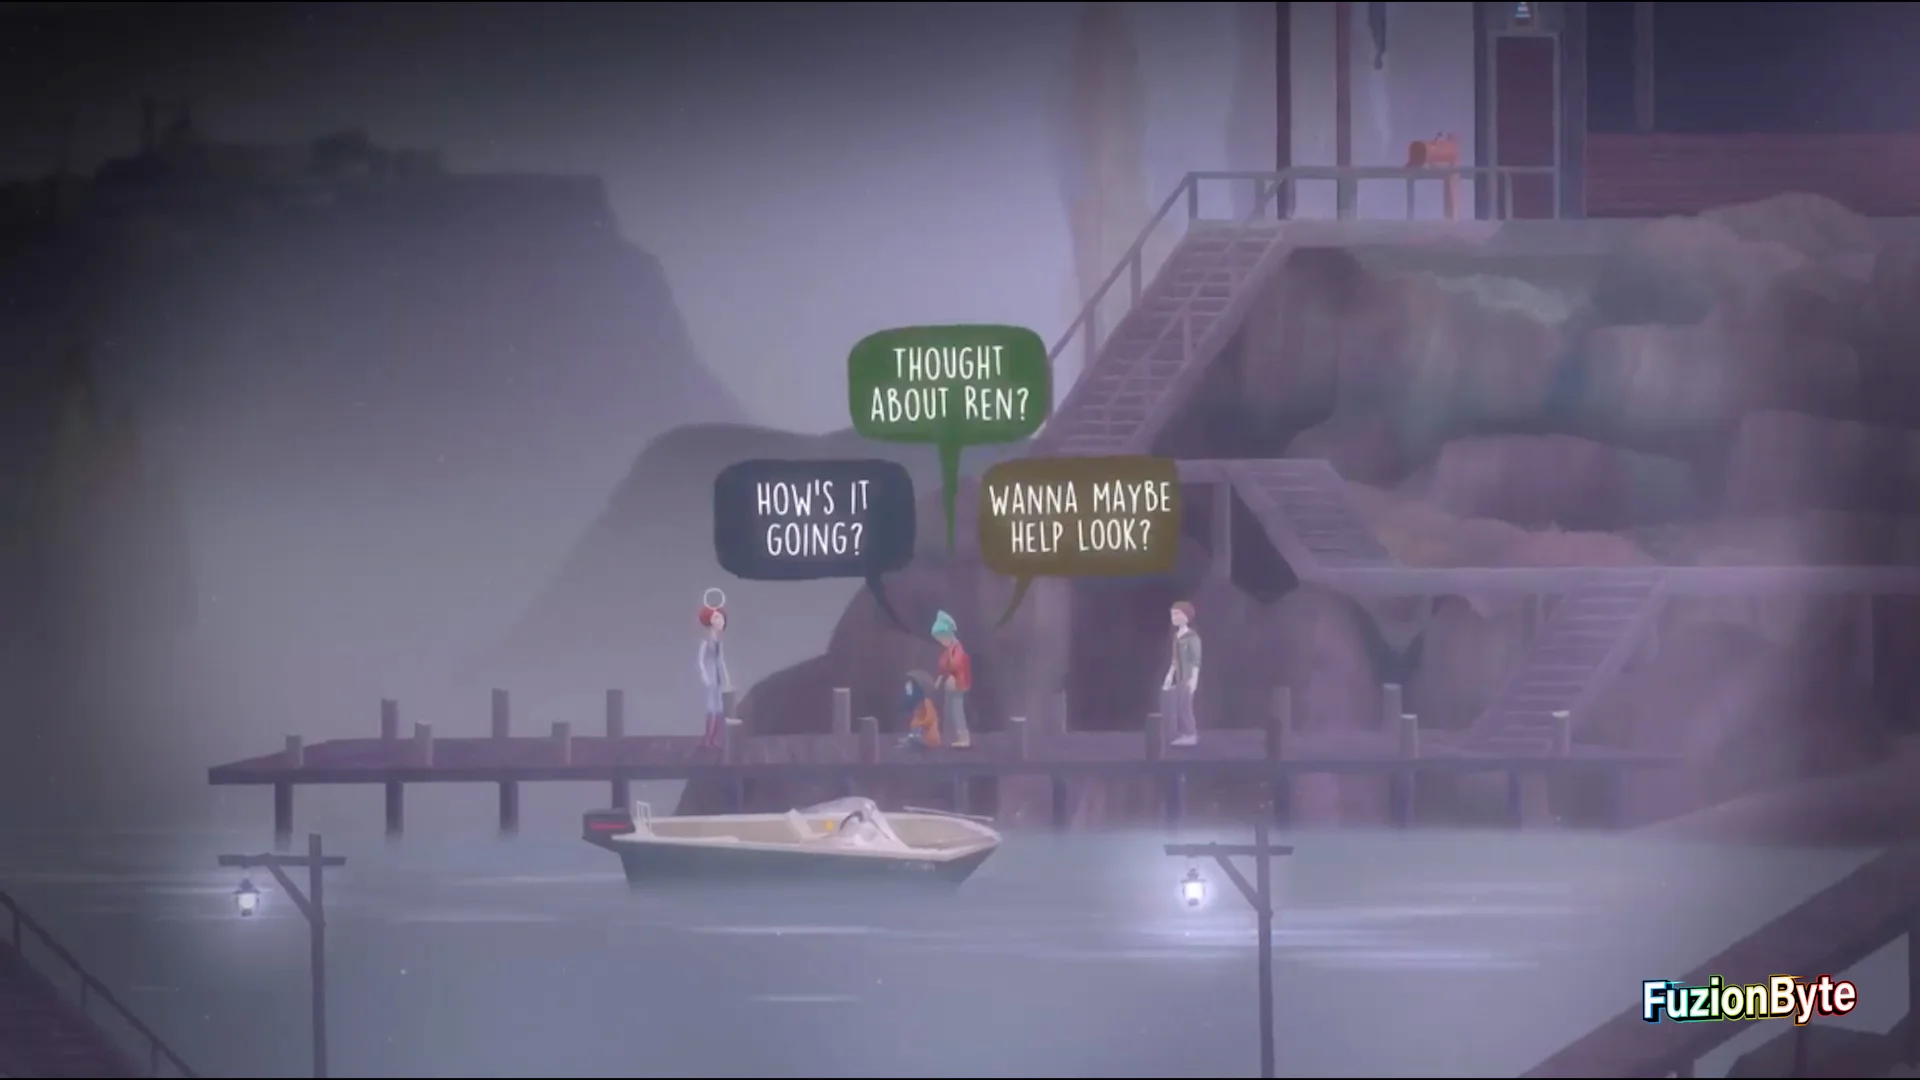
Important Choice.
After entering the house and finding Clarissa, both Nona and Clarissa will go sit together on the dock. You must go up to Nona, press Cross to talk to her, and select the option “Thought about Ren?” (or whatever option mentions Ren).a
Step 25
Go underneath the house by taking the split path on the docks, and investigate the desk.
Step 26
Enter the attic and use the chest. Walk out of the house to start a possession sequence. It does not matter how you perform during this sequence.

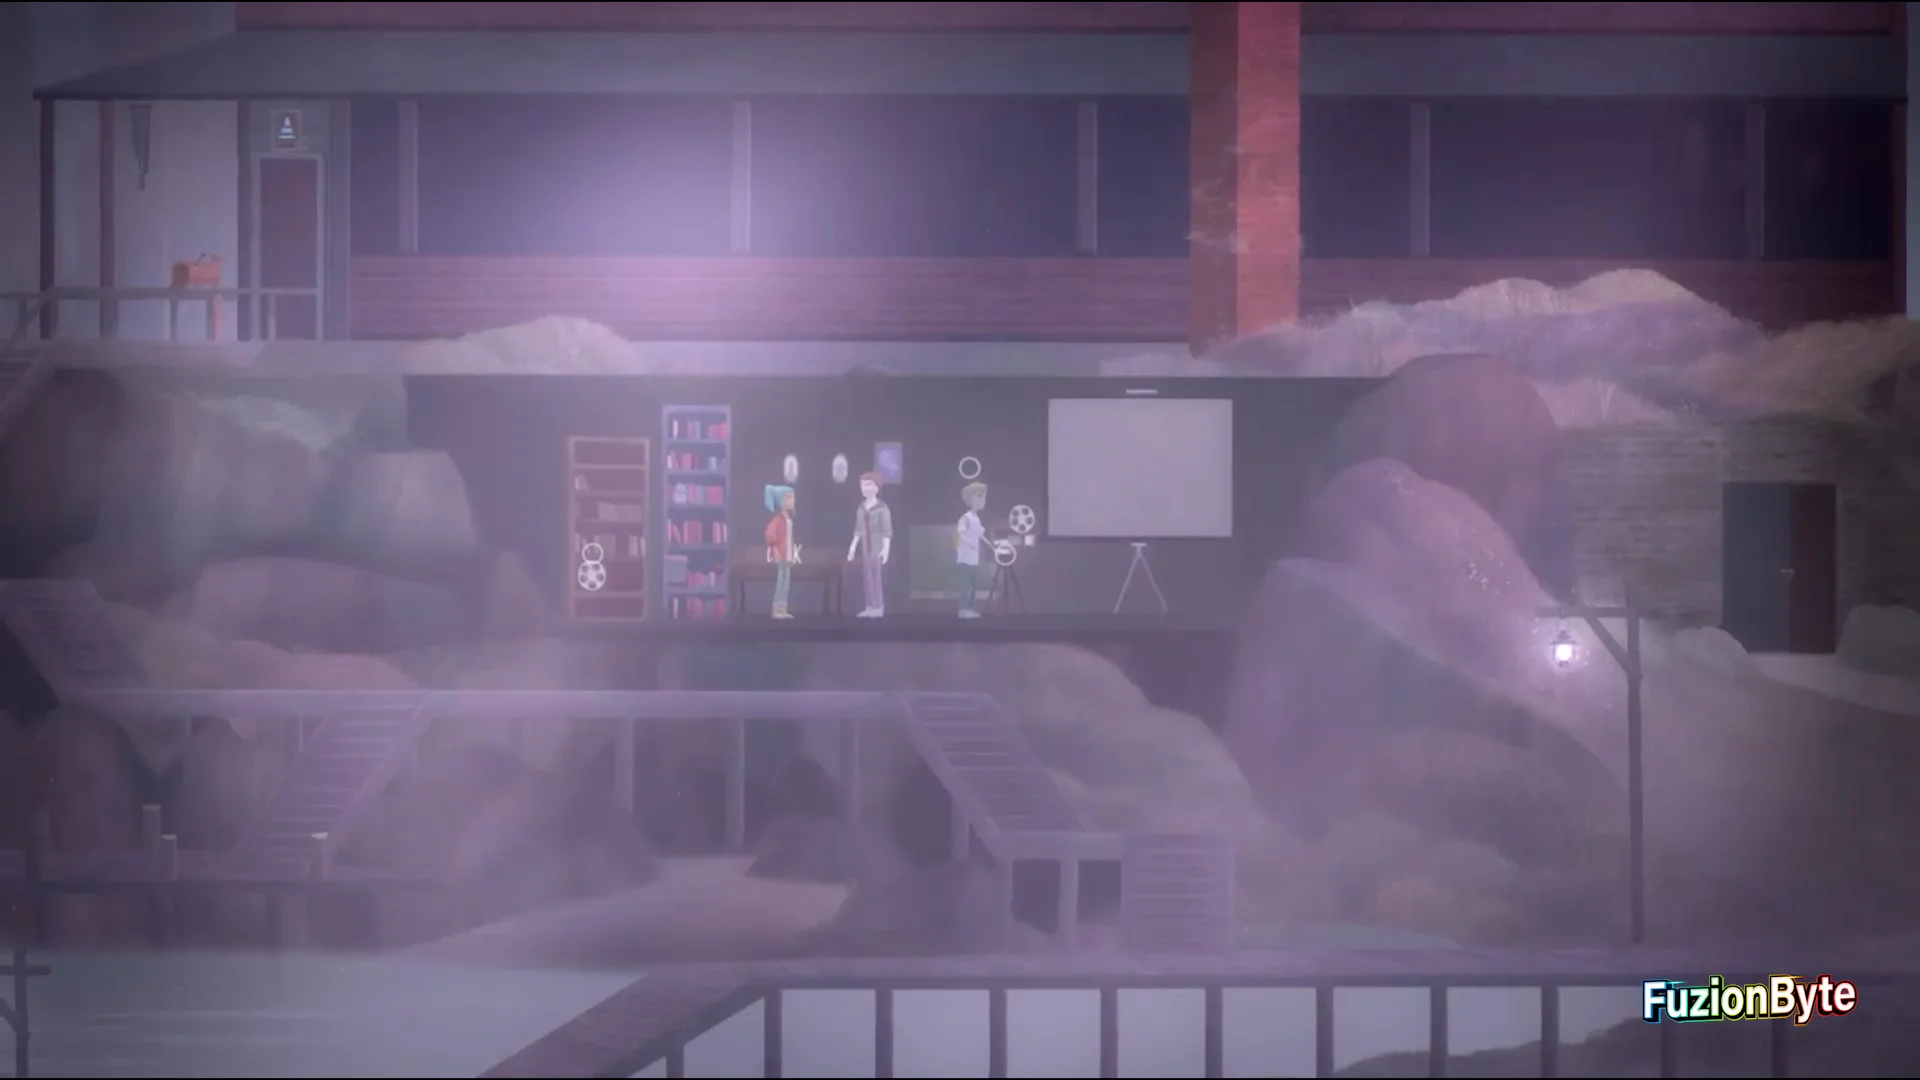
Step 27
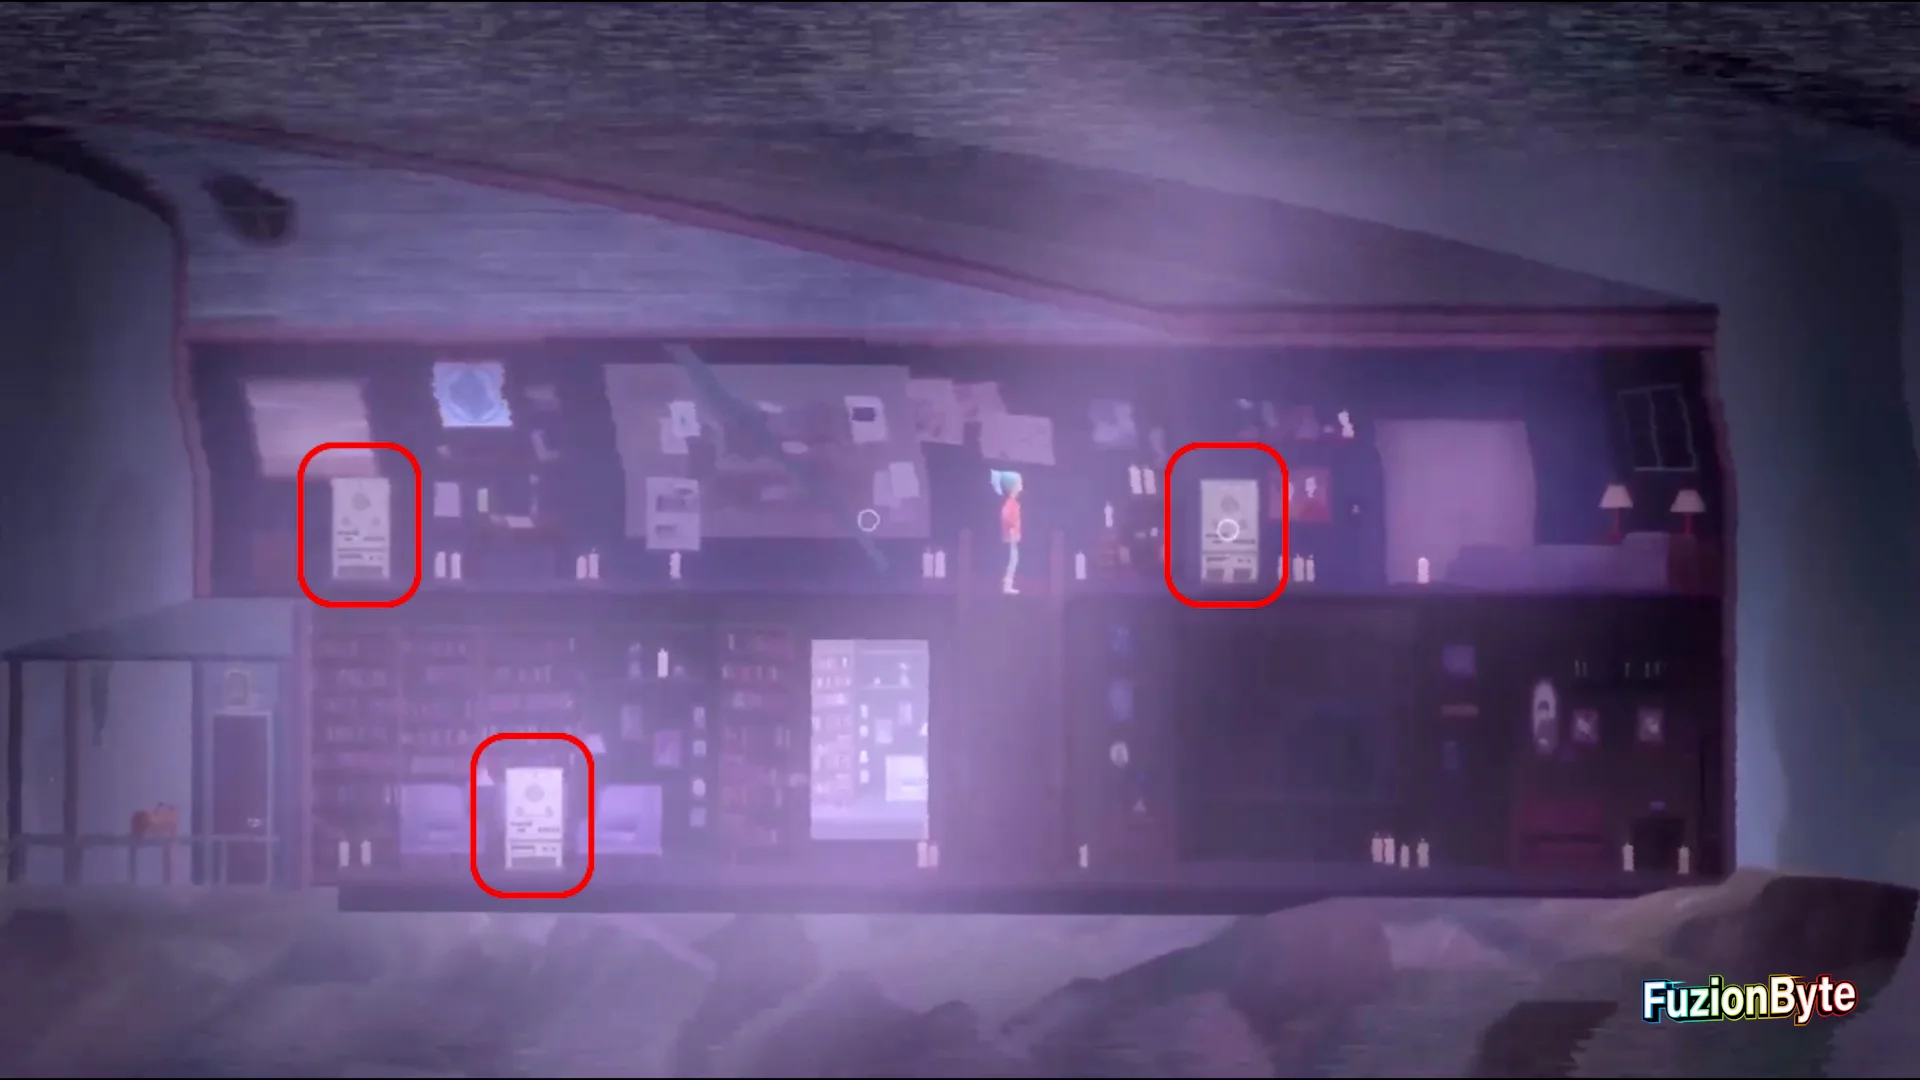
After the possession sequence, use all three tape players in the house to progress the story.
Step 28
Go back to the basement and grab the reel on the shelf. Keep switching the slides when prompted.

Step 29
Once you start looping in the Bridge Stand region, head down the path to find Ren and Nona.

Step 30
Important Choice.
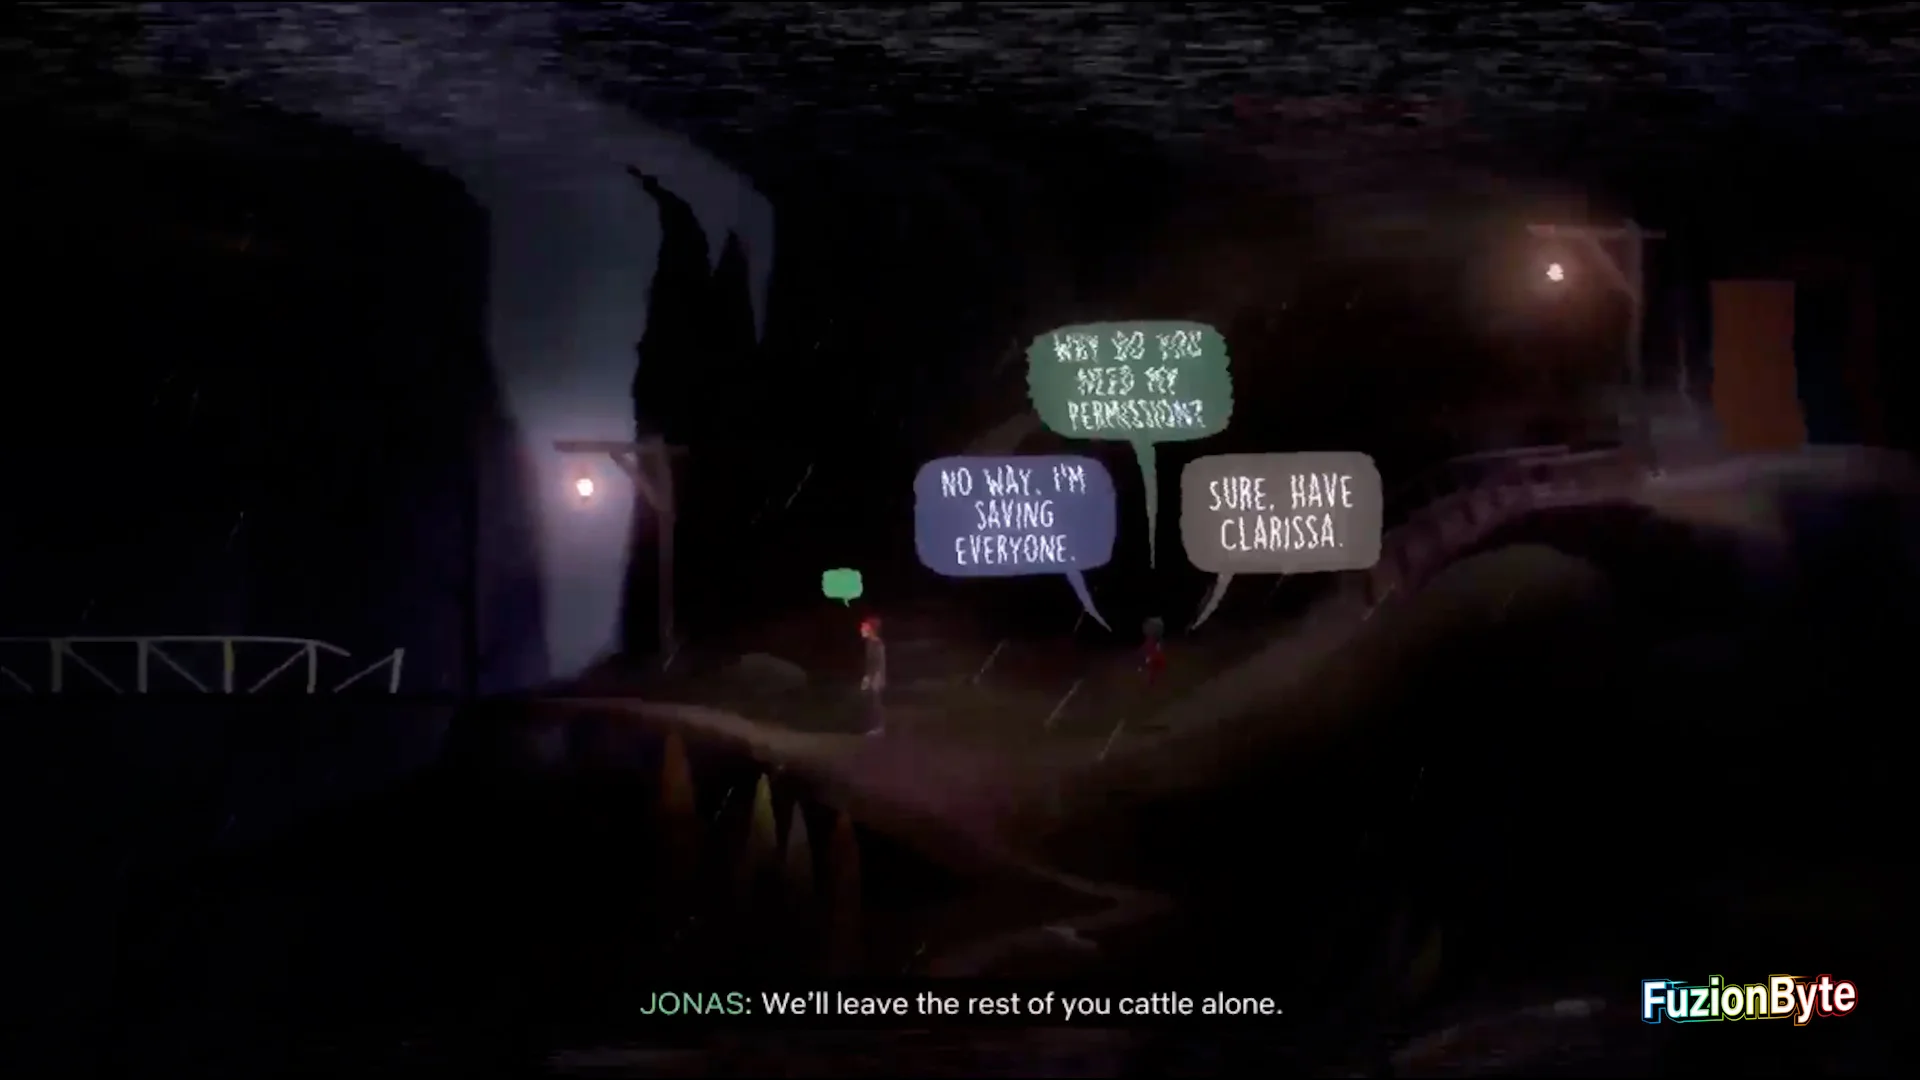
After finding Ren, Jonas will be possessed and the ghosts will offer you a deal if you agree to sacrifice Clarissa. You must choose “No way, I’m saving everyone“.

Step 31
Important Choice.
After the Jonas possession scene, you will find Nona sitting next to three tape players. You must ignore the tape players, and talk to Nona. During this conversation, Nona will admit she liked him. You must select “He knew“. This is the final step to solidifying their relationship. You can now solve the three tape recorders around Nona.

Step 32
Once at the response station, use frequency 74 to unlock the door. Do the prompts inside and then make your way to the shelter. Take the picture with the group.

It is suggested at this point, after you’ve taken the picture with the group, you can now find all the collectables. You now have access to all of the island and have access to the pocket radio from Step 21. Change over to the Collectables section and you can collect everything, then come back to this point in the walkthrough. This specific point will also be pointed out during the mean playthrough.
Step 33
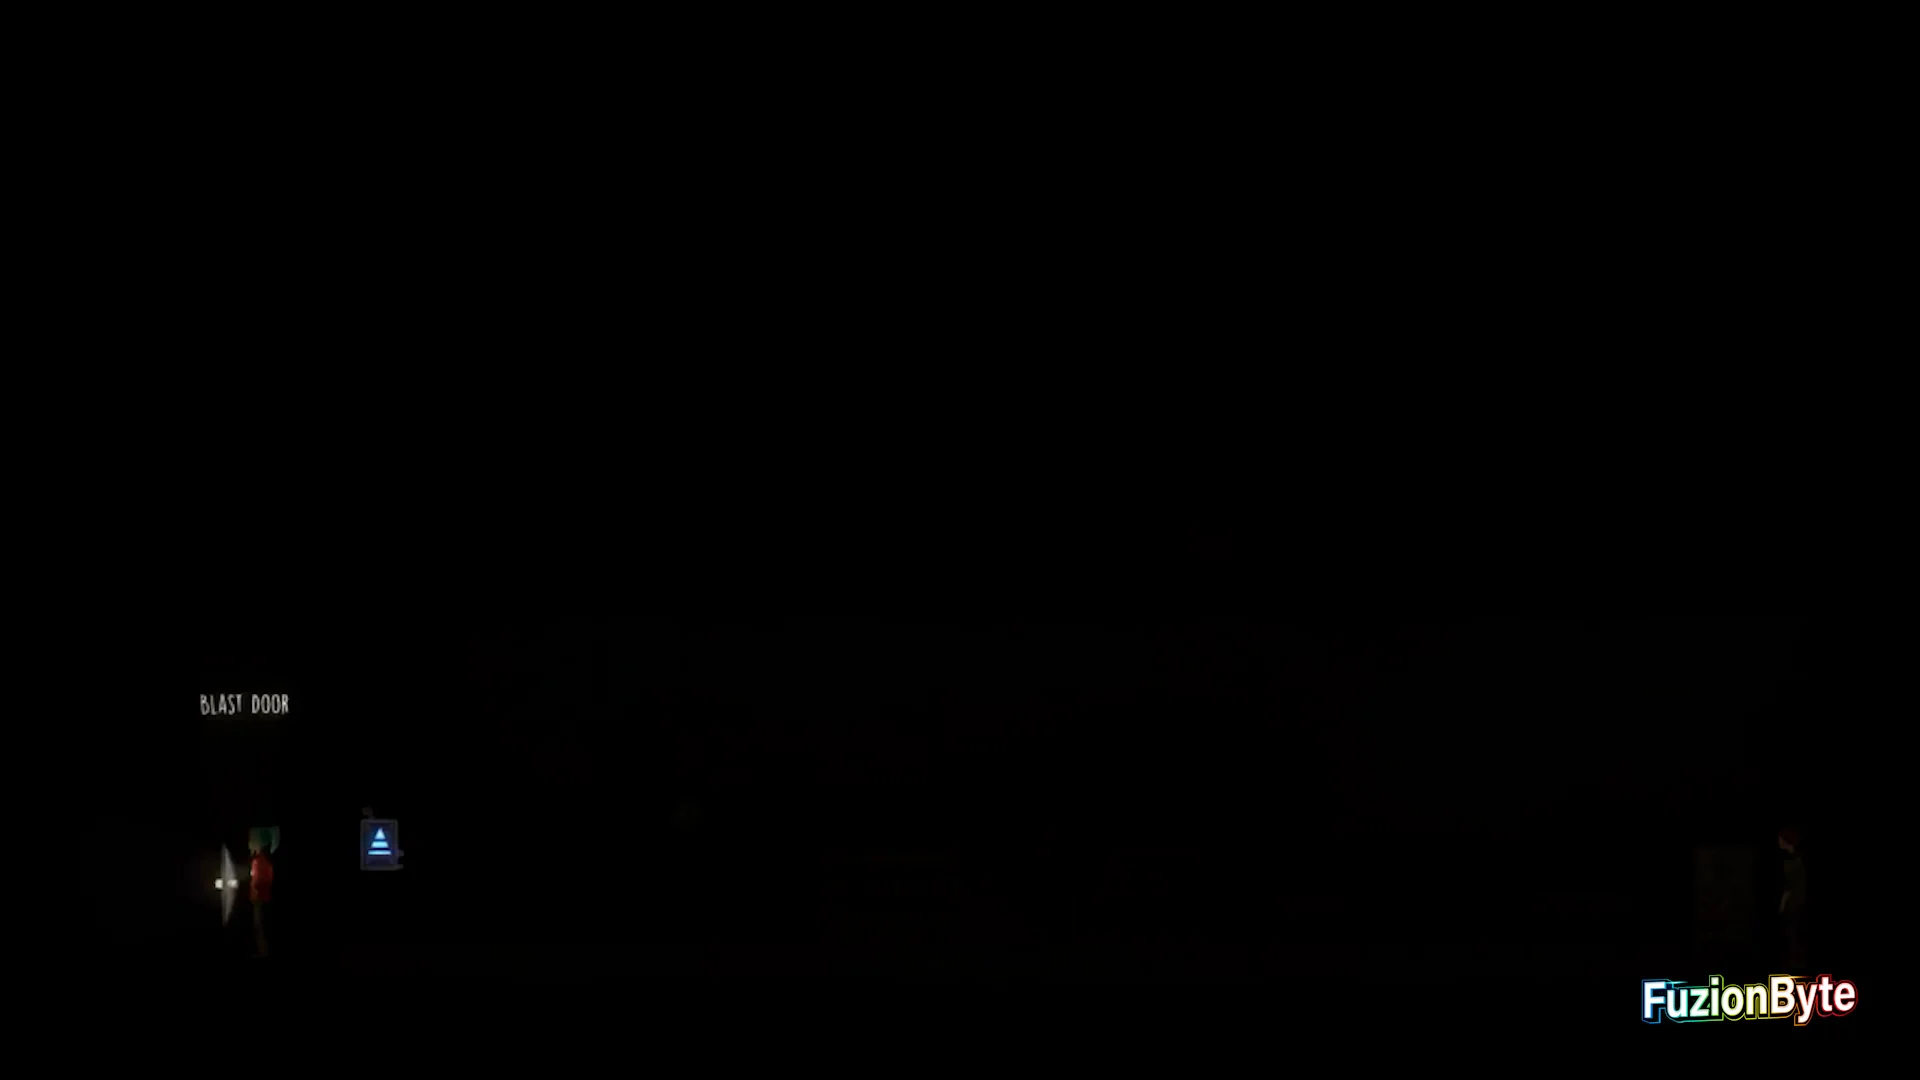
Inside the bomb shelter, use frequency 63 to unlock the blast door.
Step 34
Important Choice.
After unlocking the blast door, Jonas will request you use the tape player. You must agree and play it for him. After this sequence head into the room you previously unlocked.
Step 35
Inside this room, you will find possessed Clarissa and she will eventually disappear. Tune into frequencies 120, 124, and 126 to complete the triangle.
Step 36
Important Choice.
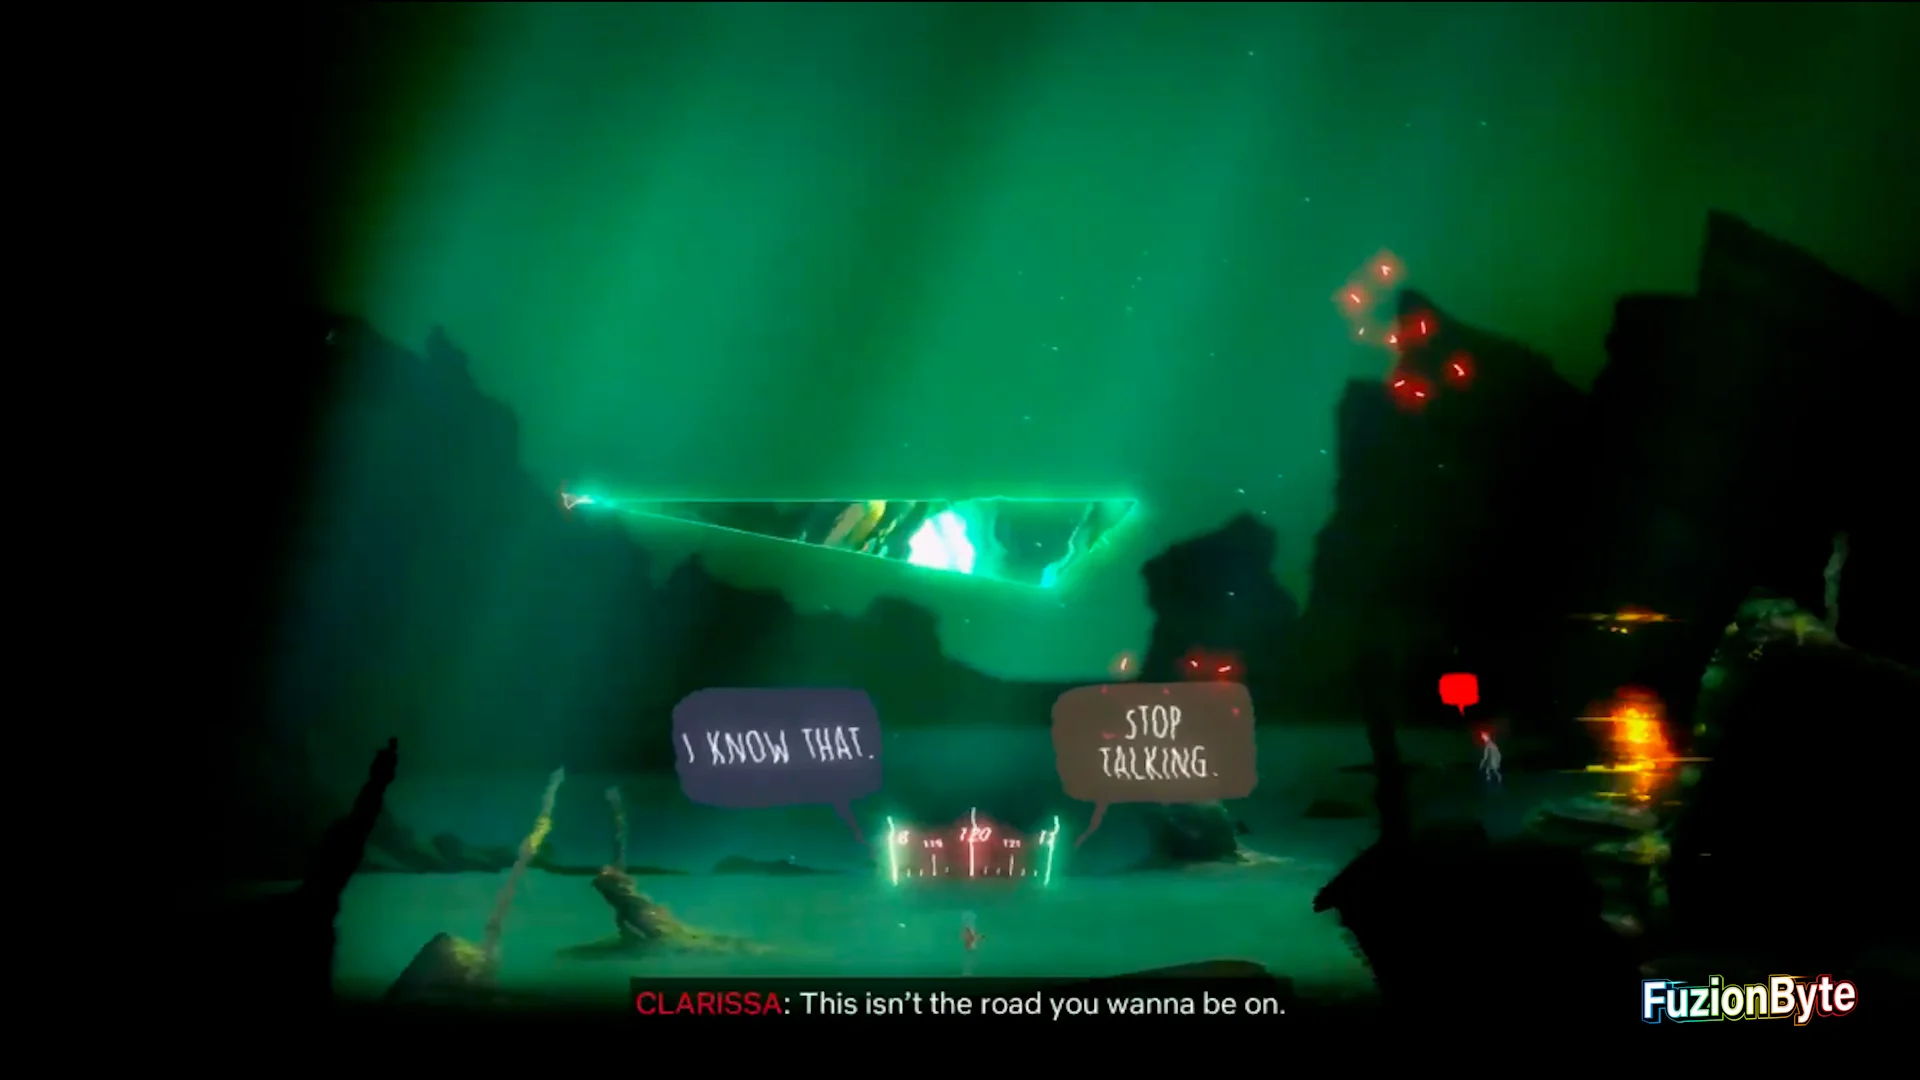
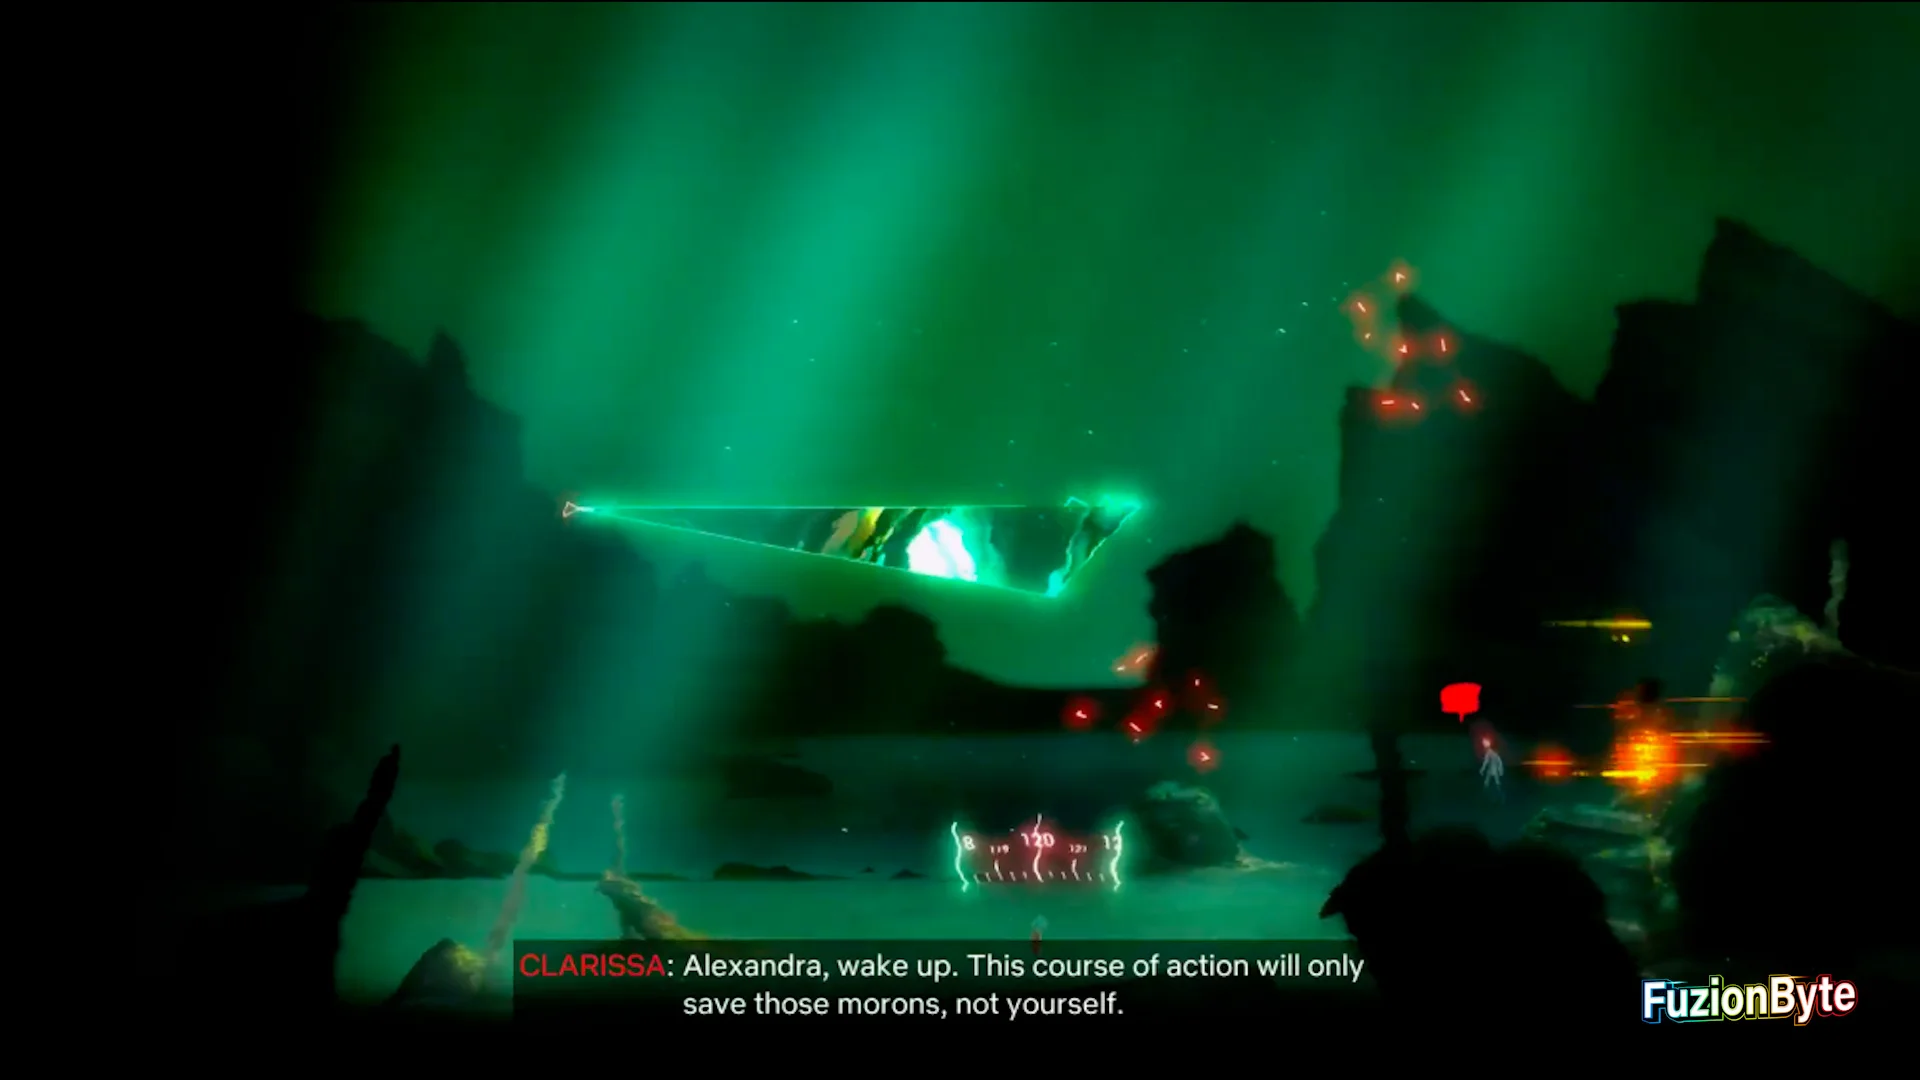
During the ending sequence underwater, the ghosts will give you a way out if you agree to sacrifice Clarissa. You must NOT go through their portal, and you must tune into frequencies 100, 110, and 120 to complete the triangles.
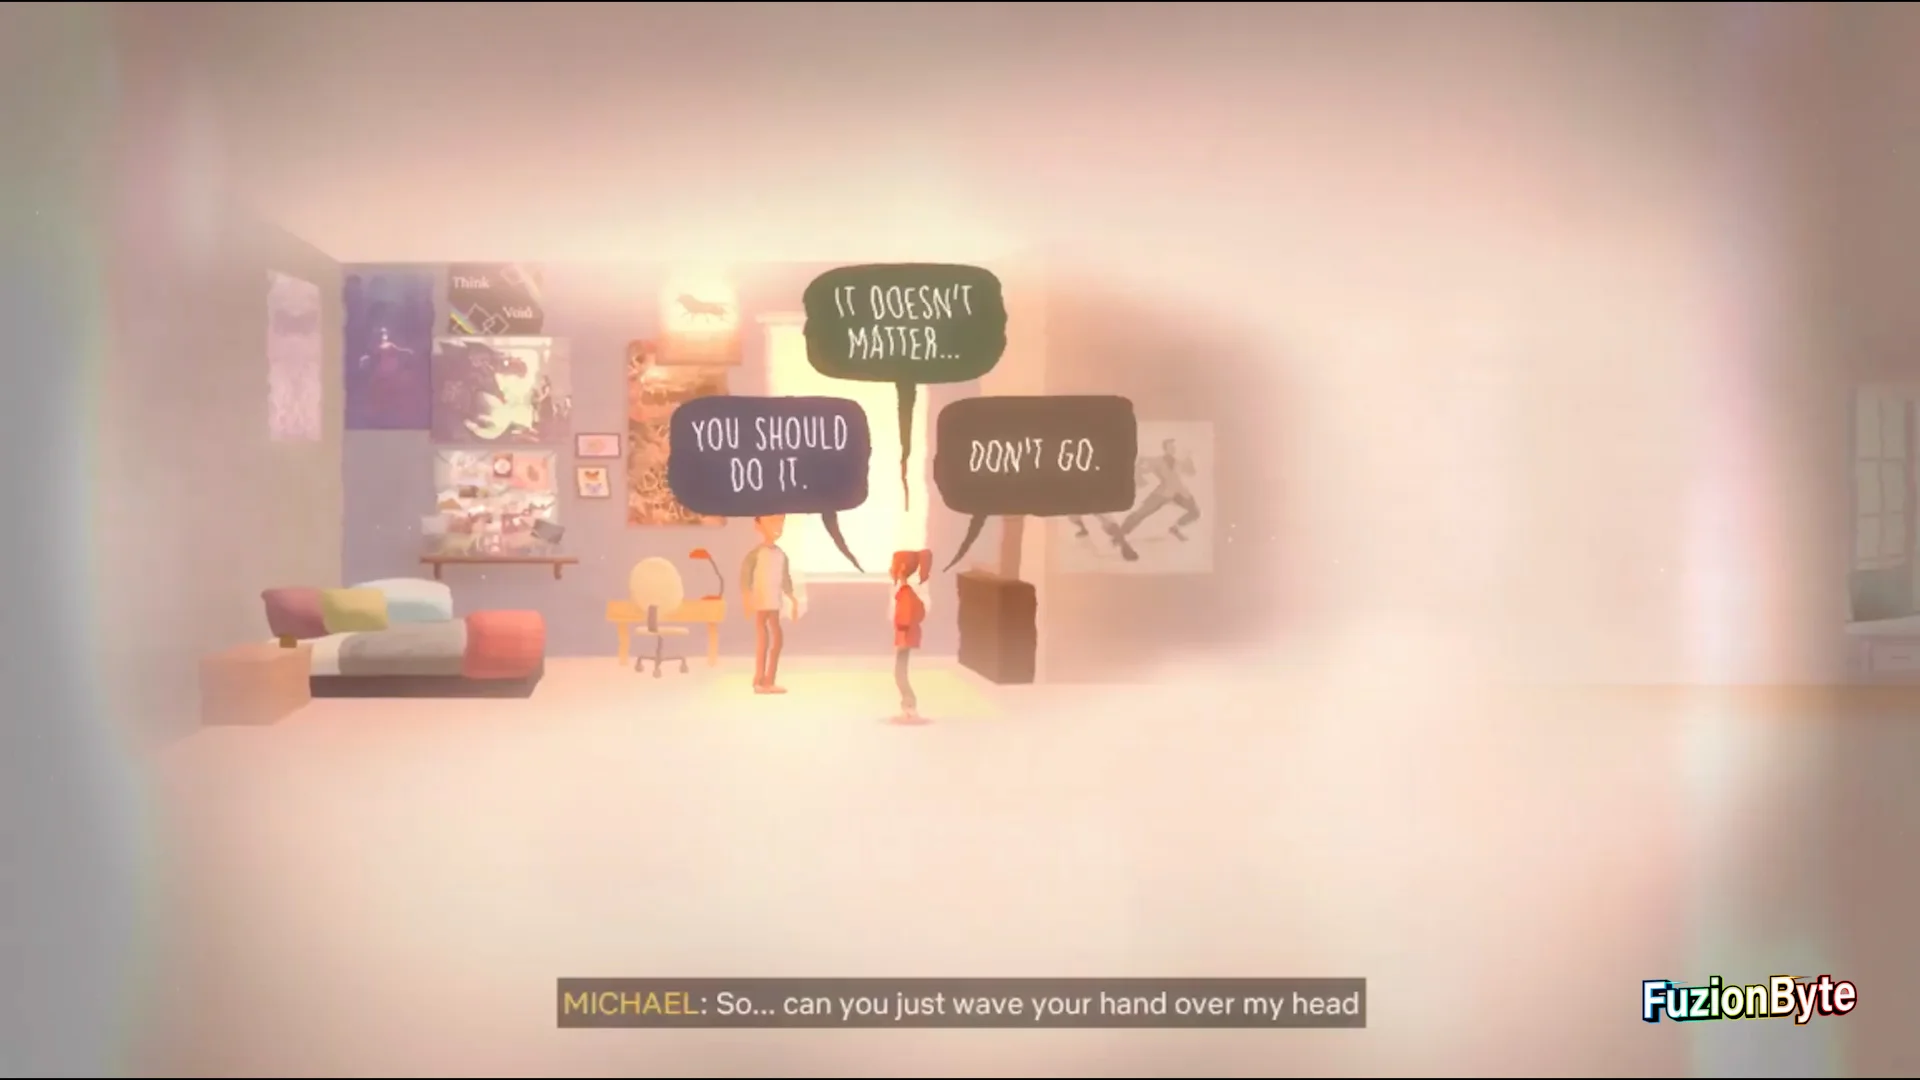
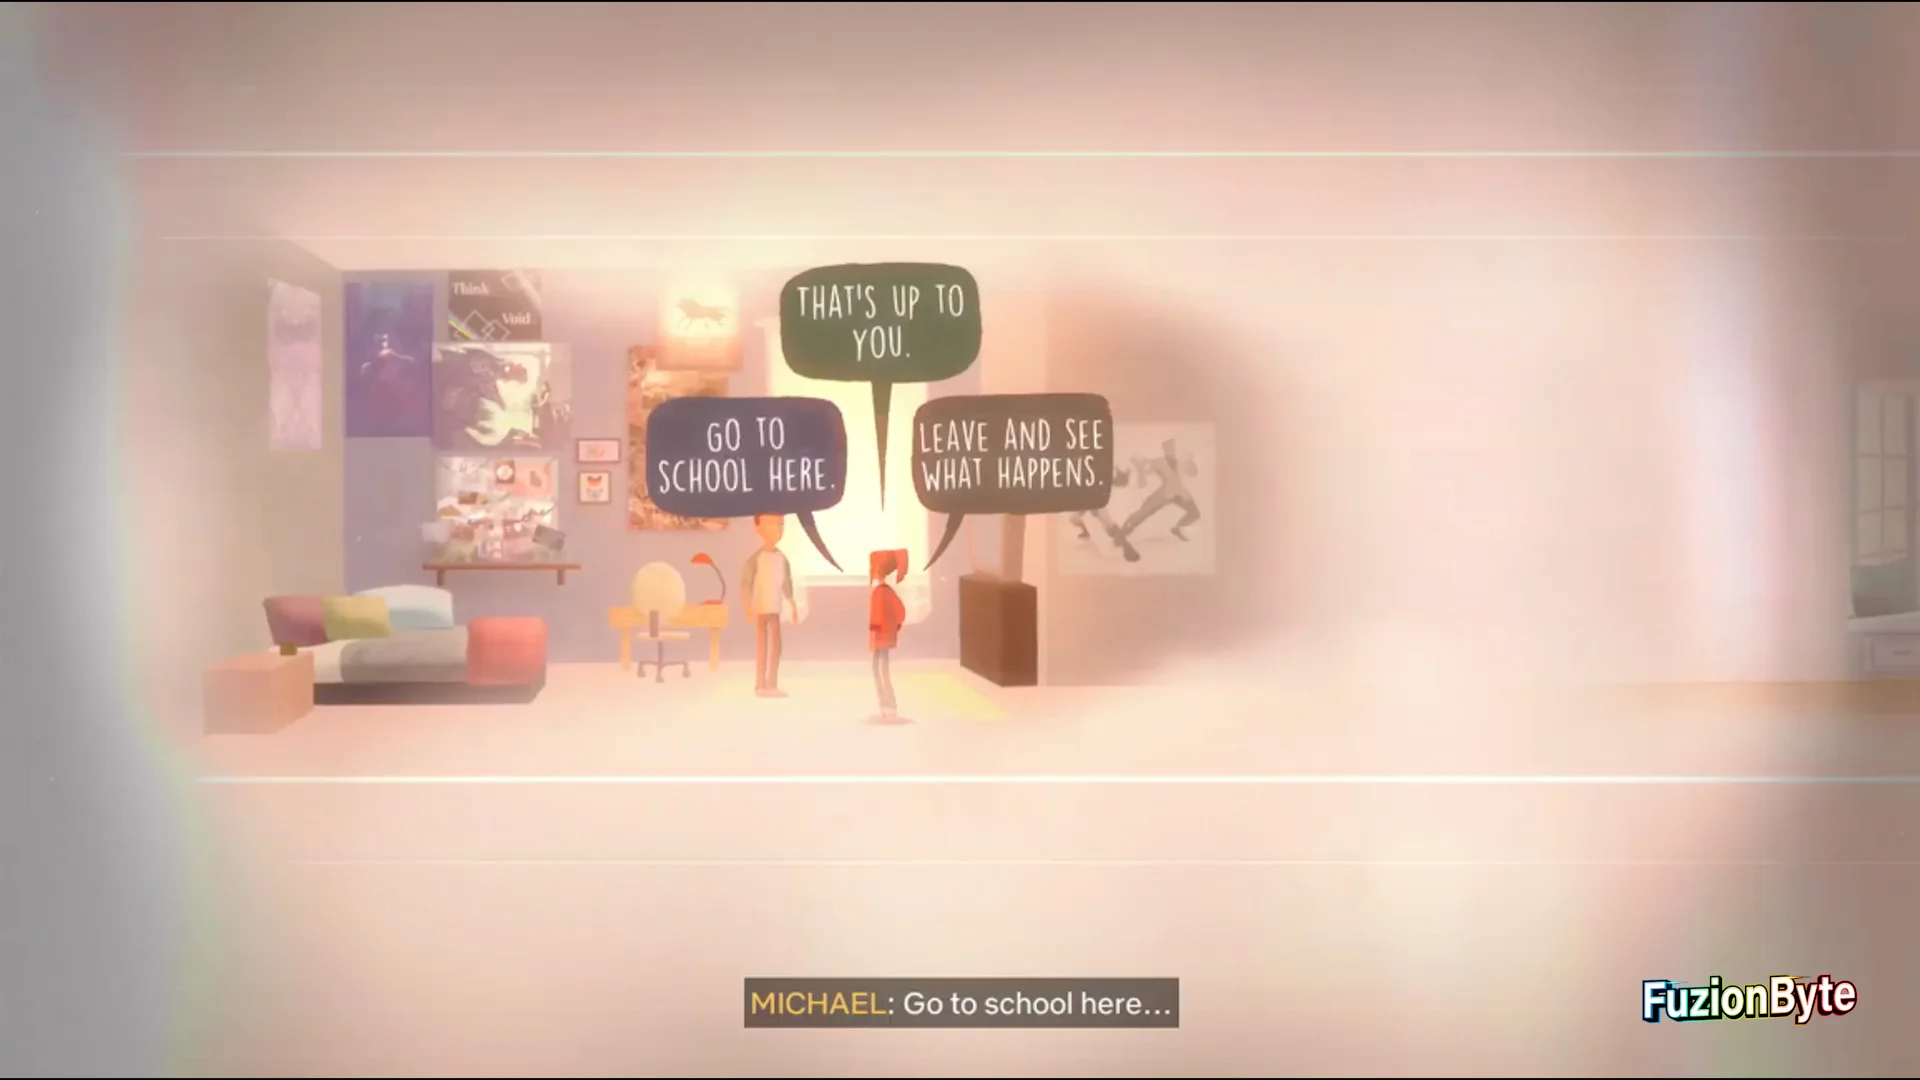
Step 37
Important Choice.
After a few flashback scenes, you will enter a flashback with Michael inside your family house. Talk to him, and he will bring up leaving for school, and ask you if he should. You must select “You should do it“.
At the end of the game having completed the Good Playthrough you will unlock “This House is Clear”, Matchmaker and New Beginnings.
Mean Playthrough
The “Mean Playthrough” will consist of you making everybody hate you (which unlocks I’m the Firestarter), not being able to convince Ren and Nona to date (unlocks You’d Just End Up Hating Each Other), and bringing Michael back from the dead (unlocks Thicker than Water). I’m the Firestarter will require quite a bit of specific choices throughout the entire game, You’d Just End Up Hating Each Other only requires you to NOT go out of your way to make Ren and Nona date, and Thicker than Water comes down to a single choice at the end of the game. There are 14 steps you need to complete throughout your Mean Playthrough which are:
Step 1
Important Choice.
While at the beach playing “Truth or Slap”, Clarissa will ask Ren if he has a crush on Nona. He will lie, and you need to select “He’s lying!“, and then “He told me he liked her!“. You can then walk up to Ren and slap him. This will unlock Renjamin Spanklin.
Step 2
Important Choice.
After the game of Truth or Slap, jump the fence with Ren and Jonas to the caves. You must NOT talk to Nona like you did last playthrough.

Step 3
Important Choice.
After the caves, you and Jonas will enter Harden Tower. Use the phone and you will start talking to Ren. While talking to him another line will call. You must select “Hold on, Ren. [Switch over]“. You will want to stay on the line with her and not switch back to Ren. After you hang up the phone, Jonas will ask if you want to go save Ren or Clarissa first. You must choose Clarissa.

Step 4
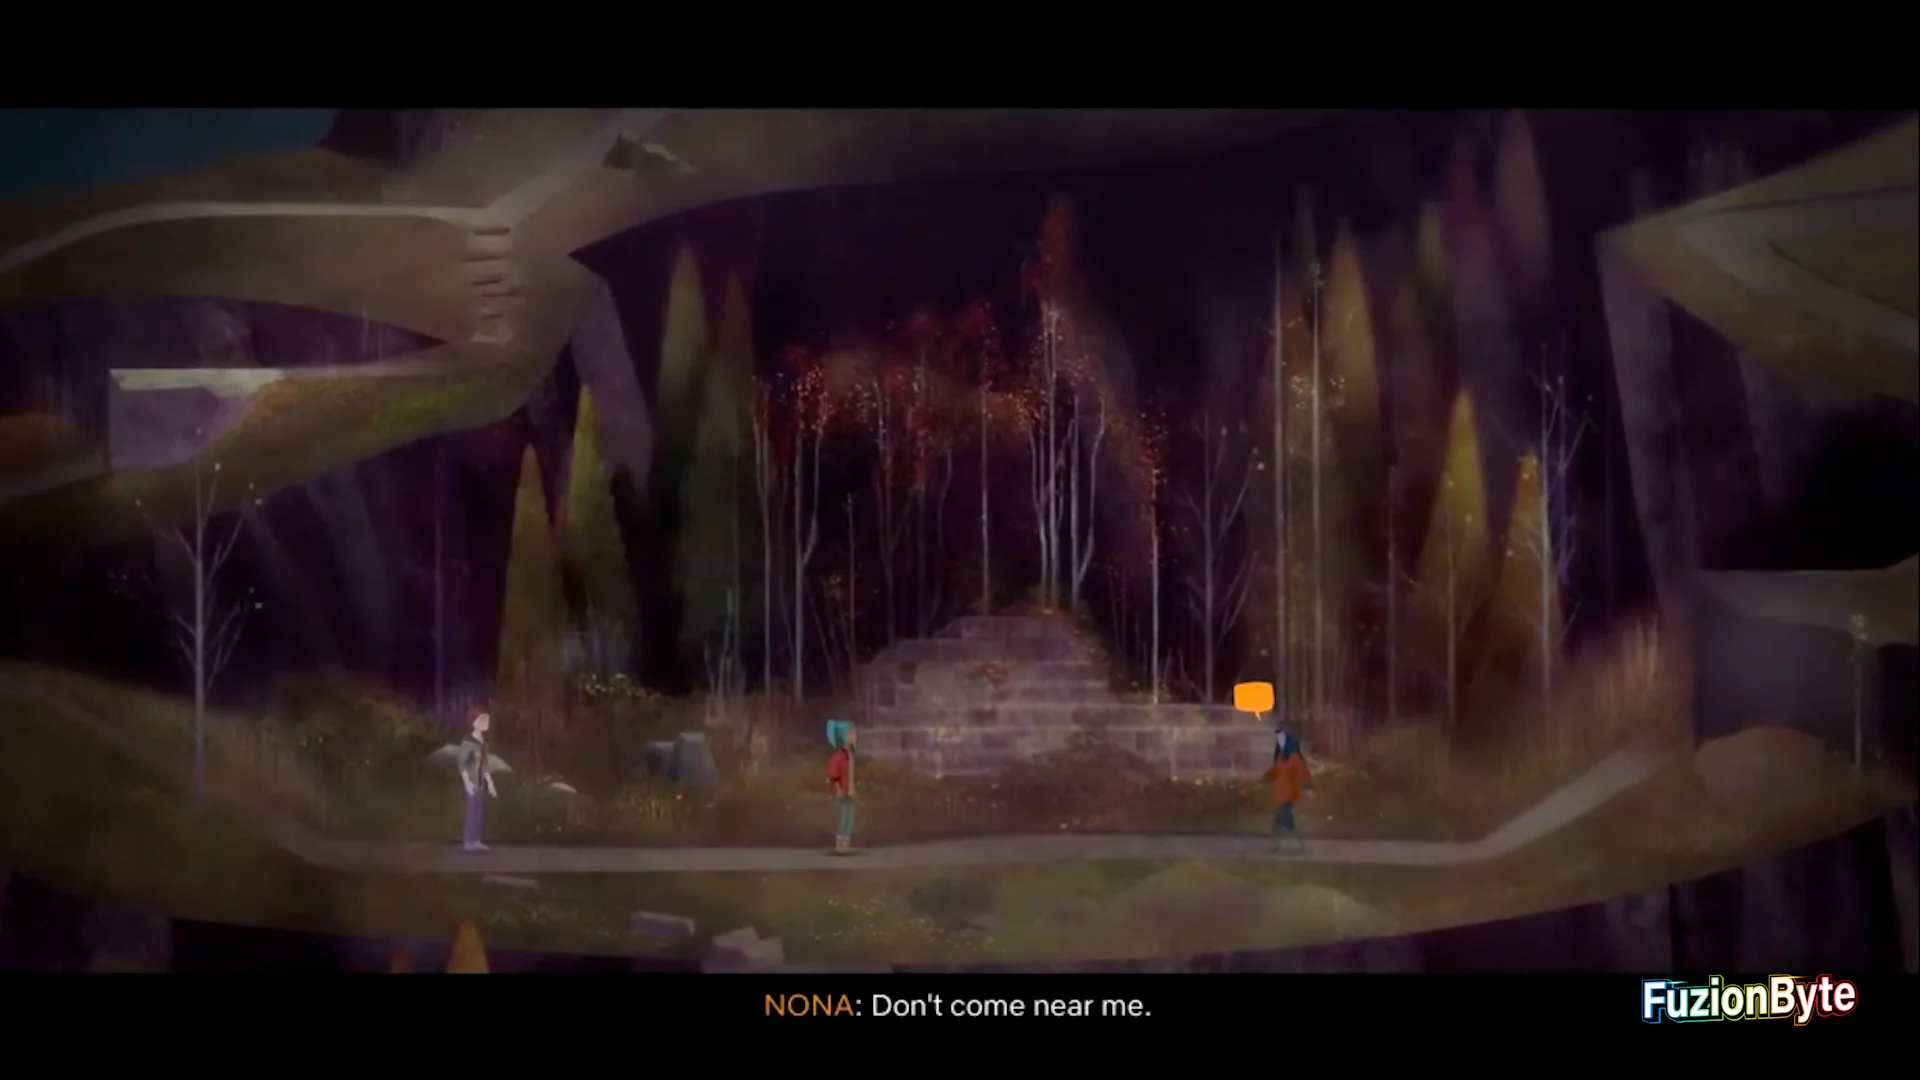
Important Choice.
Go help Clarissa, and then start making your way to Ren. On this path you will come across Nona, who requests you stay away from her. Make sure to ignore these requests and keep walking towards her until she runs off.
Step 5
After saving both Ren and Clarissa, make your way back to Harden Tower.
Step 6
Important Choice.
Once you get into the tower, Ren and Jonas will start arguing over who’s fault it is. You must select the options “Hey, back off, Jonas“, and “It was your fault, actually”.
Step 7
Important Choice.
After the argument, you will be asked who you should take into town. You must select Nona.
Step 8
Important Choice.
Play through the story until get to the Adler Estate. Make sure you do NOT talk to Nona while she is sitting on the dock.
Step 9
Important Choice.
Progress through the story more until you enter the loop with a dead Ren and Nona crying. Jonas will become possessed and the ghosts will ask for your permission to sacrifice Clarissa. You must select “Sure, have Clarissa“.
Step 10
Important Choice.
After the possessed Jonas leaves, you will see Nona next to three tape players. Do NOT talk to her, and just complete the tape players.
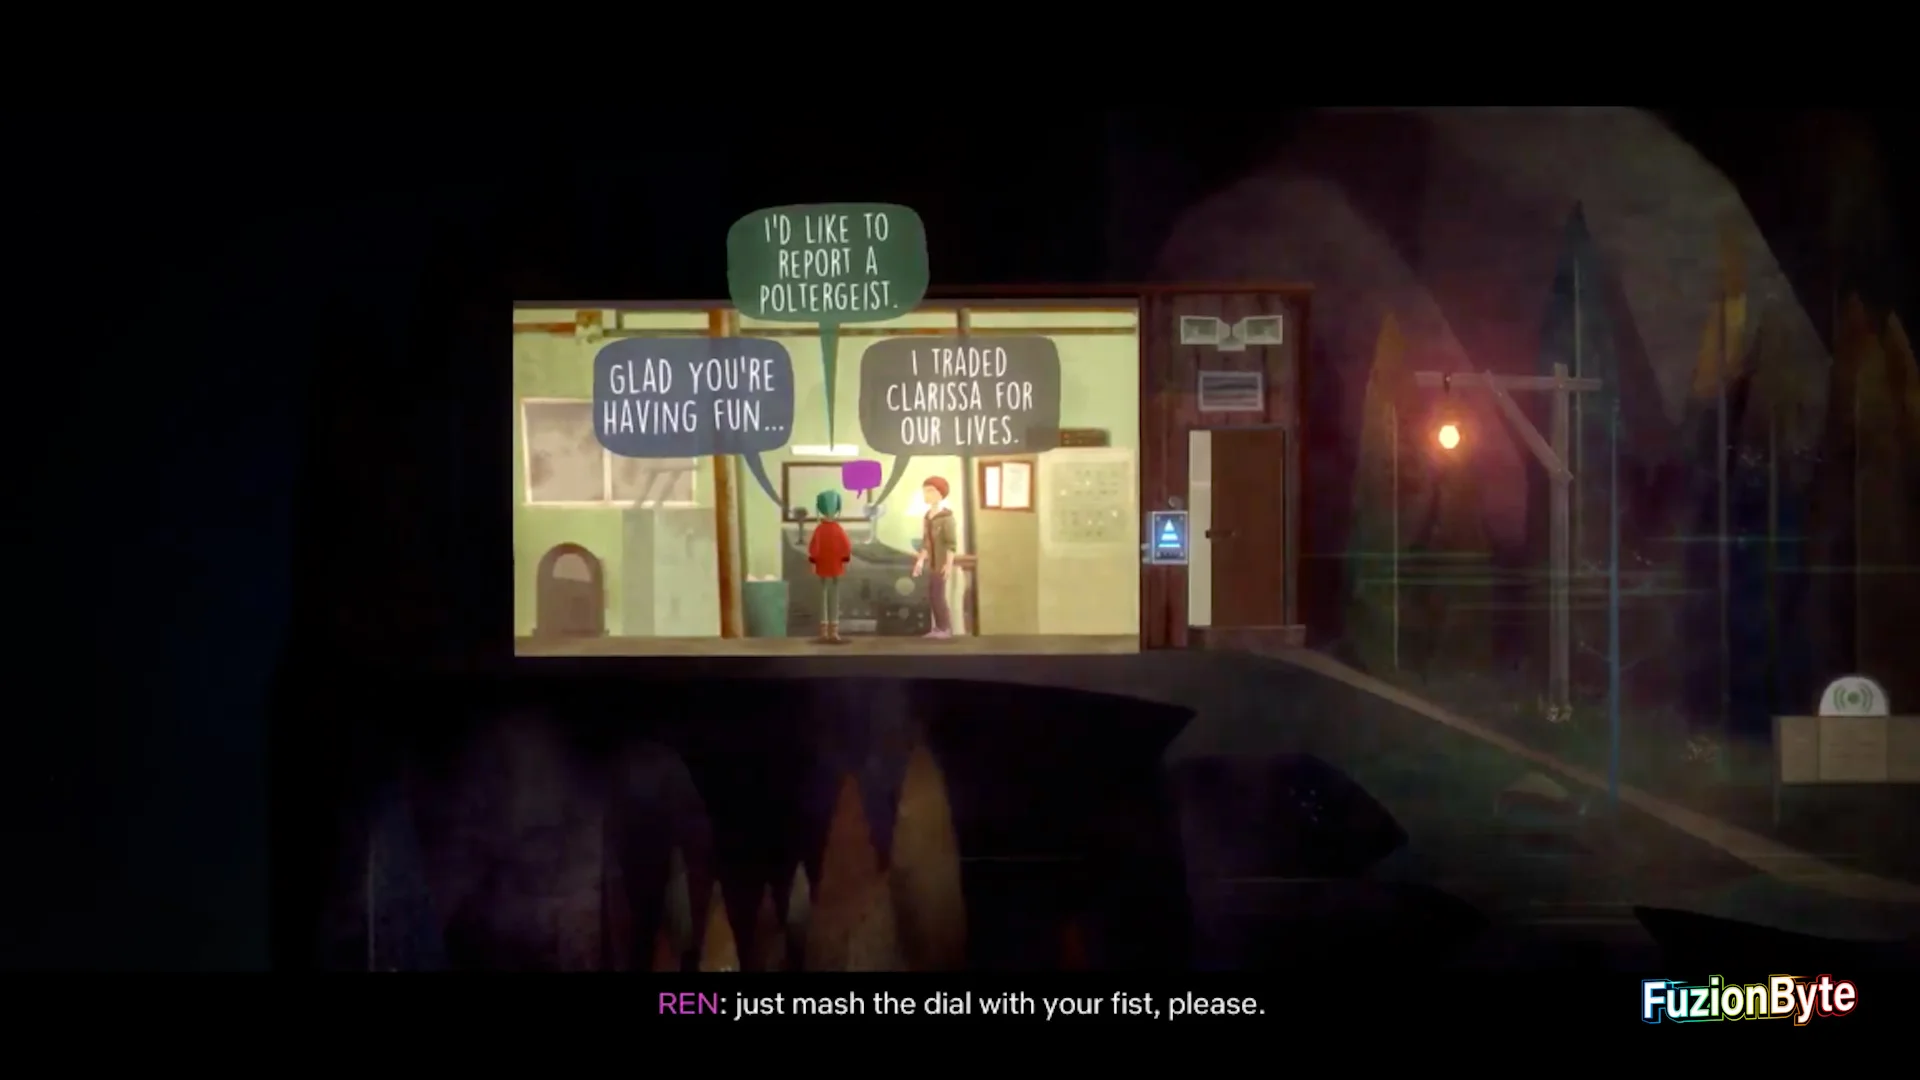
Step 11
Important Choice.
After completing the tape players, Jonas will come back and you will go to the response shelter at the top of the hill. Once inside, you must pick up the microphone and say “I traded Clarissa for our lives“. After unlocking the shelter, go towards the shelter door and take the photograph with the group.
At this point, after you’ve taken the photograph, you can switch over to the Collectables section if you haven’t completed those trophies yet.
Step 12
Important Choice.
Walk into the shelter. Jonas will request you play the tape recorder for him, you must ignore his requests and just continue into the next room.
Step 13
Important Choice.
During the final section underwater with possessed Clarissa, you will need to open up the triangle again, and ignore the door the ghosts offer. The frequencies to open the triangle are 100, 110, and 120.
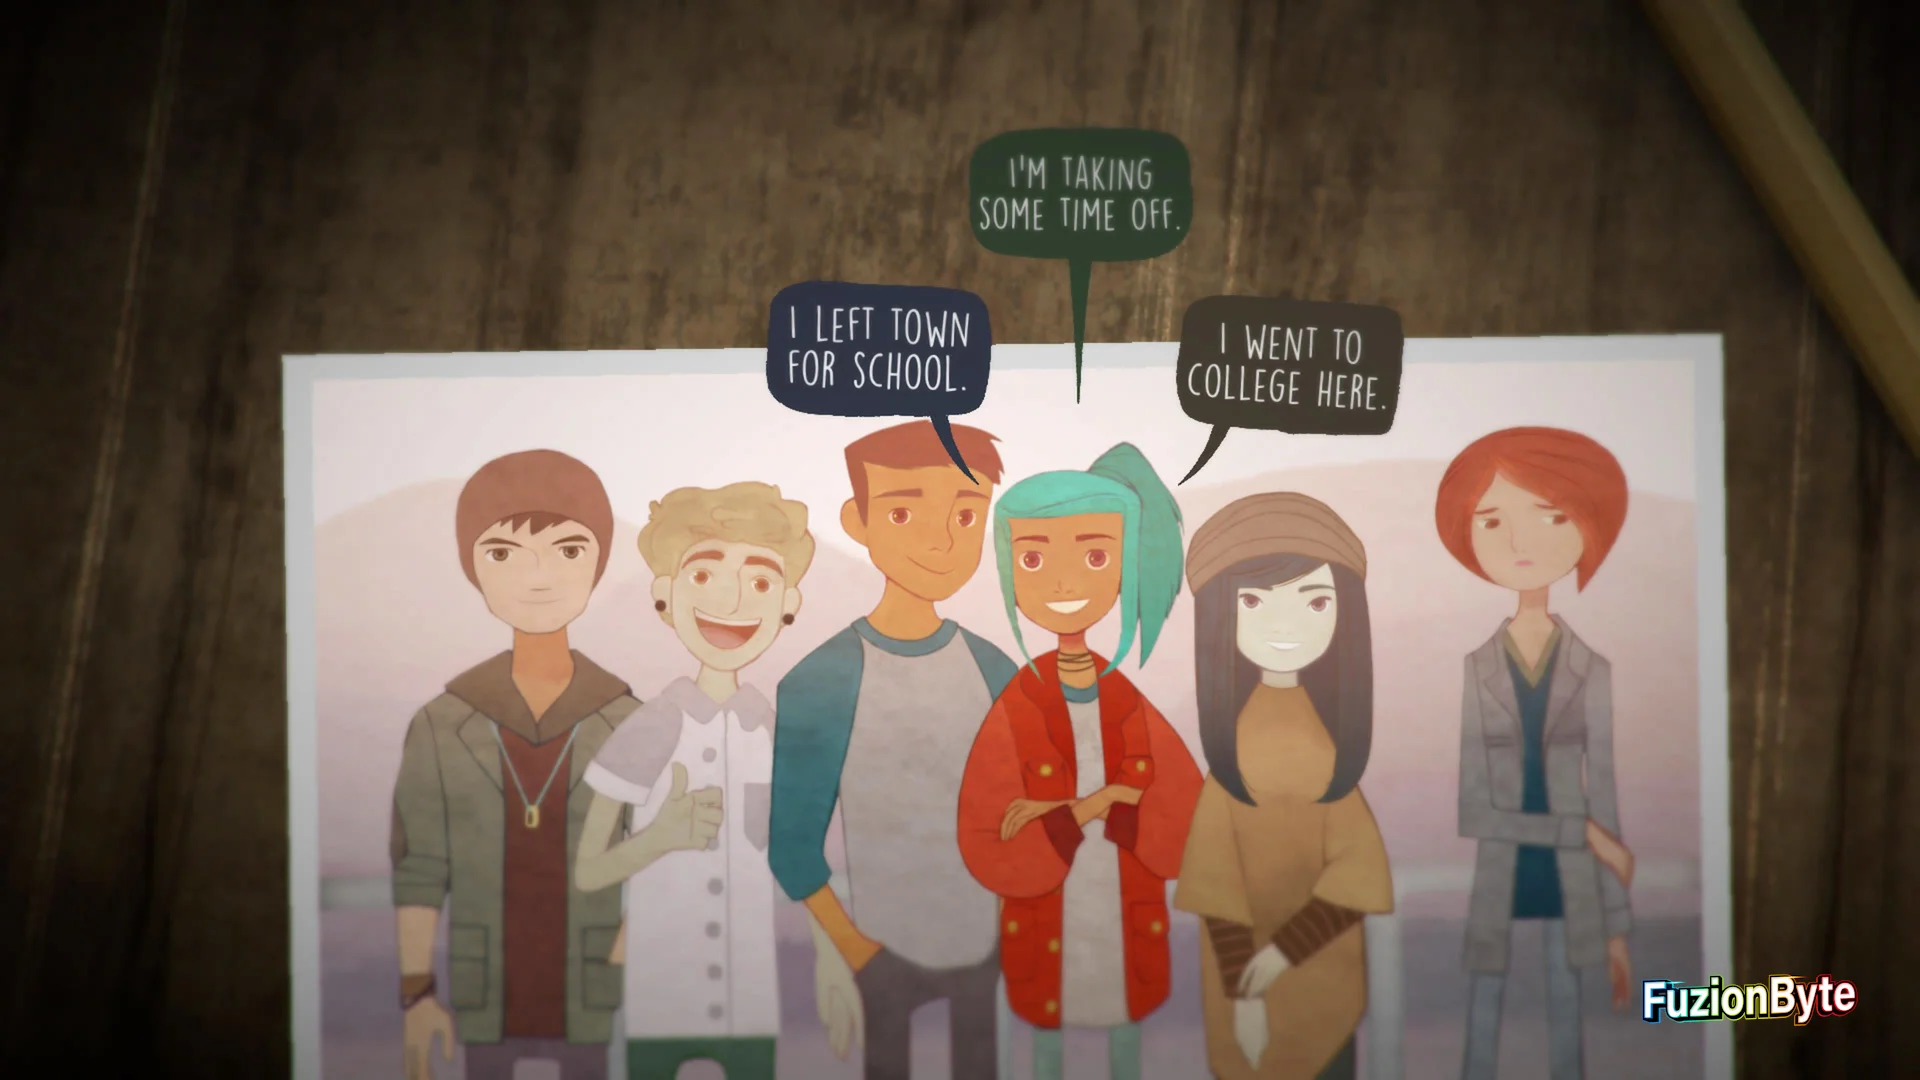
Step 14
Important Choice.
In the final flashback with Michael, he will ask you if he should leave for school or stay home. You must select “Go to school here“. This will bring Michael back to life.
Silent Playthrough
The “Silent Playthrough” will consist of you not using any of the dialogue bubbles throughout the entire game, for The Strong, Silent Type. This playthrough should be very quick because you don’t need to worry about anything else as long as you focus on these 3 points:
Point 1
When the speech bubbles show up, you will want to wait for them to fade out every time. If you accidentally press any of them, close the application and reload the save file.
Point 2
Your character will still speak doing certain actions in the game, but as long as you ignore the speech bubbles you will be okay.
Point 3
At the end of the game, you will be forced to use a speech bubble to describe what you are doing after the story. This is the only time it is permissible to use a speech bubble.
At the end of the game, you will unlock The Strong, Silent Type.
Collectables
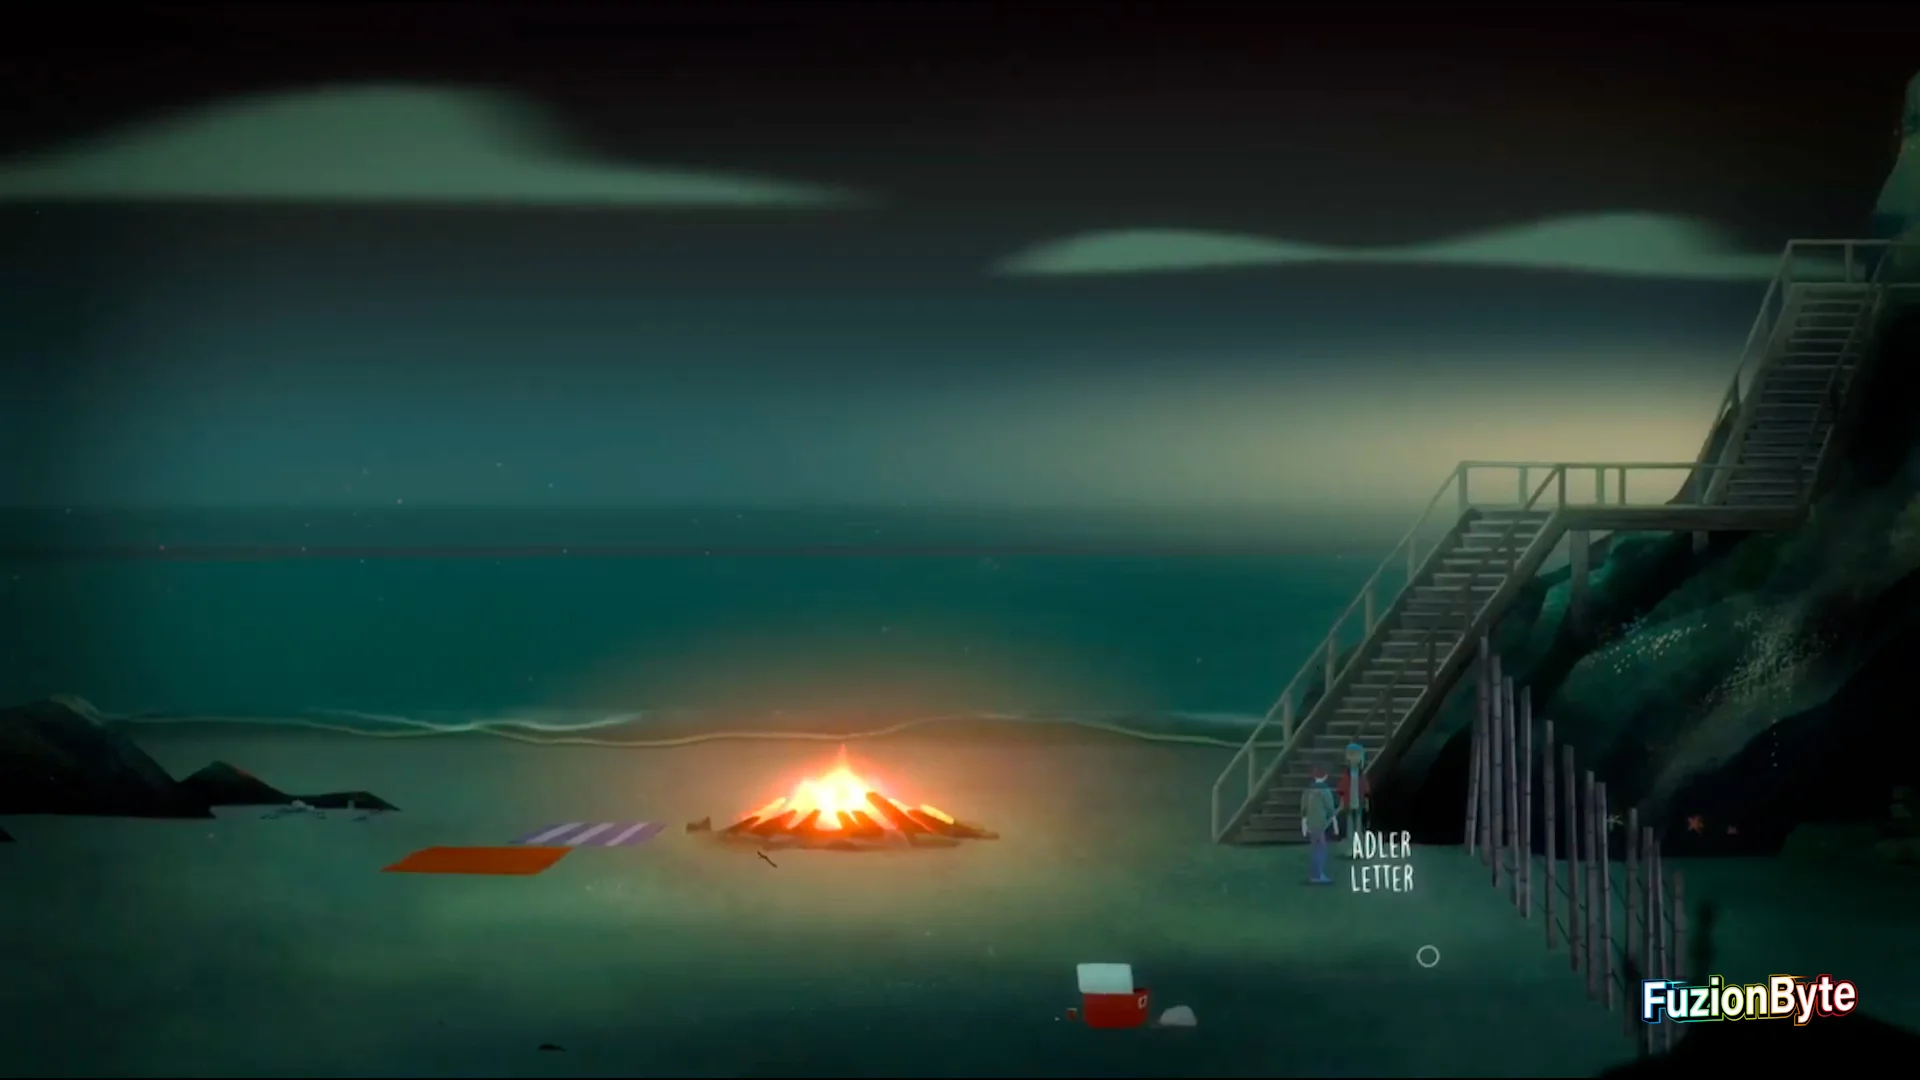
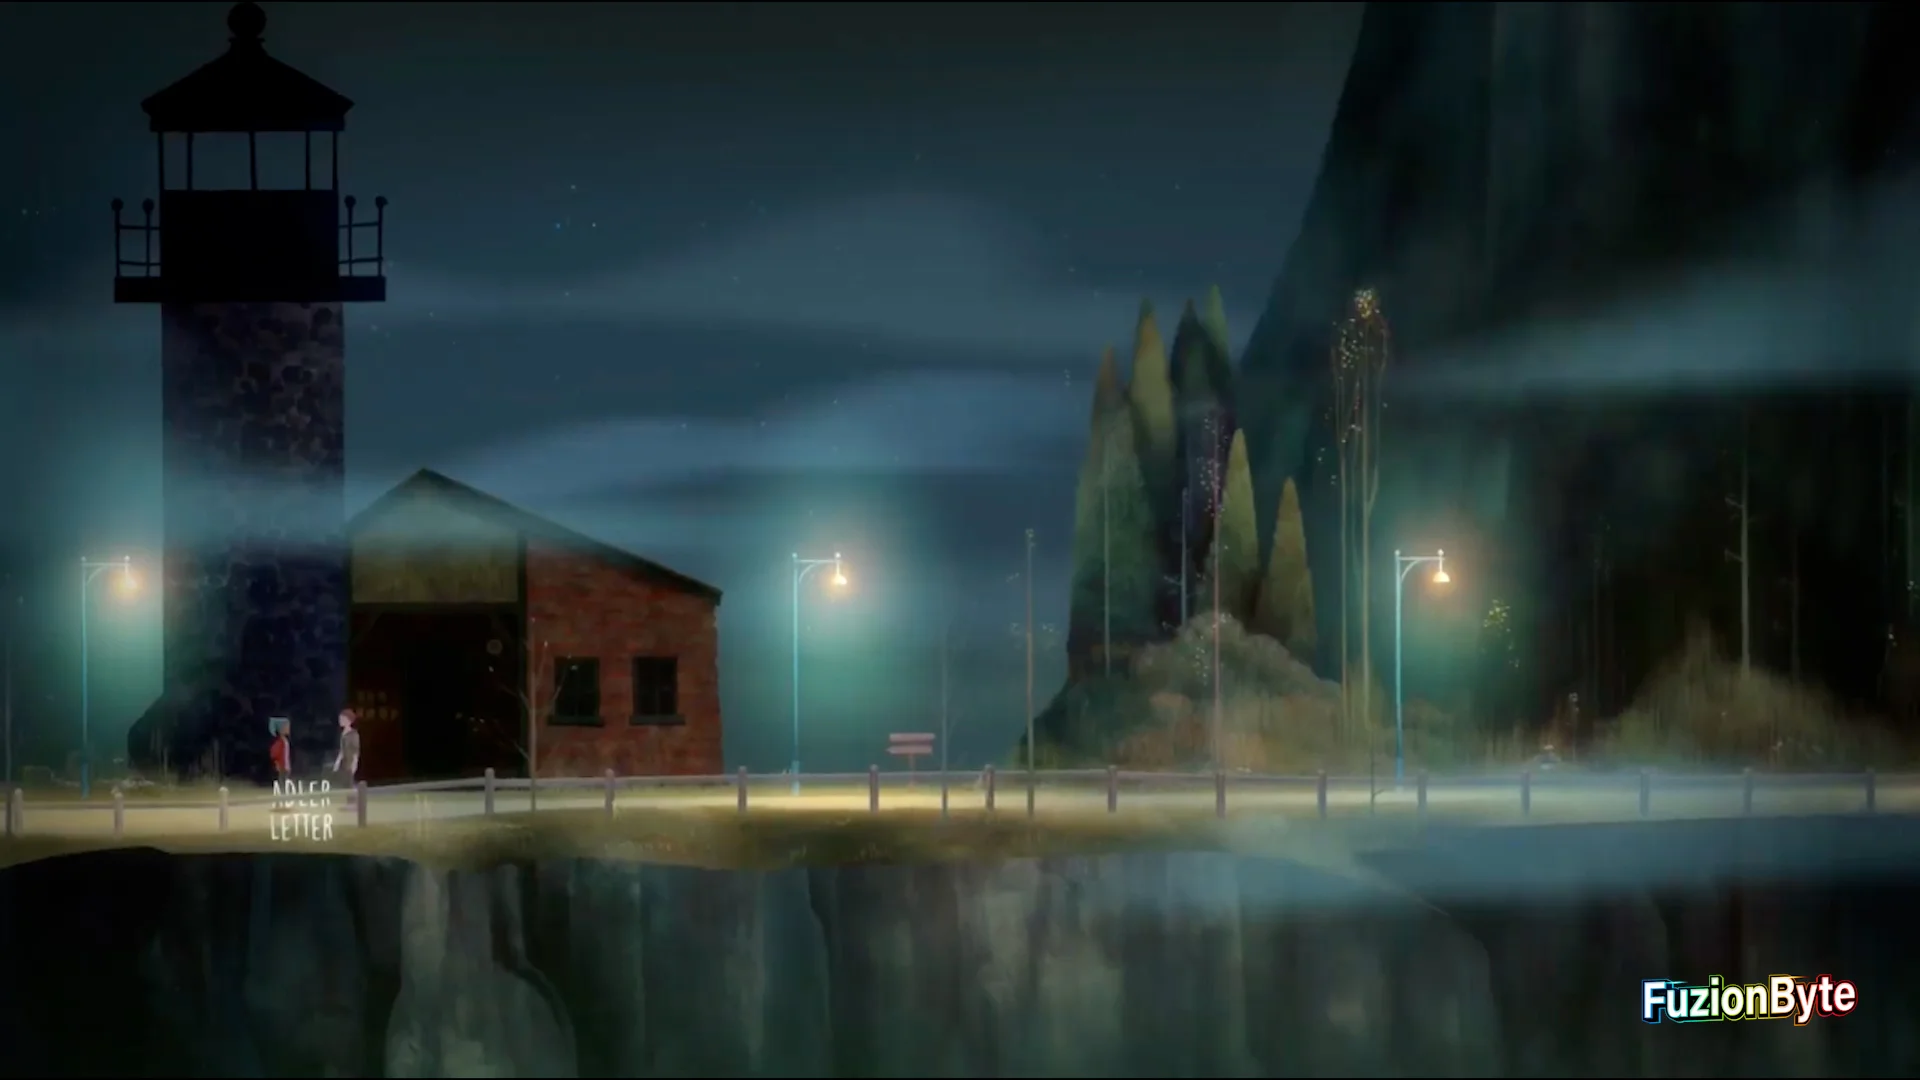
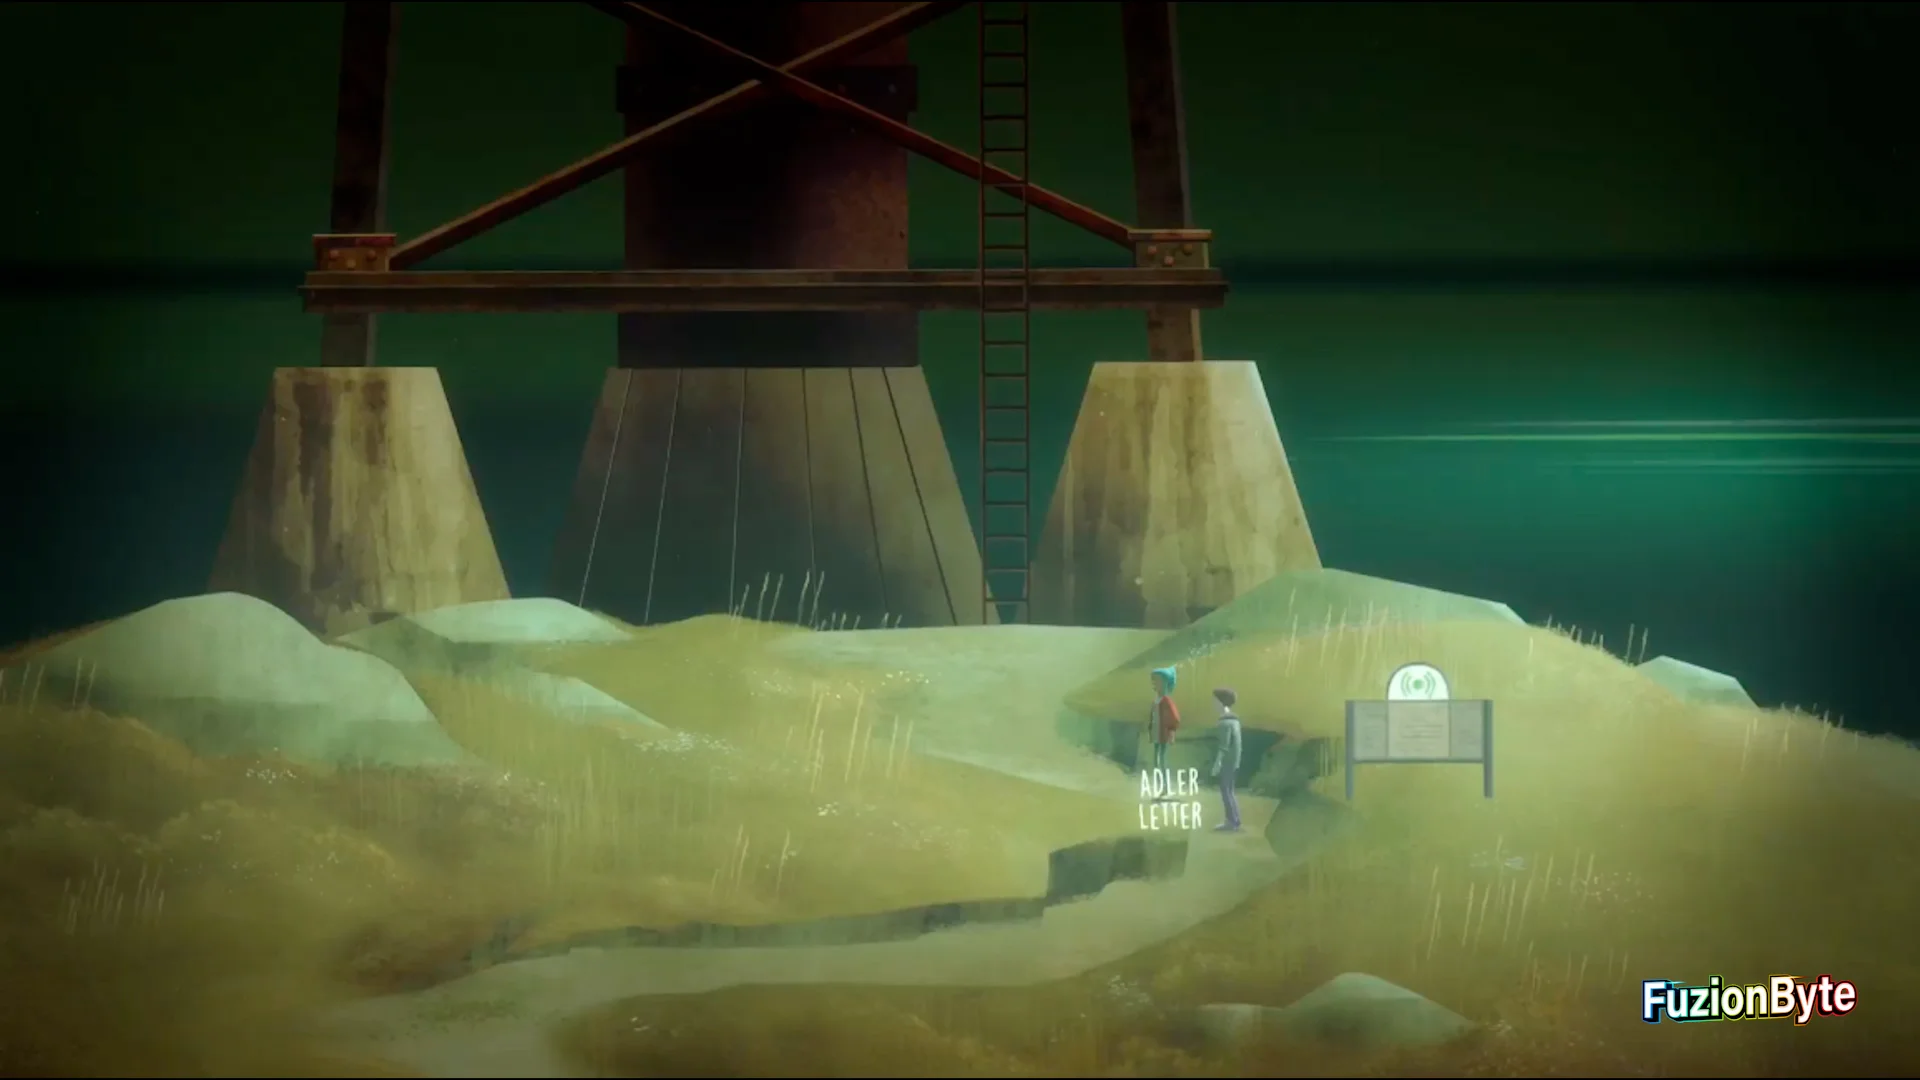
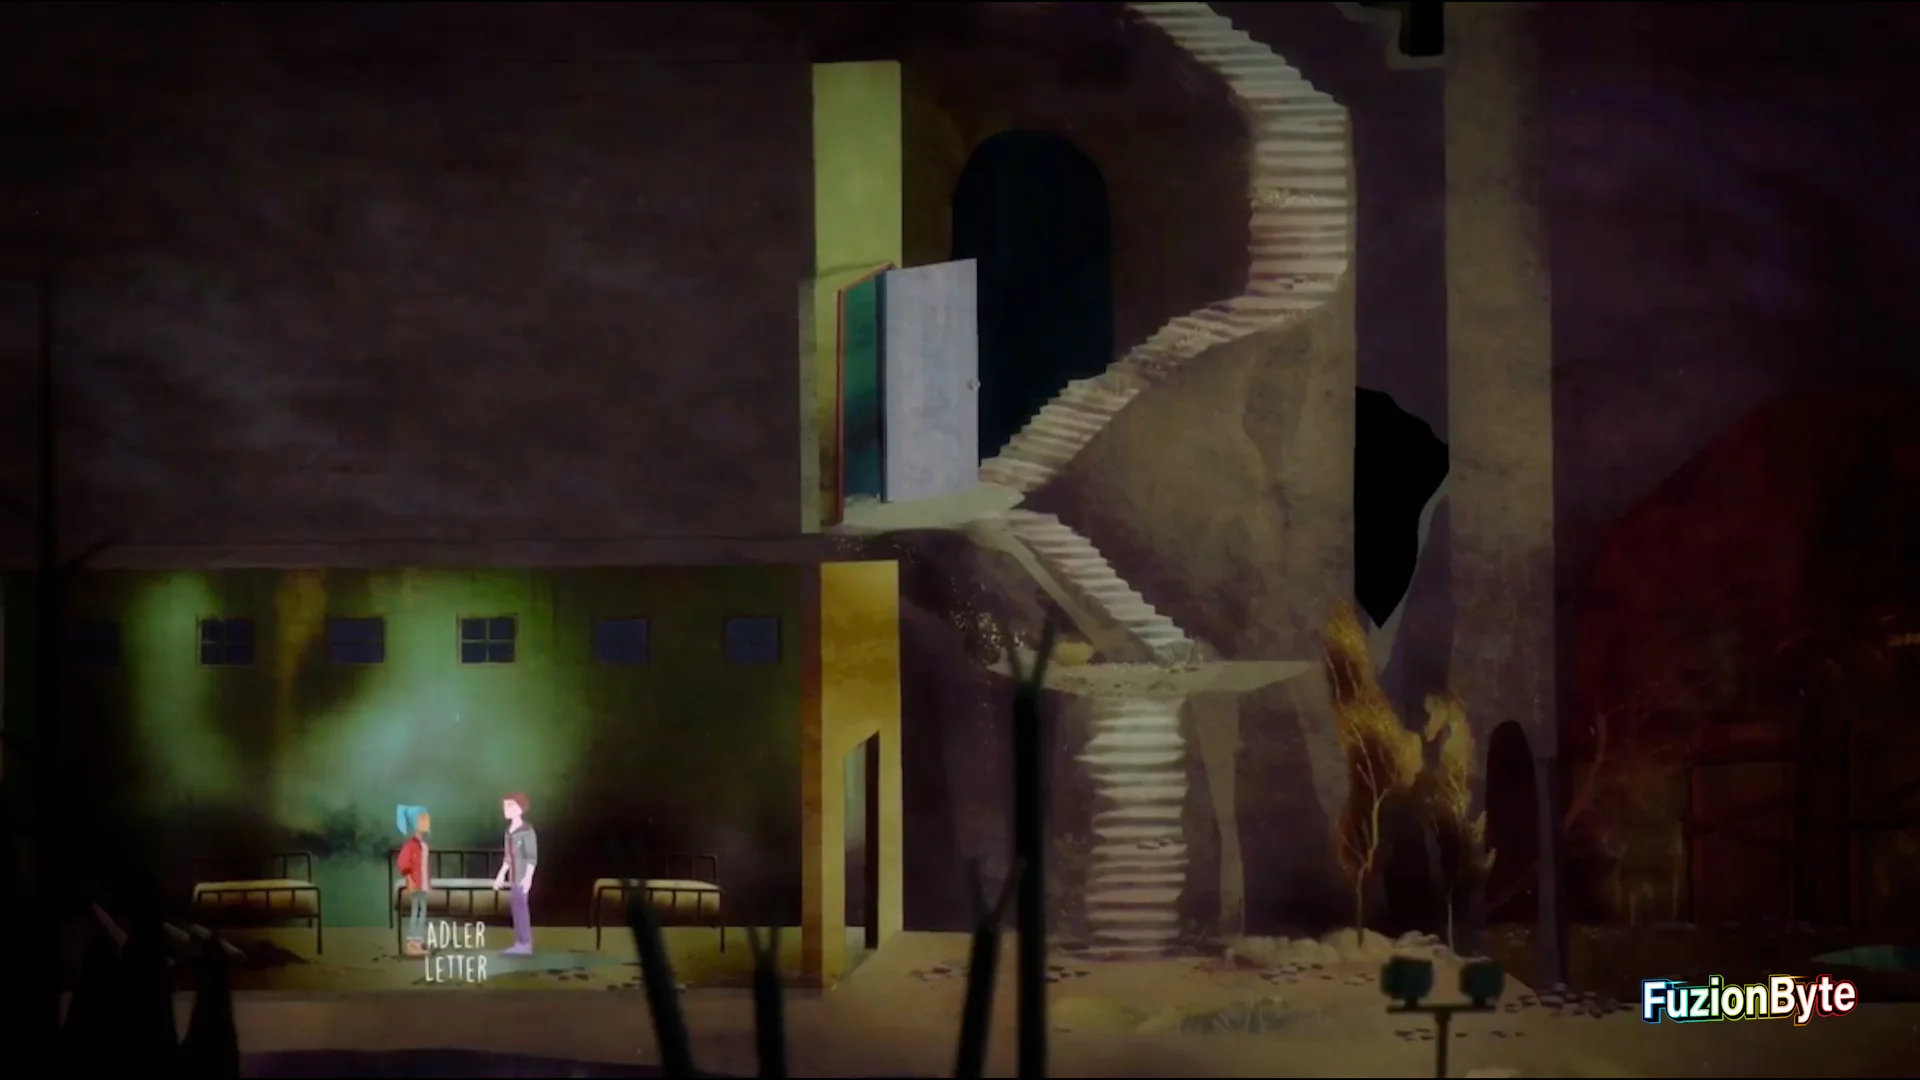
There are two types of collectables in this game; Hidden Frequencies and Adler’s Letters. Hidden Frequencies are indicated by rock stacks, and you can tune into a certain frequency with your radio to collect it. Adler’s Letters are typical collectables scattered all throughout the island. There are 12 Hidden Frequencies and 13 of Adler’s Letters to collect. These are all available after you’ve broken into the store and stolen the pocket radio. It is suggested to go for these collectables after taking the group photo outside the shelter at the end, since you have the entire island unlocked and don’t have to worry about random events happening where you walk.
Main Street Collectables
Letter 1/13
This letter is gained automatically during the story, you will pick it up while grabbing the pocket radio in the shop.

Letter 2/13
This letter can be found next to the Antiques & Gifts shop.

Discovery Cliffs Collectables
Letter 3/13
On the ground along the top path, just before some bushes.

Frequency 1/12
This frequency can be found inside a hut, on the top path, towards the right side. Unlock the hut’s door with frequency 64, and use frequency 100.3 on the rocks.

Beacon Beach Collectables
Letter 4/13
At the base of the stairs, next to the fence.
Epiphany Fields Collecatbles
Letter 5/13
Right before the lighthouse, close to the Discovery Cliffs edge.
Frequency 2/12
This rock stack can be found to the right of the light house building. Use frequency 105.1.

Frequency 3/12
Up the path towards the bunker. Use frequency 102.3.

Harden Tower Collectables
Letter 6/13
Can be found on the path, near the base of the tower.
Milner Outpost Collectables
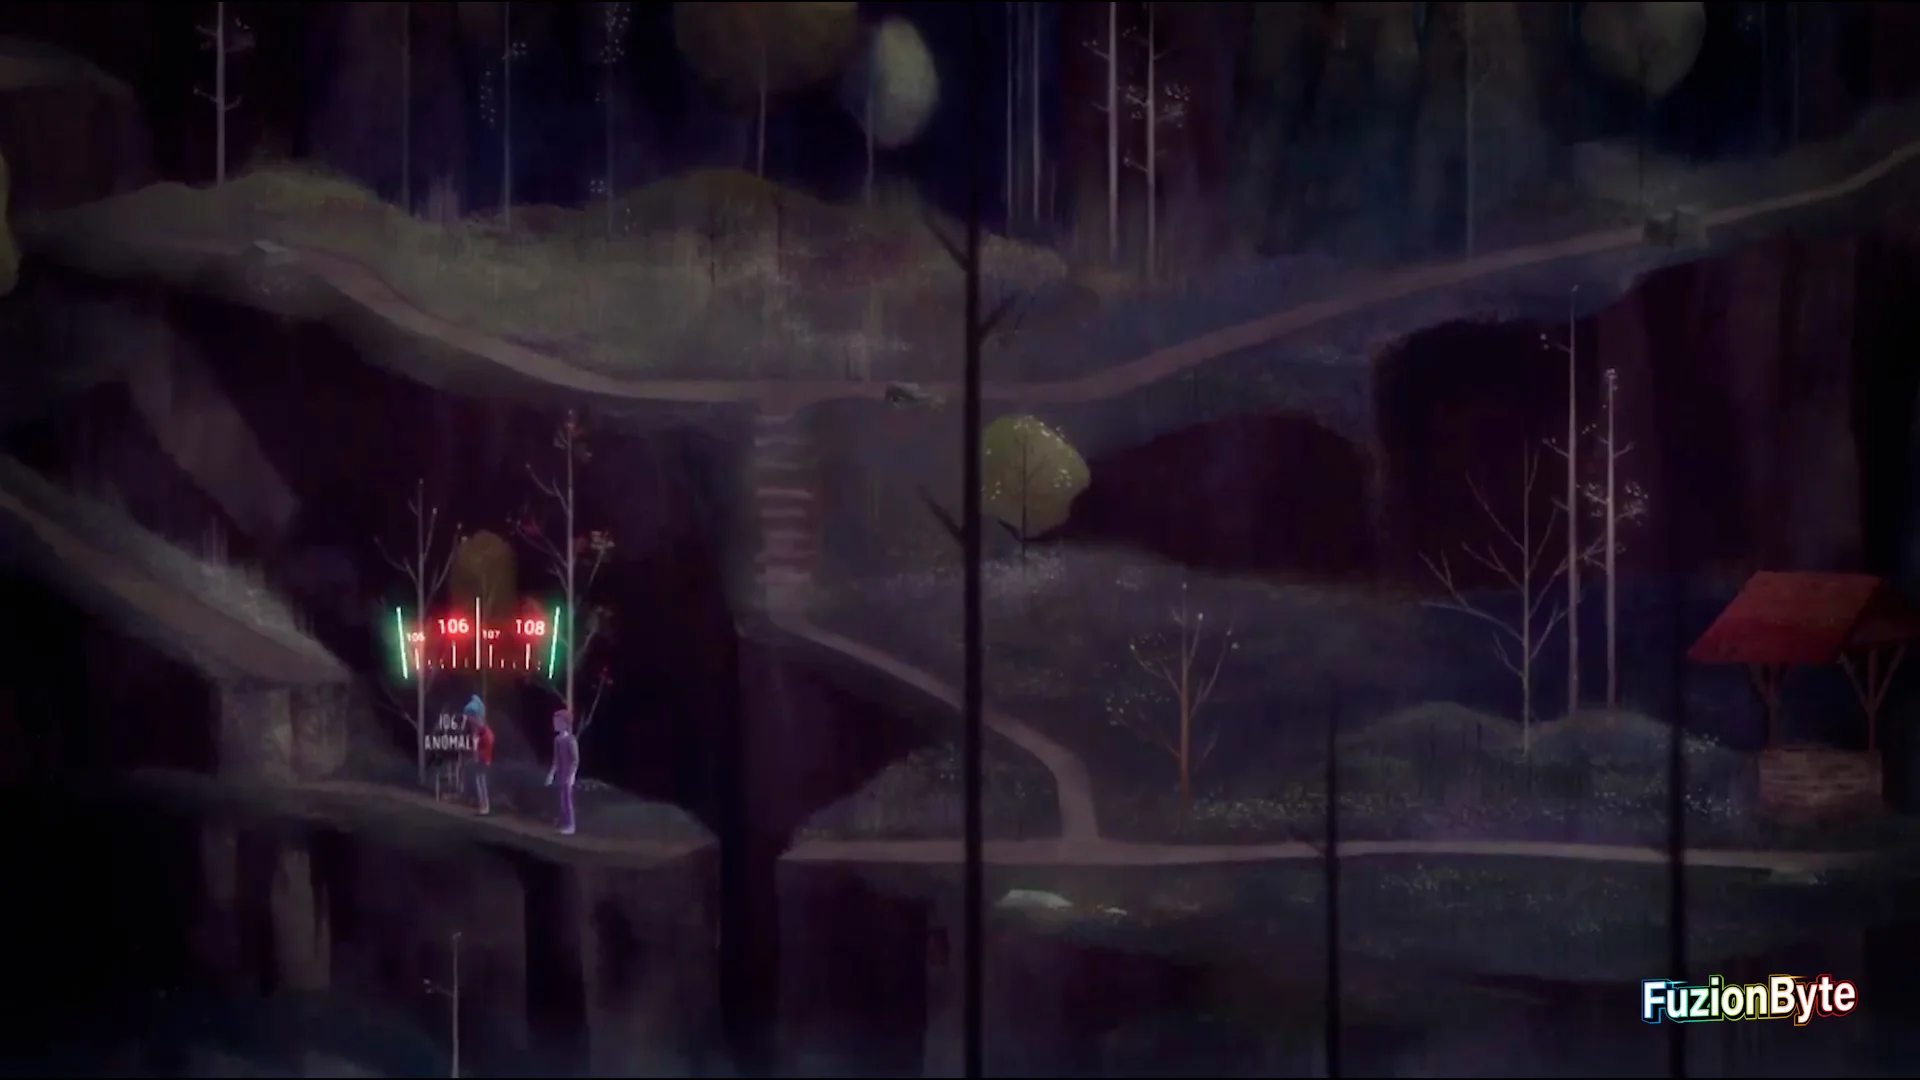
Frequency 4/12
Can be found towards the left side, on a lower path. Use frequency 104.7.

Letter 7/13
Found at the base of the tower.

Facilities Collectables
Frequency 5/12
Can be found on the left side in a closed room, you need to open a radio lock with frequency 130, and use frequency 89.9 on the rock.
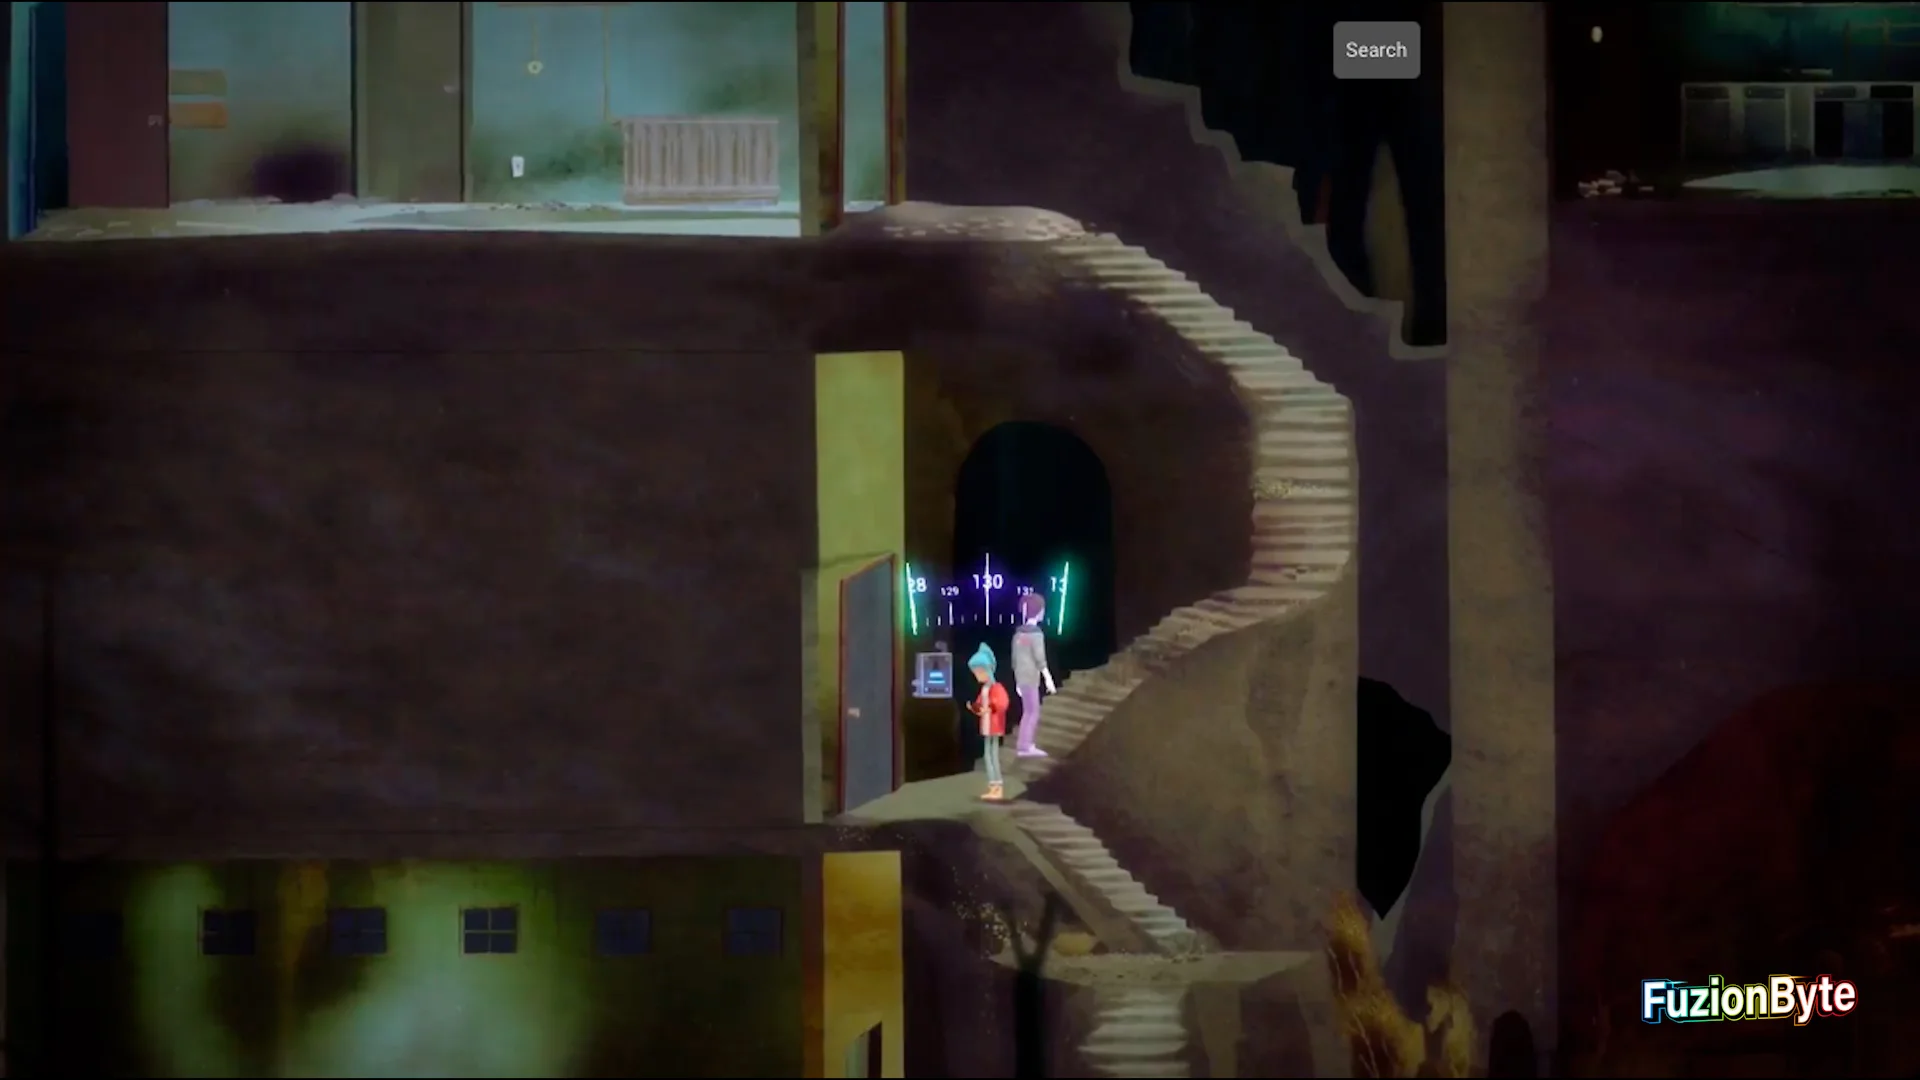
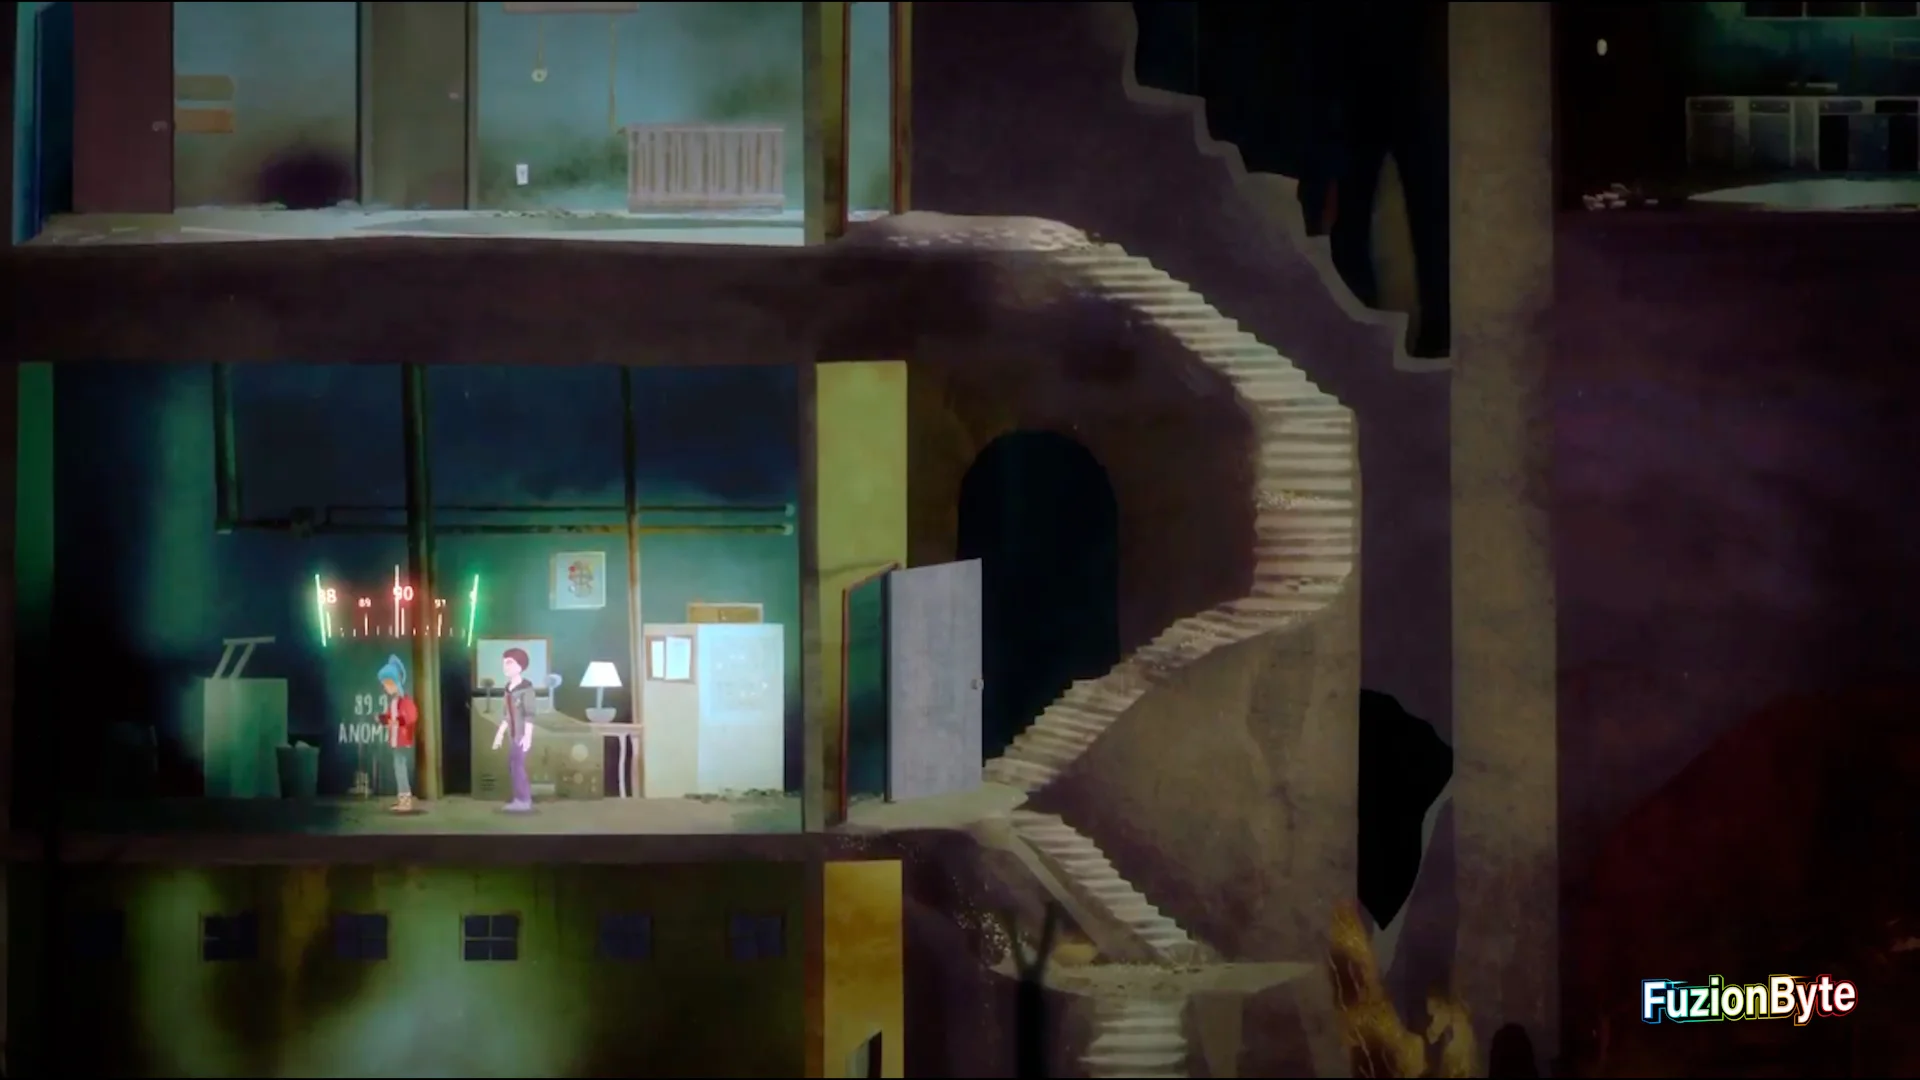
Letter 8/13
Found inside the room underneath the last collectable.
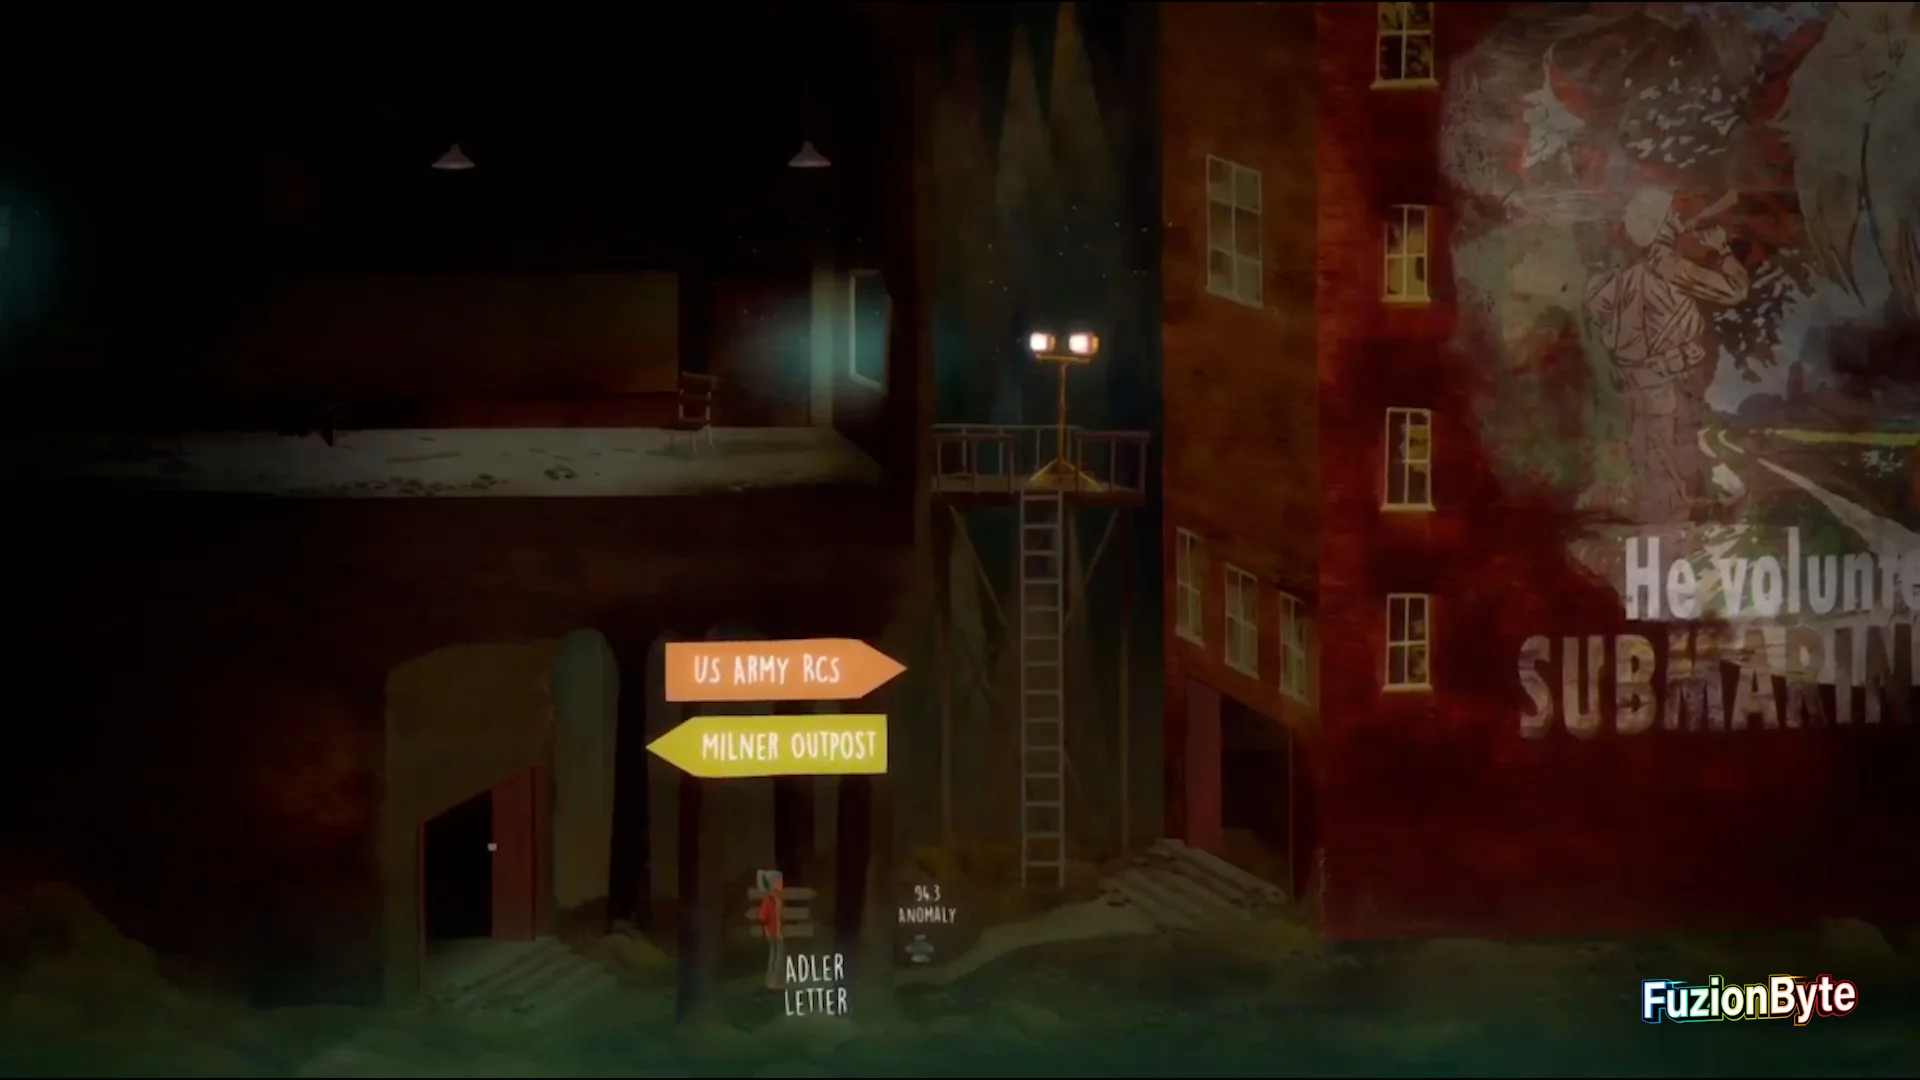
US Army RCS Collectables
Frequency 6/12
Can be found to the left of the bottom of the ladder. Use frequency 94.3.

Letter 9/13
Can be found a few feet to the left of the previous collectable.
Towhee Woods Collectables
Letter 10/13
Can be found at the bottom-left, you will need to scale down two cliffs to get here.


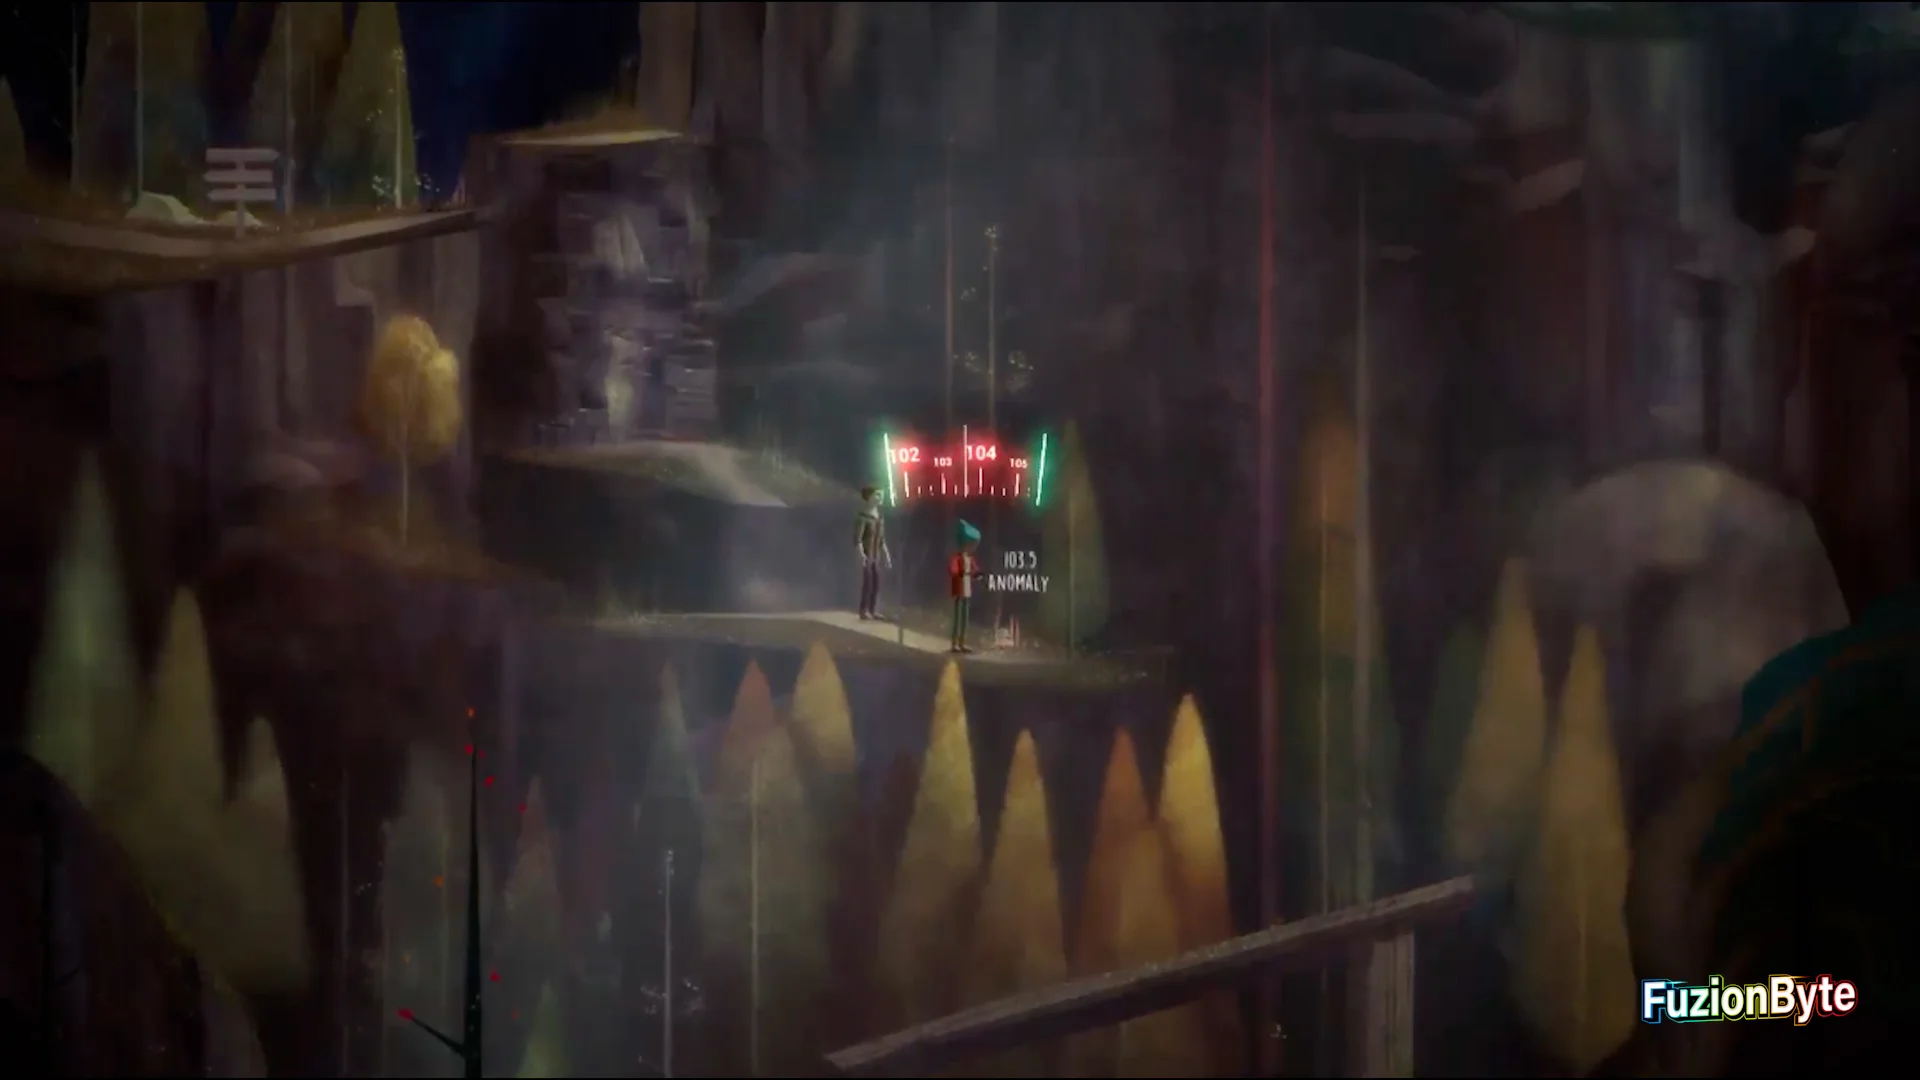
Frequency 7/12
Can be found near the left side, down a rock wall. Use frequency 103.5.
Bridge Stand Collectables
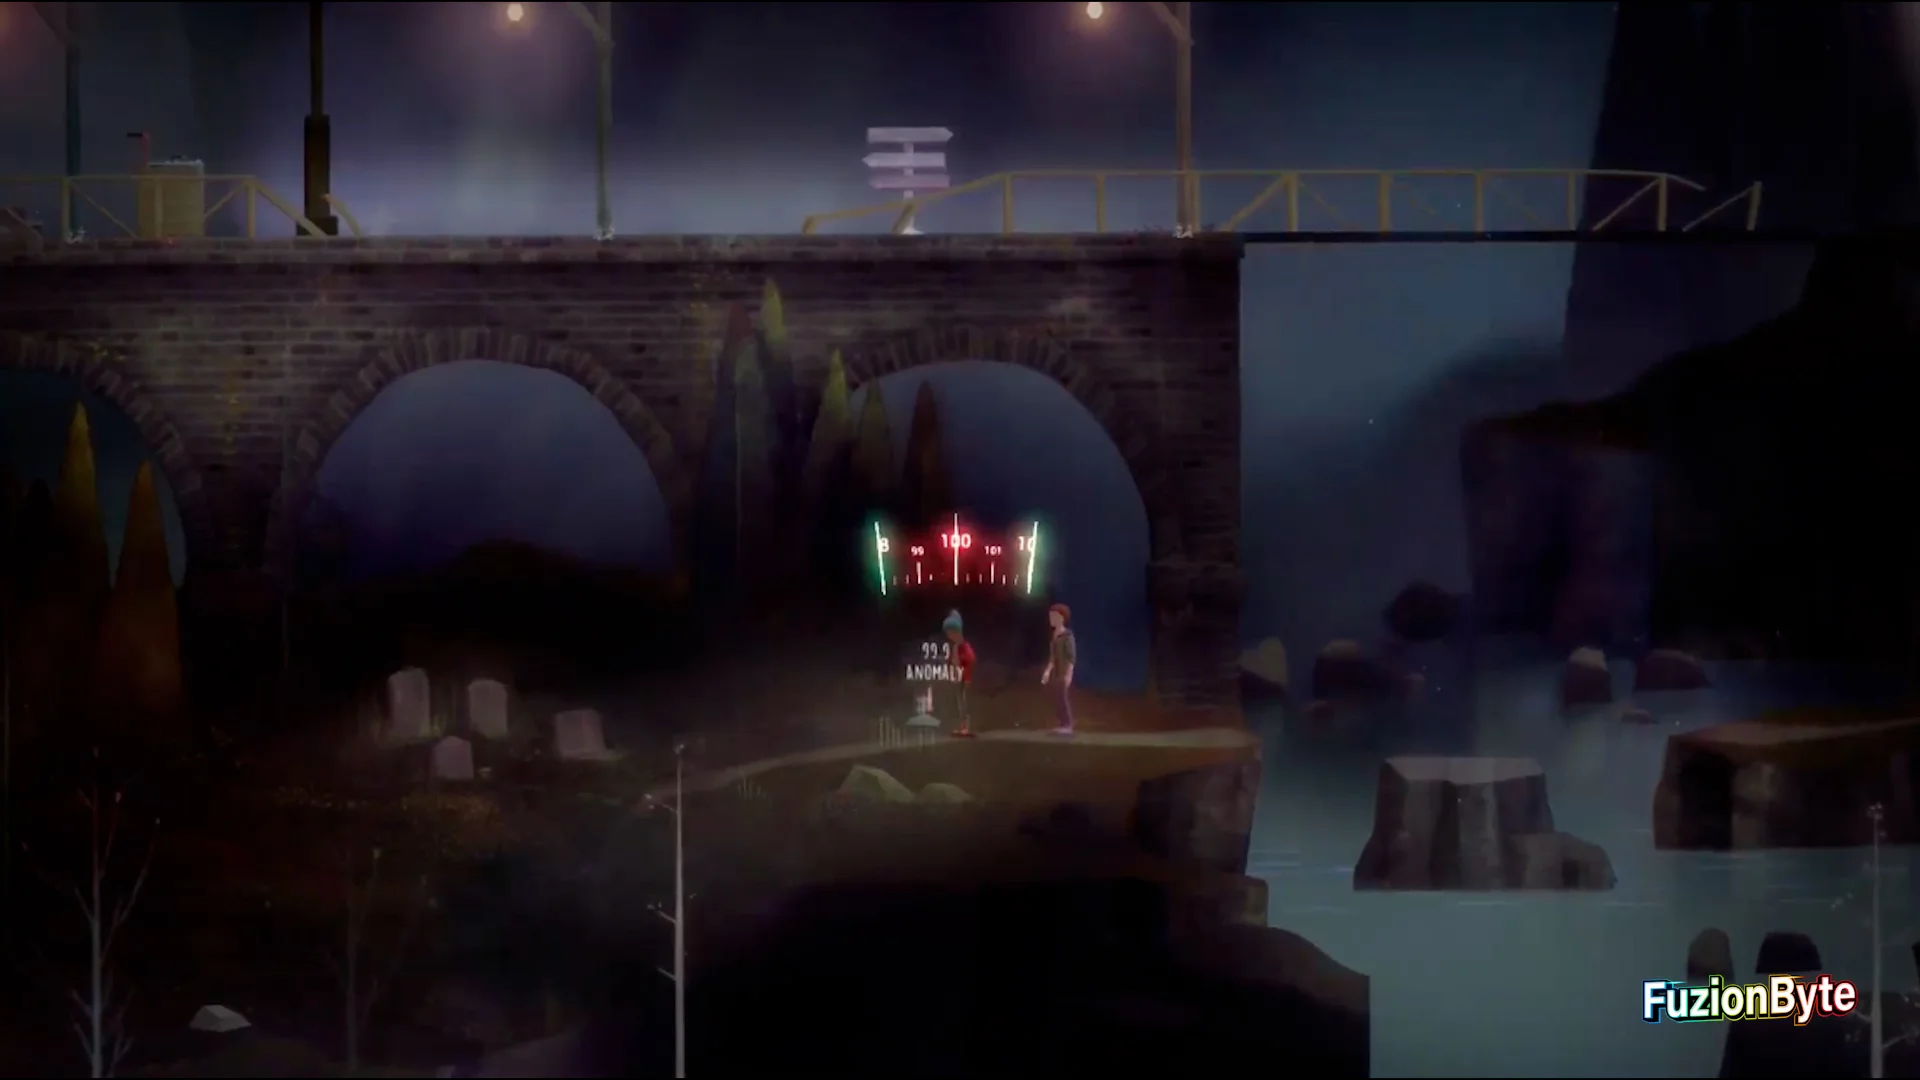
Frequency 8/12
Can be found on the bottom path, to the left. Use frequency 99.9.
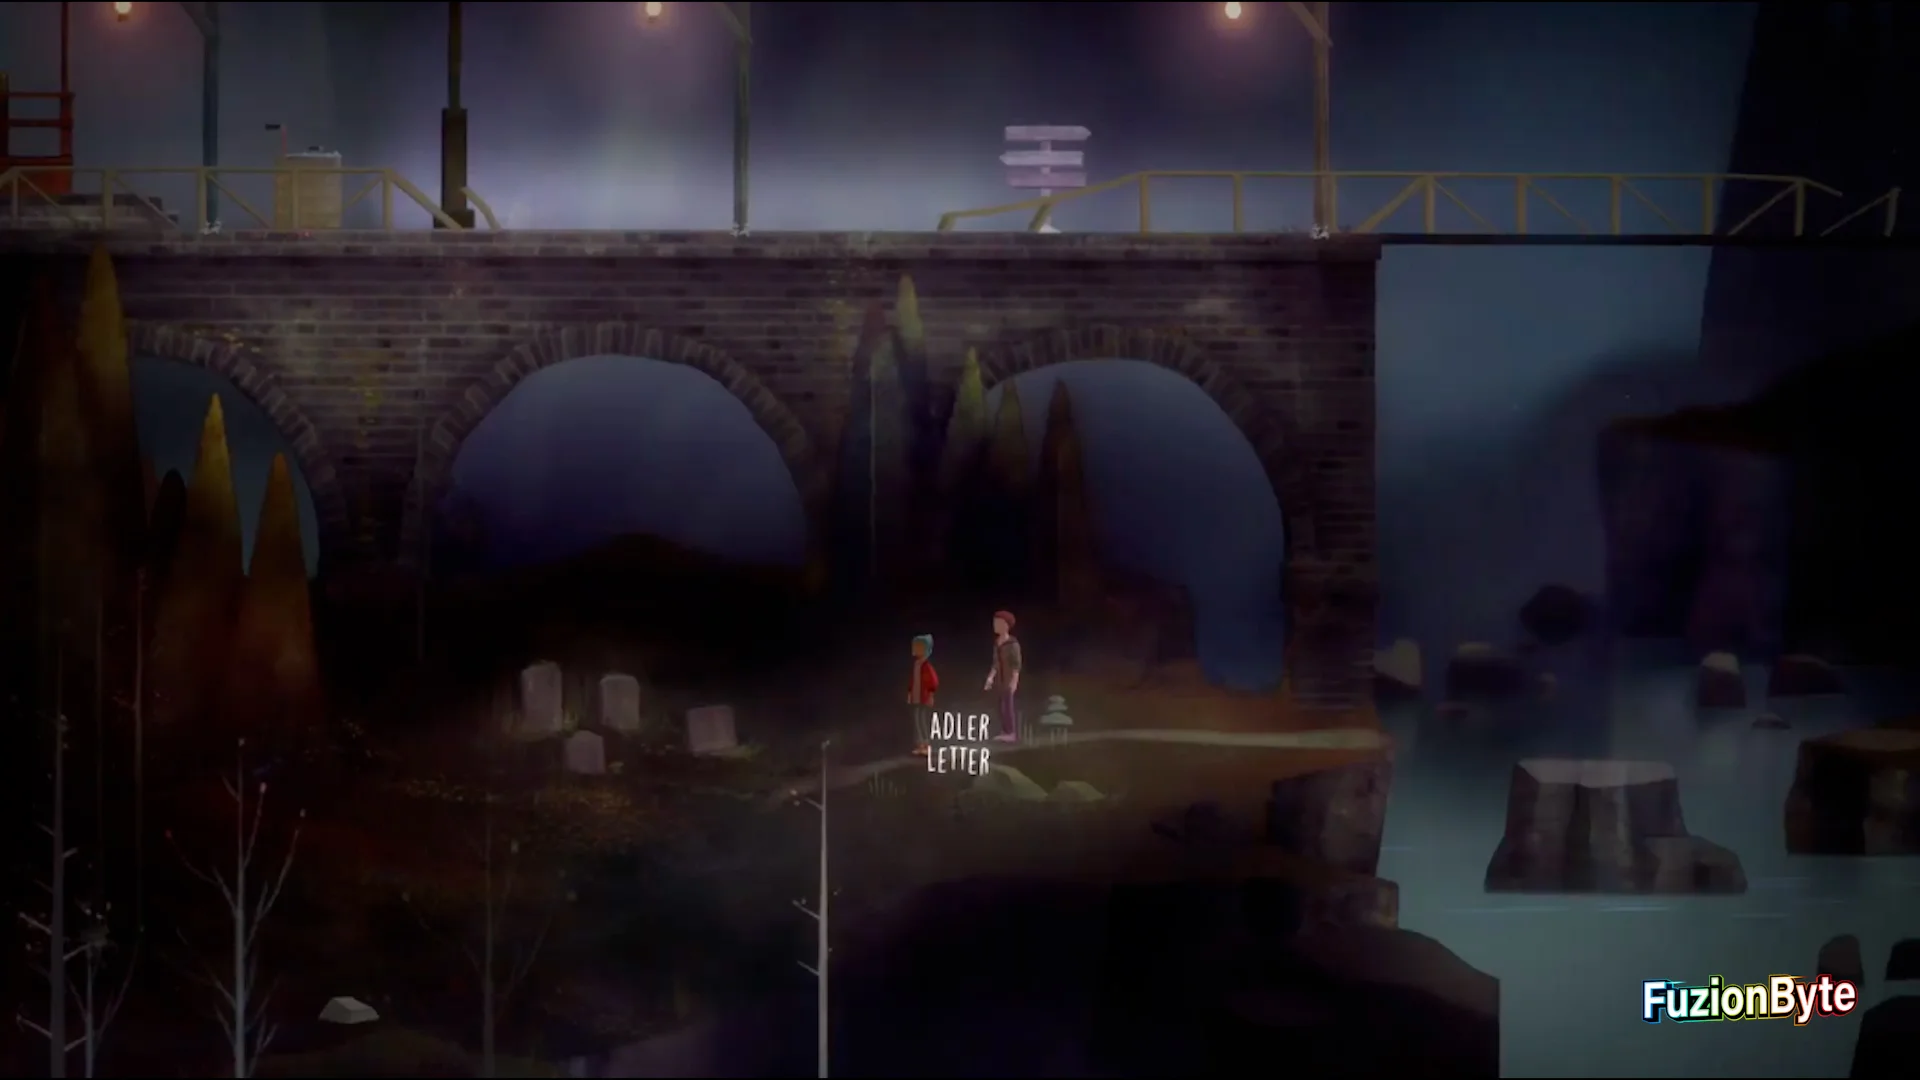
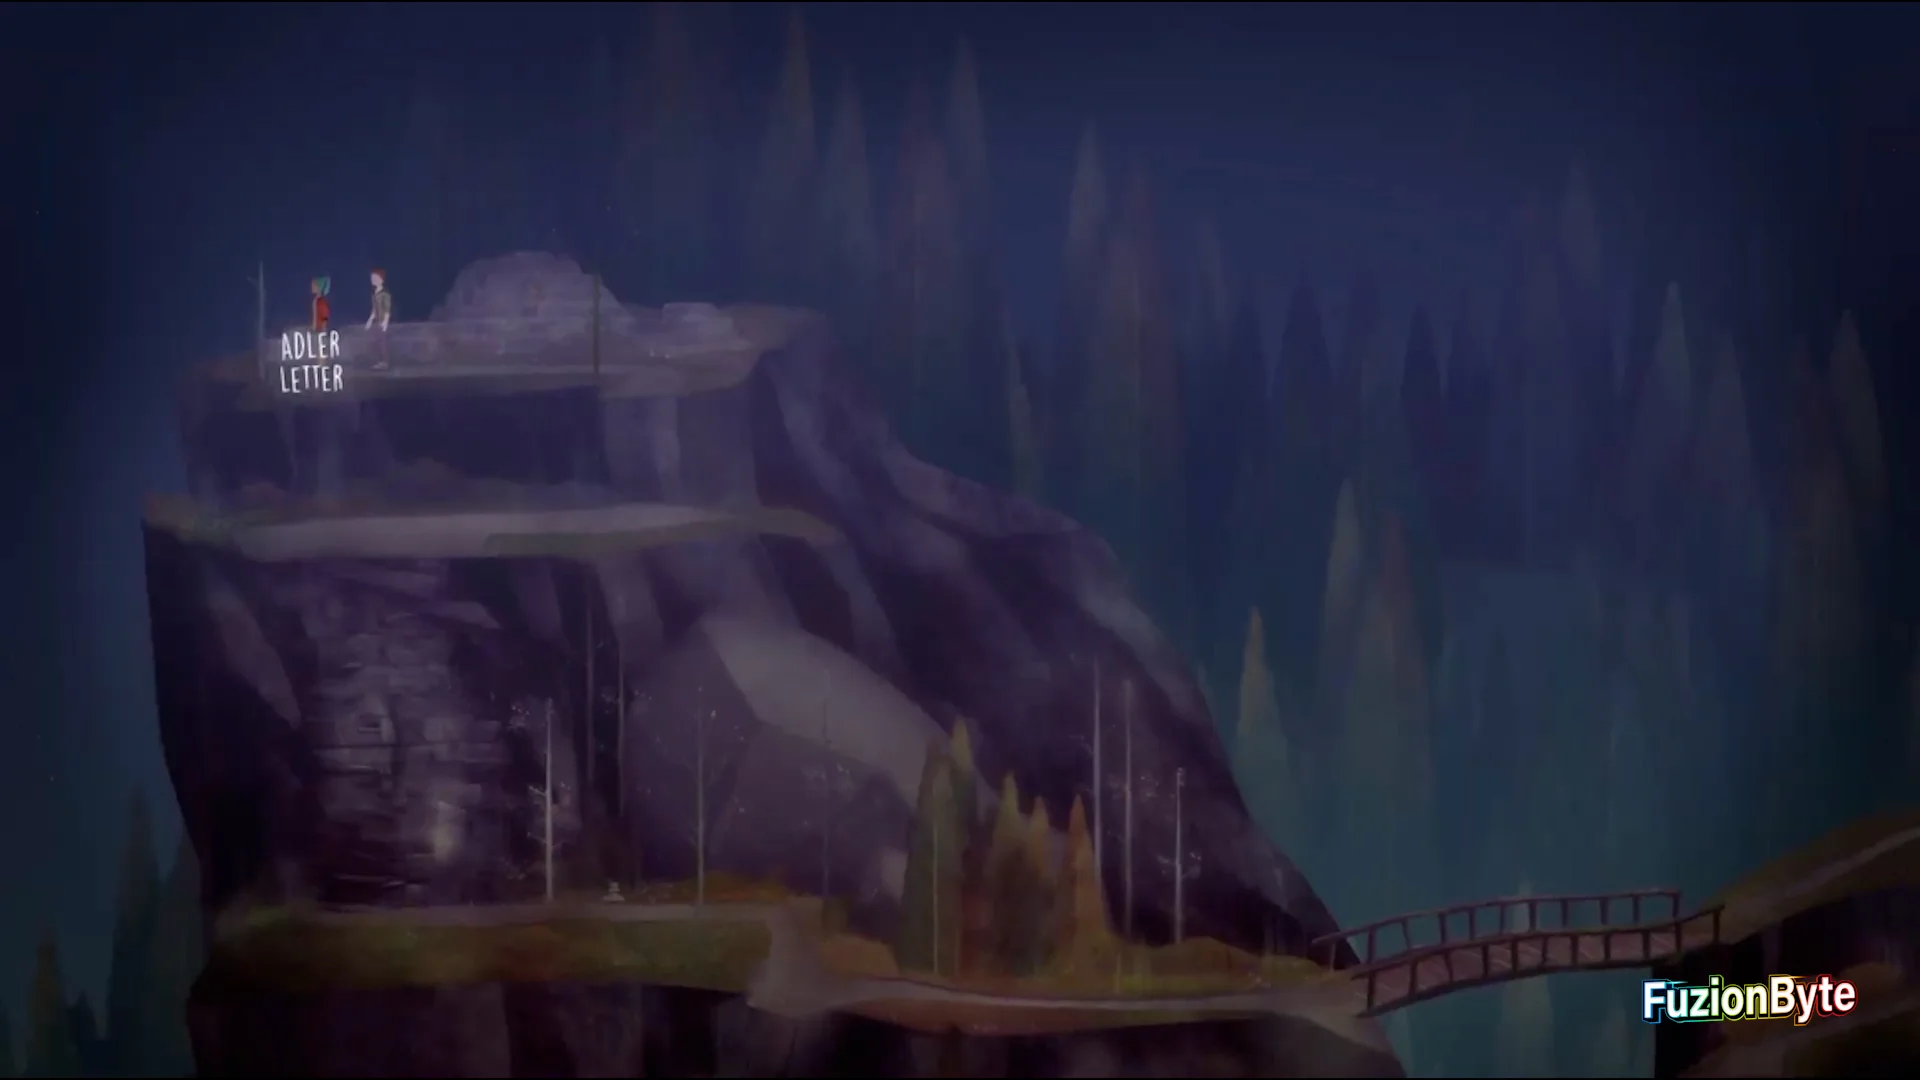
Letter 11/13
Just to the left of the previous collectable.
Frequency 9/12
Found at the top-right corner. You’ll have to climb the hillside. Use frequency 101.1.

Camp Grounds Collectables
Frequency 10/12
Found at the top-left corner. You will have to climb your way up. Use frequency 91.5.

Letter 12/13
At the very top-left, above the previous collectable.
Frequency 11/12
Found along the top path, towards the right. Use frequency 97.9.

Relay Point Collectables
Frequency 12/12
Found on the bottom path, towards the left side. Use frequency 106.7.
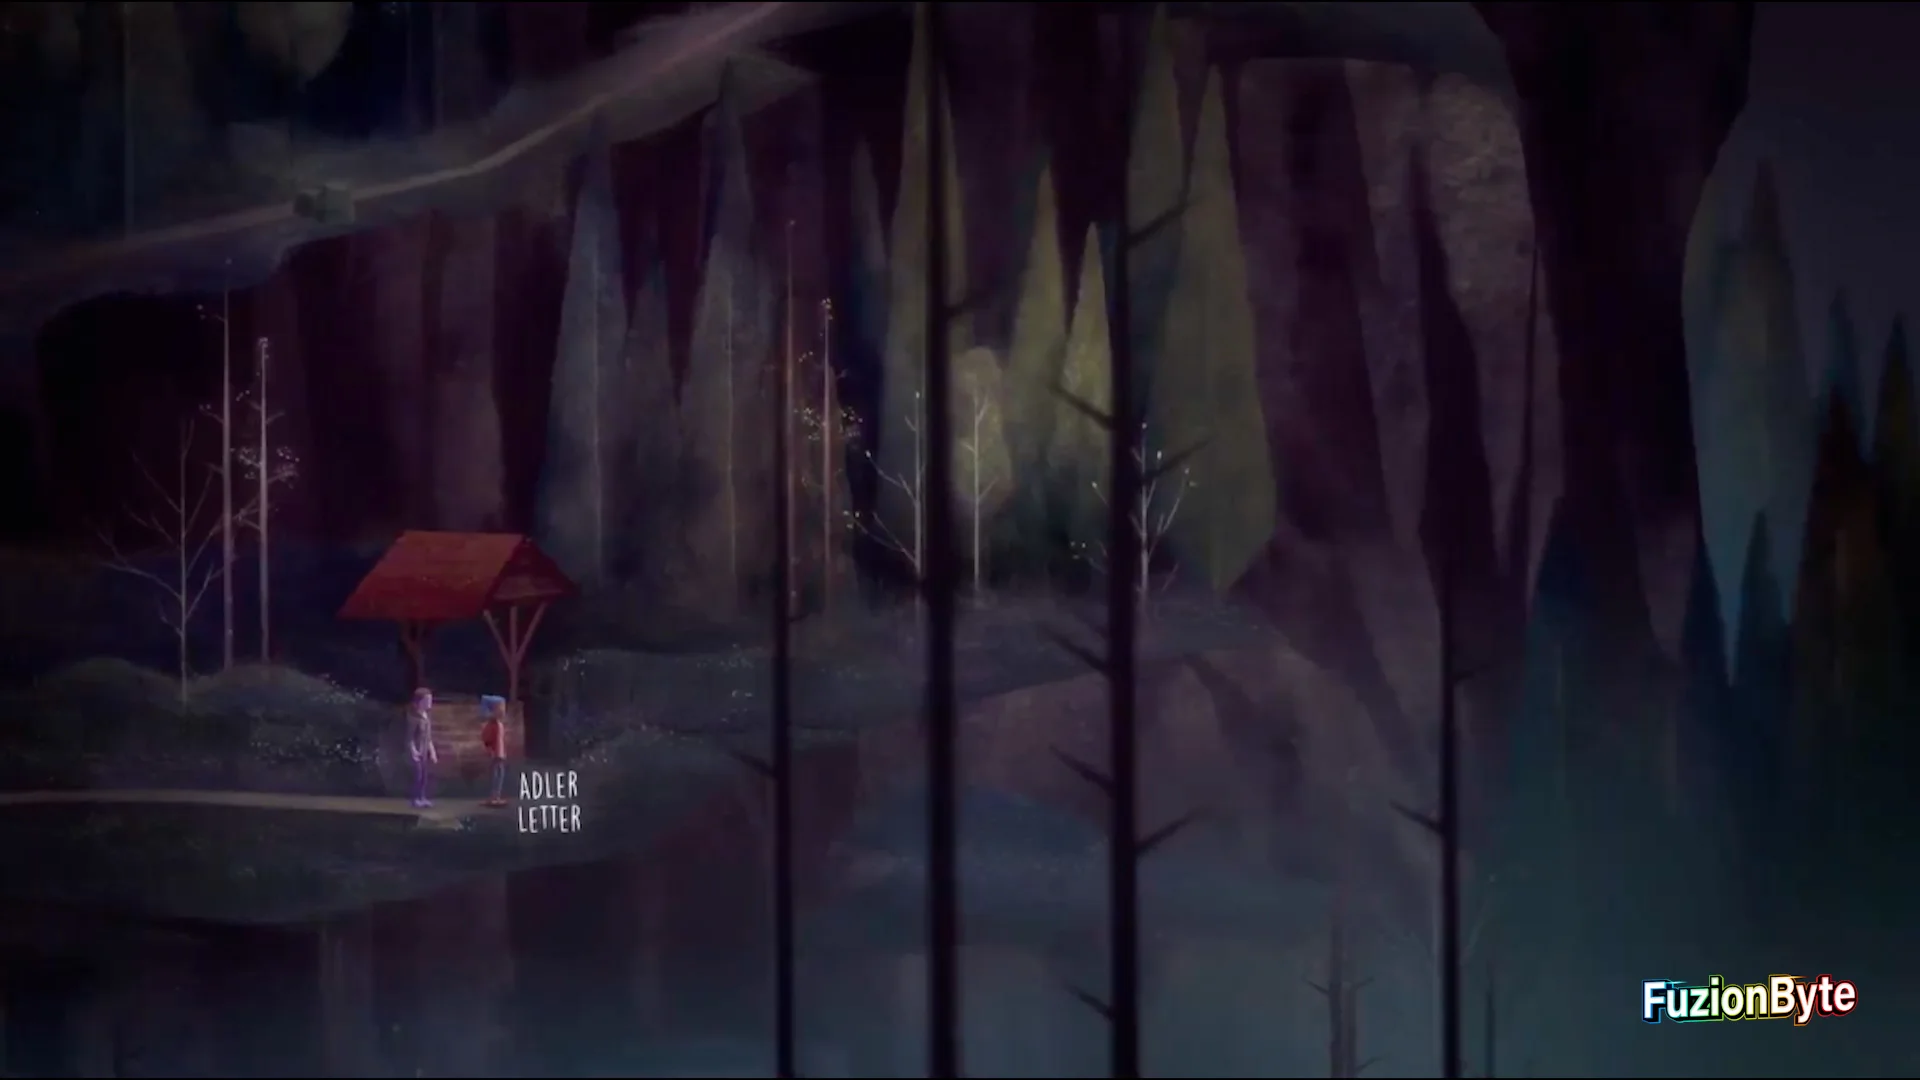
Letter 13/13
Along the bottom path, at the right near the water well.
That’s the Oxenfree 100% Walkthrough complete, I hope it helps you through the game.
deneme bonusu