The Last Of Us Part 1 Something To Fight For Trophy Guide
Something to Fight For
Find all training manuals
Author: FuzionByte.
Genres: Action Adventure, Horror.
The Last of us Part 1 directory.
Here is the The Last Of Us Part 1 Something to Fight For trophy guide. There are a total of 12 training manuals to find as you progress through the game which once collected will improve the effectiveness of your health recovery items, melee weapons, explosives and your shivs making you a lot more effective in combat situations.
Training Manuals
Once you have the training manual the benefit will be applied immediately, you won’t need to do anything else and the 12 training manuals, their names and what they provide you are as follows:
Training Manual 1: Shiv: Sharpening
Bill’s Town, Safehouse.
Improved Durability of Blades.
Once you’re in the bar, head over to where Bill is standing then just before you get to him, look on the bar itself to find the Shiv: Sharpening training manual.
Training Manual 2: Health: Splinting
Pittsburgh, Alone and Forsaken.
Improved effectiveness of First Aid Measures in the Field (Increases the effectiveness of health kits by 33%).
Once you are out of the room with the corpses on the tables, go up the stairs then take a right into the room. Go halfway through the room and look down to your left to find the Health: Splinting training manual on the bottom right of the mattress.
Training Manual 3: Shiv: Reinforcement
Pittsburgh, Hotel Lobby.
Improved Durability of Blades.
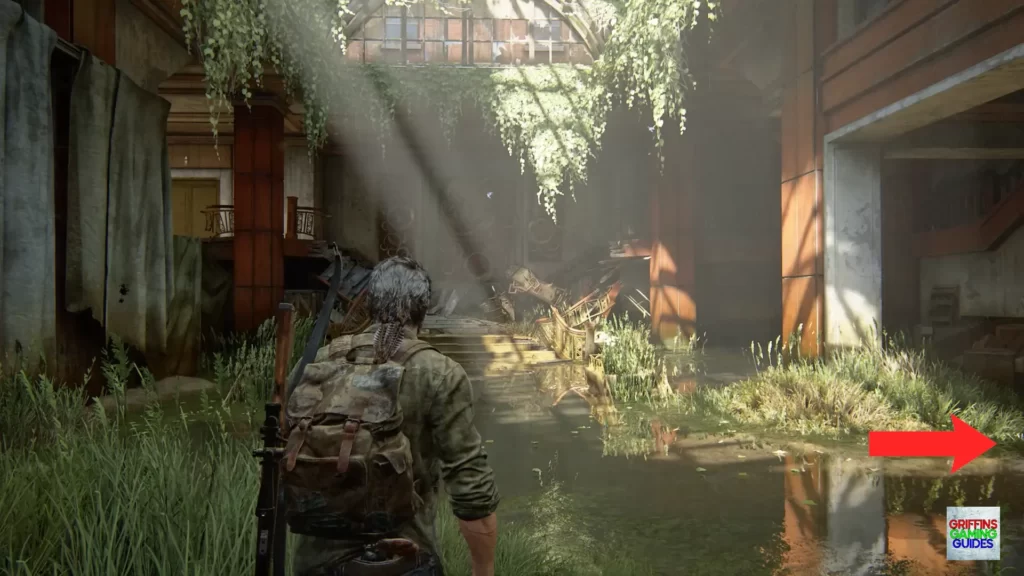
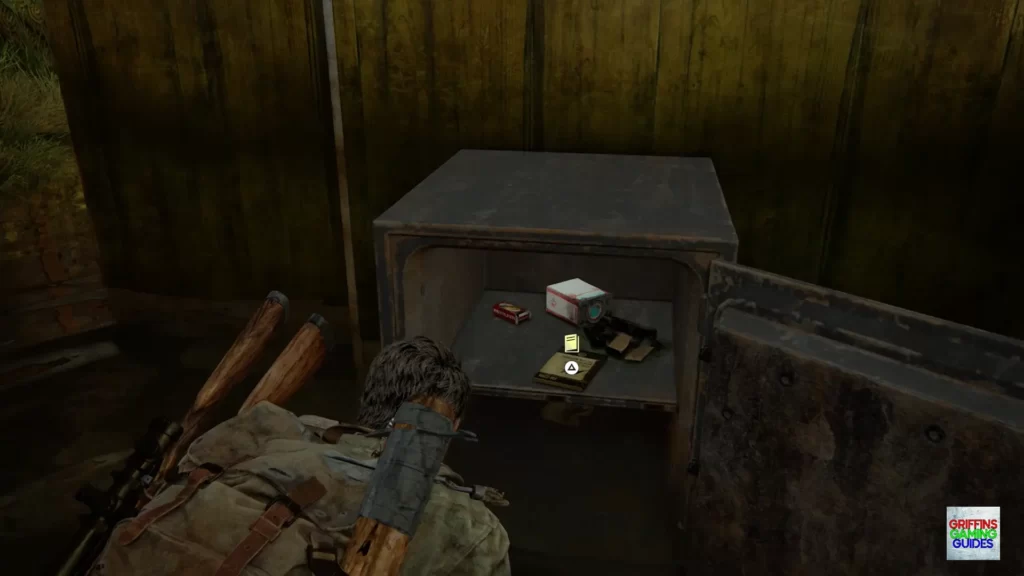
From the start of the chapter (after you drop in through the window once you have crossed the river using the plank between the 2 vehicles) go to your right and follow the path around to come to the reception area. To your left will be a safe which you can open with the code: 22-10-56 then once the safe is open ensure you collect the Shiv: Reinforcement training manual.
Training Manual 4: Melee: Knots
Pittsburgh, Hotel Lobby.
Improved Durability of Bladed Tools.
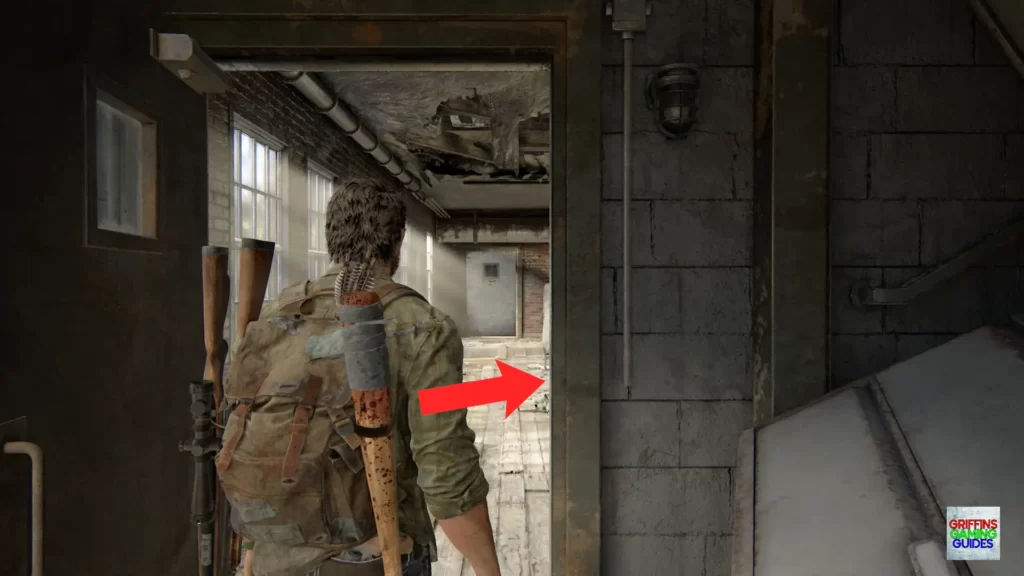
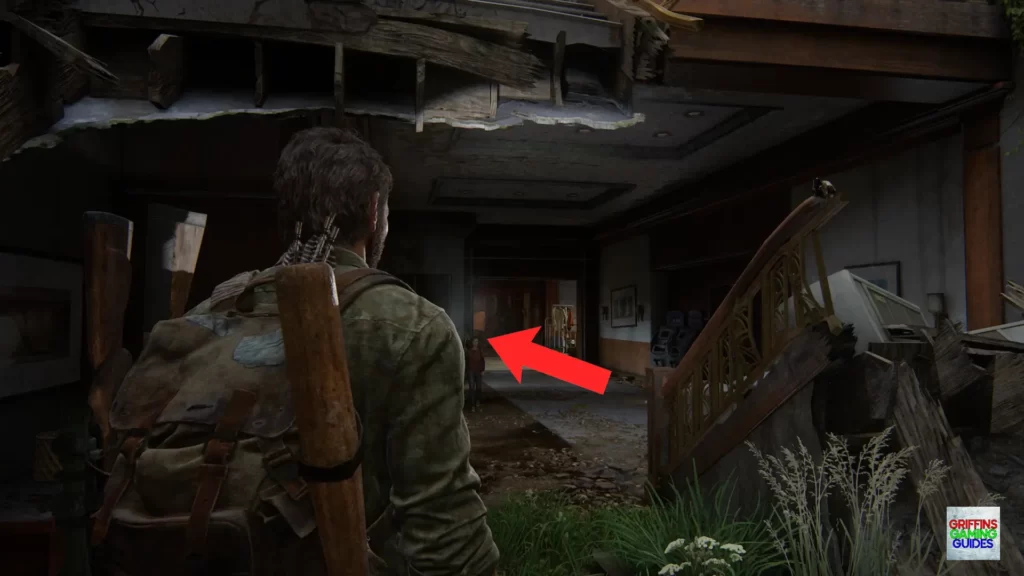
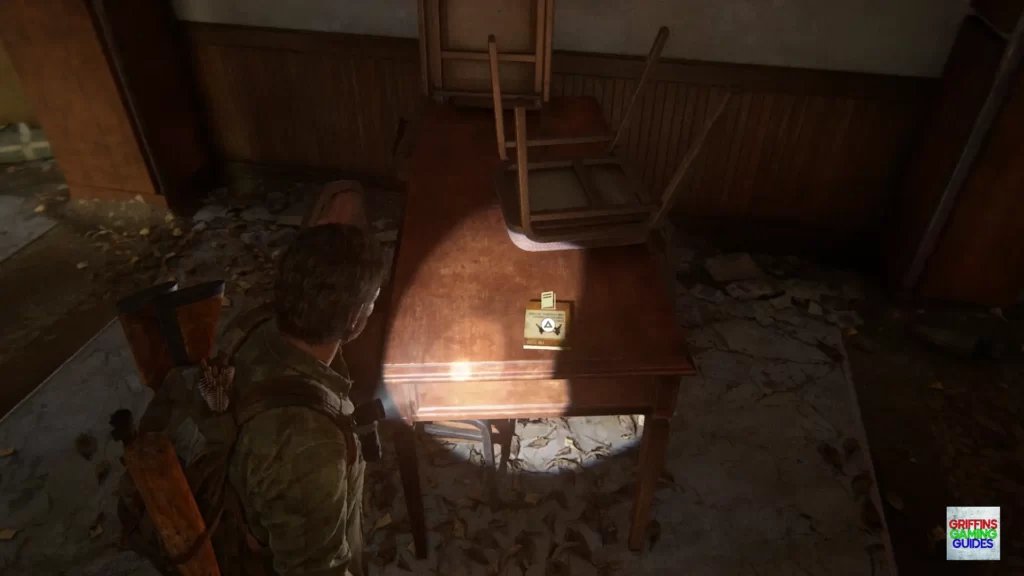
After dropping down with Ellie go straight to the end of the corridor in front you of where you will find the Melee: Knots training manual on a table with some chairs stacked on top.
Training Manual 5: Molotov: Construction
Pittsburgh, Escape the City.
Improved Radius of Incendiary Bombs (Explosion radius is increased by 1.5 times).
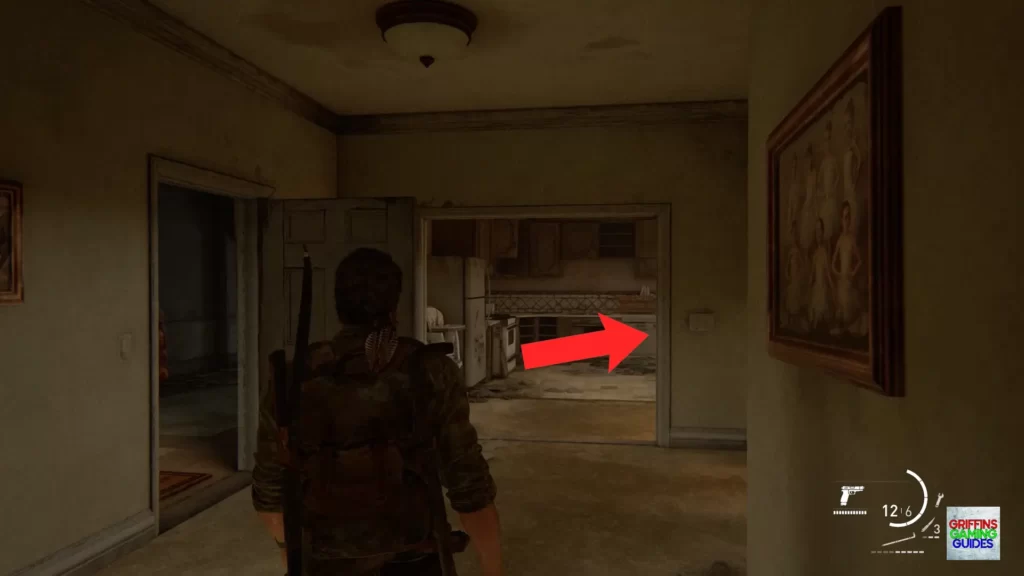
Continue through the chapter to where Joel, Ellie, Sam and Henry are talking in a bedroom with a cot against the wall then leave the room, go right into the kitchen then look to the right to find the Molotov: Construction training manual on the worktop.
Training Manual 6: Bombs: Containment
The Suburbs, Sewers.
Improved Radius: Emplaced Explosives (Explosion radius is increased by 1.5 times).
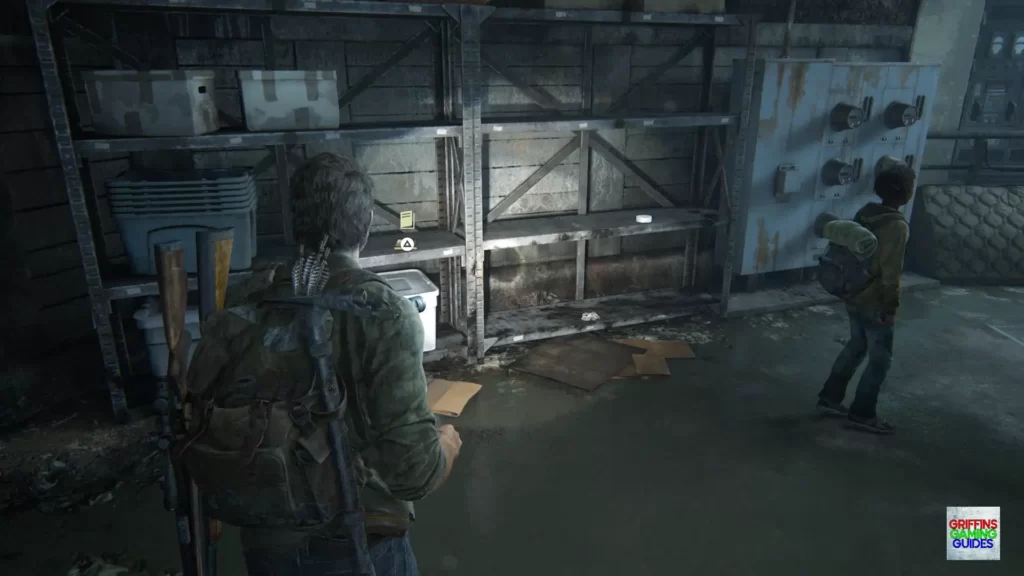
After going through the double doors and setting off the bottle trap in the green crate that swings down from the ceiling, continue forward to the first set of metal shelves just pass the first left tunnel. Look on the second shelf next to the blue plastic boxes to find the Bombs: Containment training manual.
Training Manual 7: Melee: Techniques
The Suburbs, Suburbs.
Improved Durability of Bladed Tools (modifications last 2 hits longer).
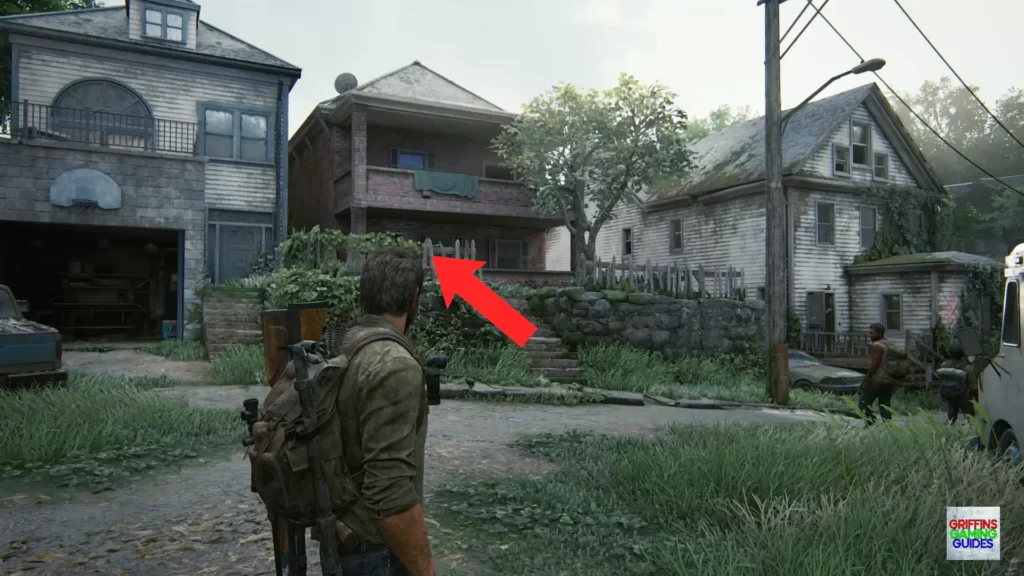
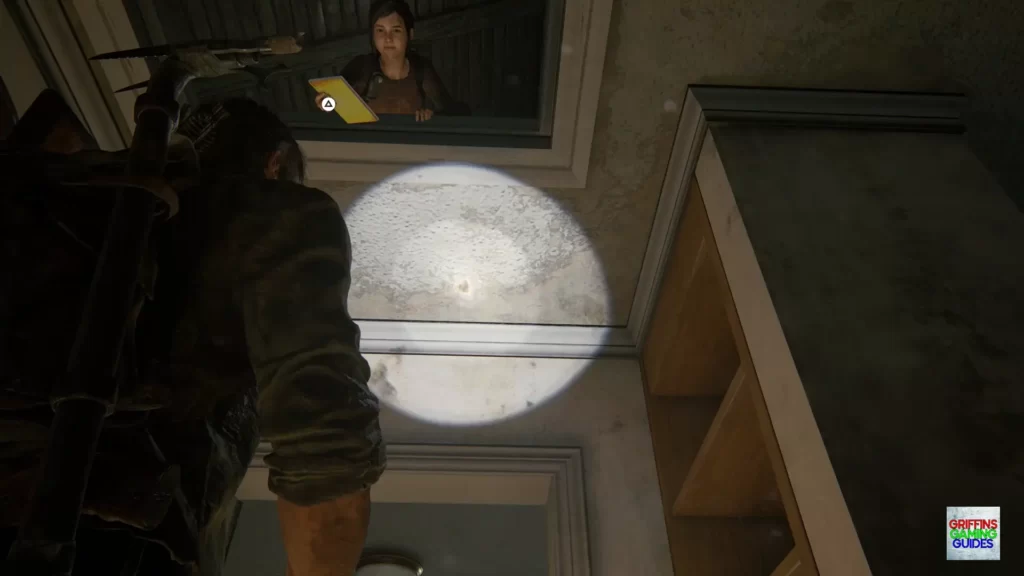
Head to the end of the street and look to the white house with the abandoned ice cream truck just outside. Next to this house will be a red brick built house you can go inside of. Go up to the first floor and interact with the attic hatch string above you. The hatch will fall down and Joel will boost Ellie up in to the attic where she will retrieve and hand you the Melee: Techniques training manual.
Training Manual 8: Smoke: Chemistry
Tommy’s Dam, Hydroelectric Dam.
Improved Duration of Smoke Screens.
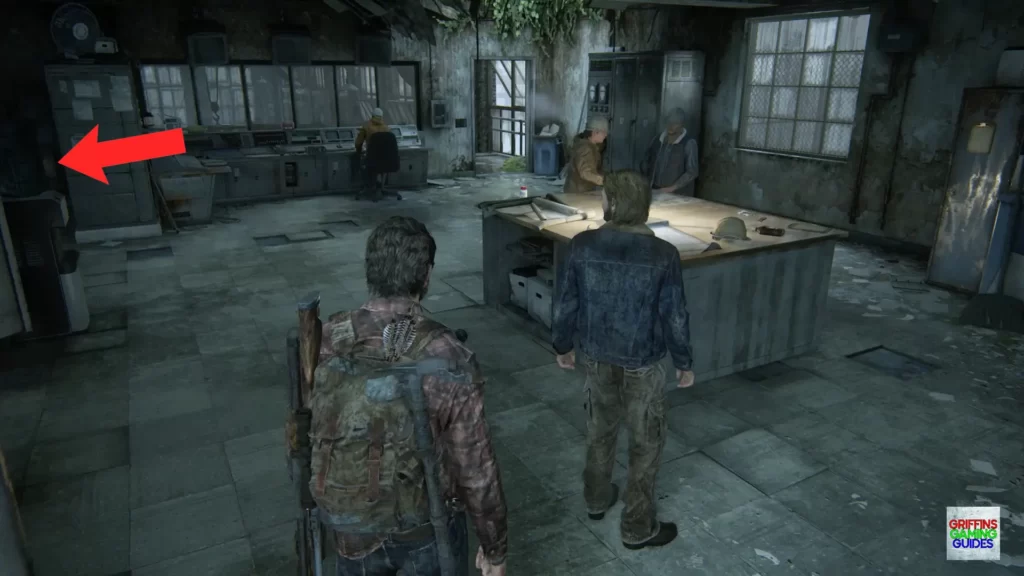
Continue through the chapter with Tommy to where you cross the dam, pass Buckley the dog and go inside the control room building. Once inside, go left then left again then look to your left to find the Smoke: Chemistry training manual on the side of a fallen locker.
Training Manual 9: Health: Sterilisation
The University, Go Big Horns.
Improved Effectiveness of First Aid Measures in the Field.
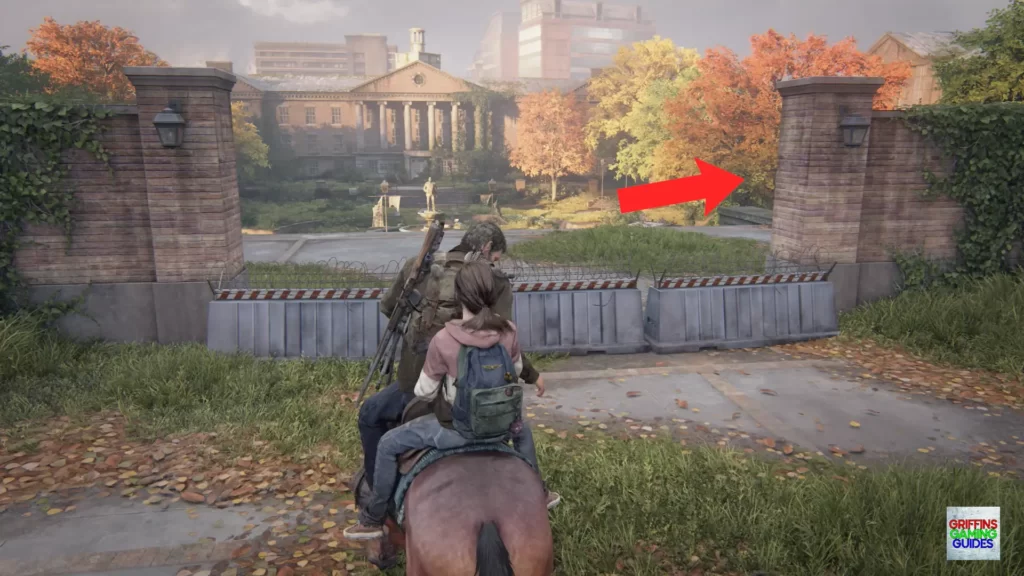
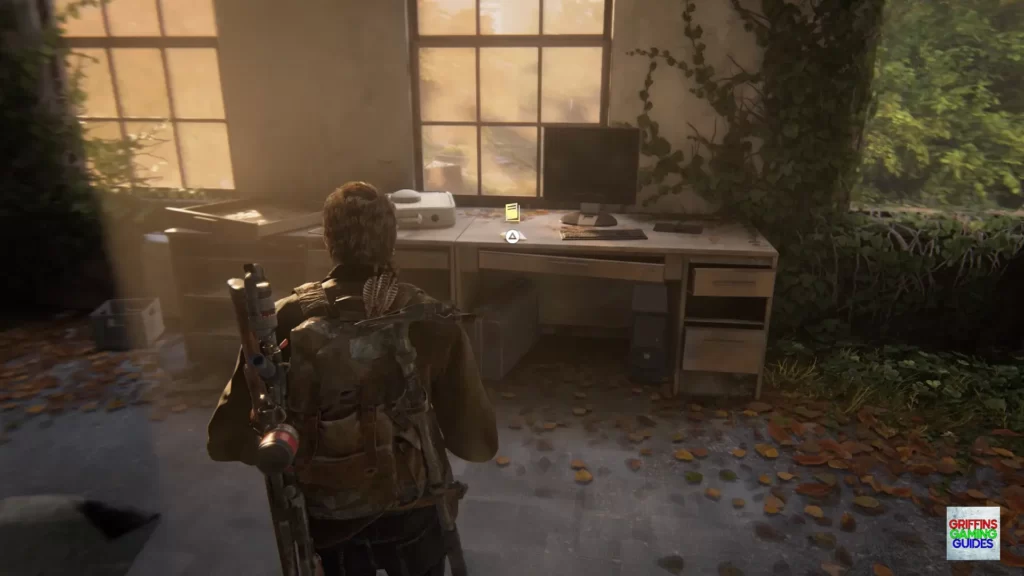
When you jump over the small grey barriers with the barbed wire on the top to enter the University grounds go to your right then under the brick built awning then through the open window near the end of the section. Go up the stairs then out of the open window in front of you, take a left then left again through another window. Once inside this room look to your right to find the Health: Sterilisation training manual on the desk.
Training Manual 10: Molotov: Deployment
The University, Science Building.
Improved Radius of Incendiary Bombs (increases the explosion radius by 2 times).
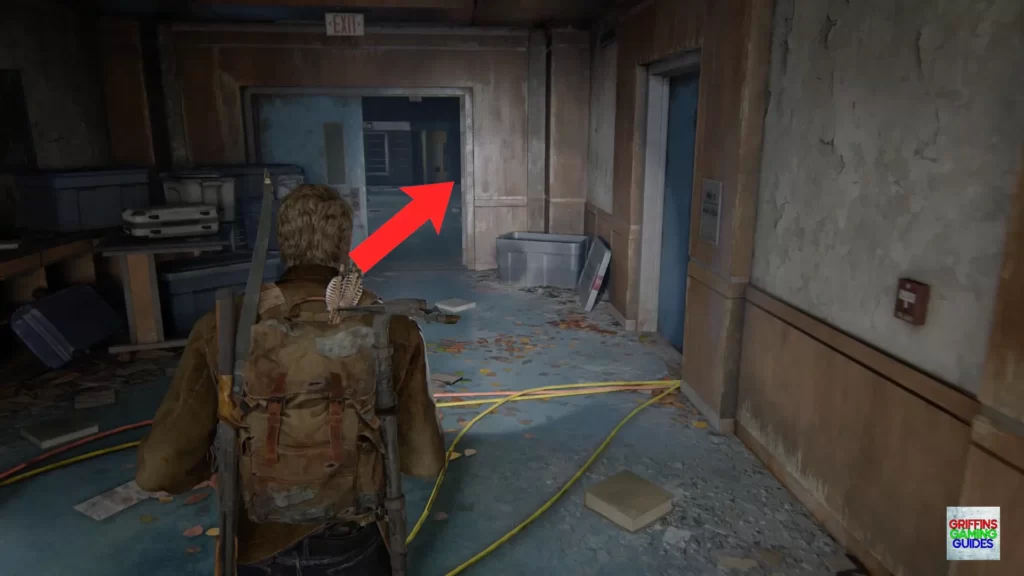
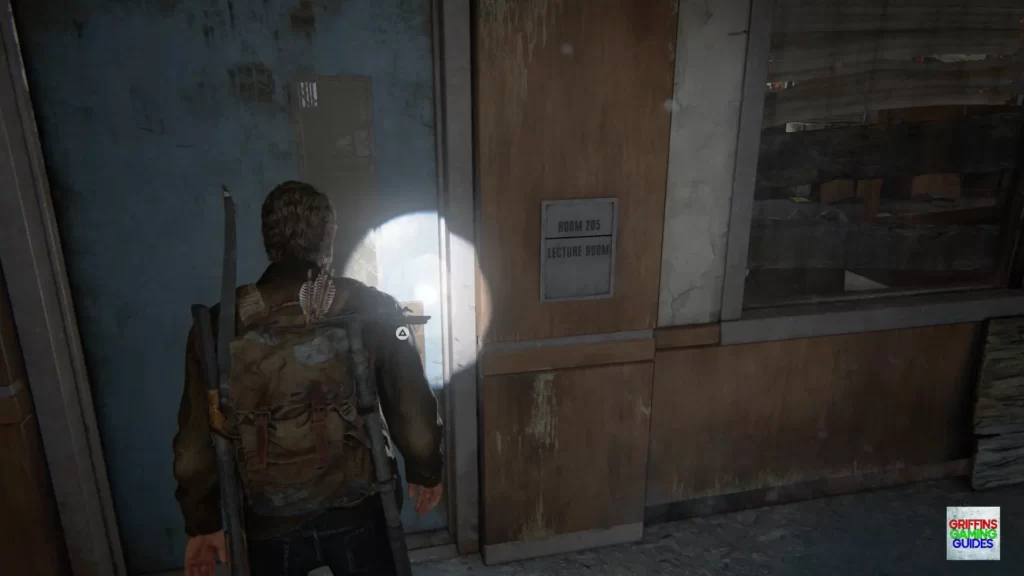
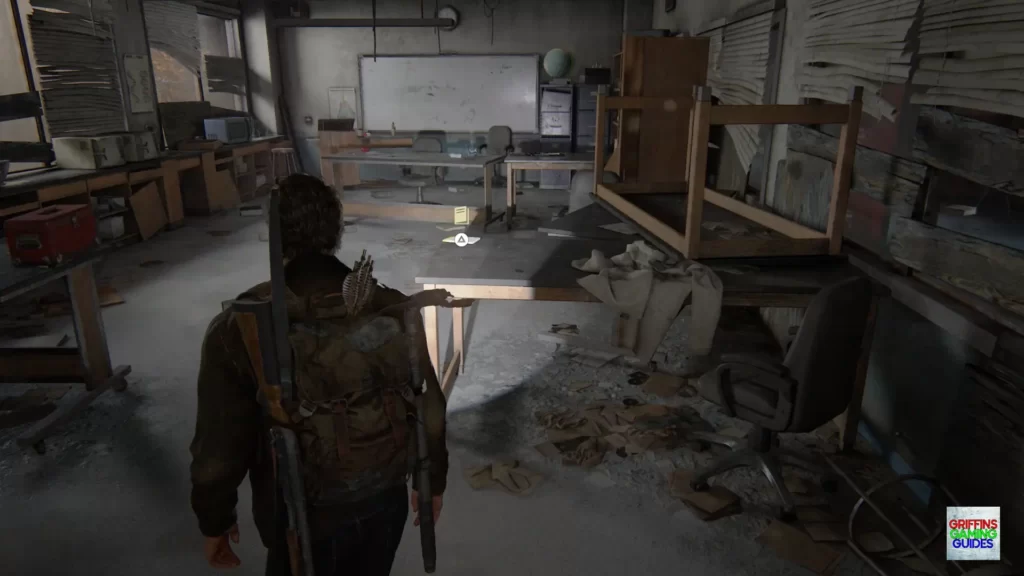
Jump up the brick wall into the building then follow the path round. You would usually go through the first door on the right marked “Room 251, Main Atrium“, however, to get the training manual you need to go straight on down the corridor to the next door on your right marked “Room 205, Lecture Room“. To get through the door you will need a shiv so craft one if you don’t have one then once inside the Lecture Room look to the first table on your right to find the Molotov: Deployment training manual.
Training Manual 11: Smoke: Shaping
Lakeside Resort, Cabin Resort.
Improved Duration of Smoke Screens (increases the duration of smoke by 20 seconds).
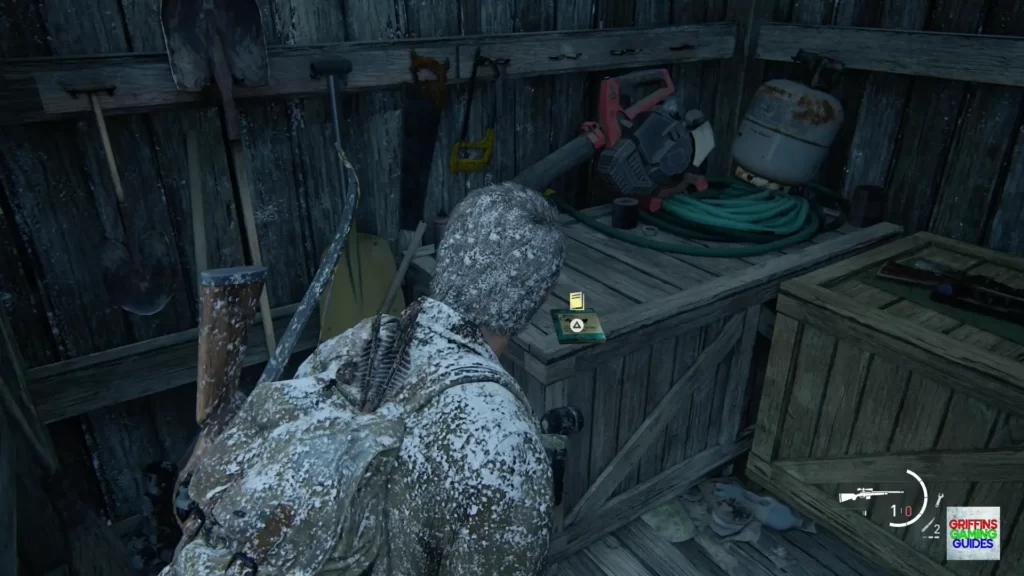
From the start of the chapter go straight ahead to the motel rooms then go down the side under the wooden awning and into the first room you can just by the car. From here go straight forward then right into the bathroom and out the window to your left. Look left to find a shiv door (you will, of course need a shiv to get through the door) then once inside the small outhouse look to your left to find the Smoke: Shaping training manual on a wooden crate.
Training Manual 12: Bomb: Shrapnel
Bus Depot, Underground Tunnel.
Improved Radius: Emplaced Explosives (doubles the explosion radius).
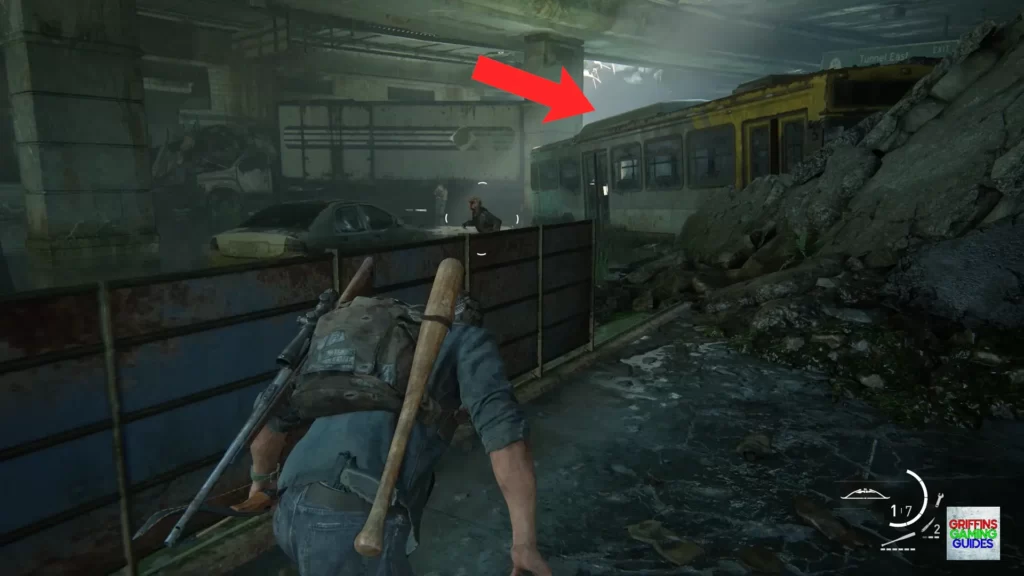
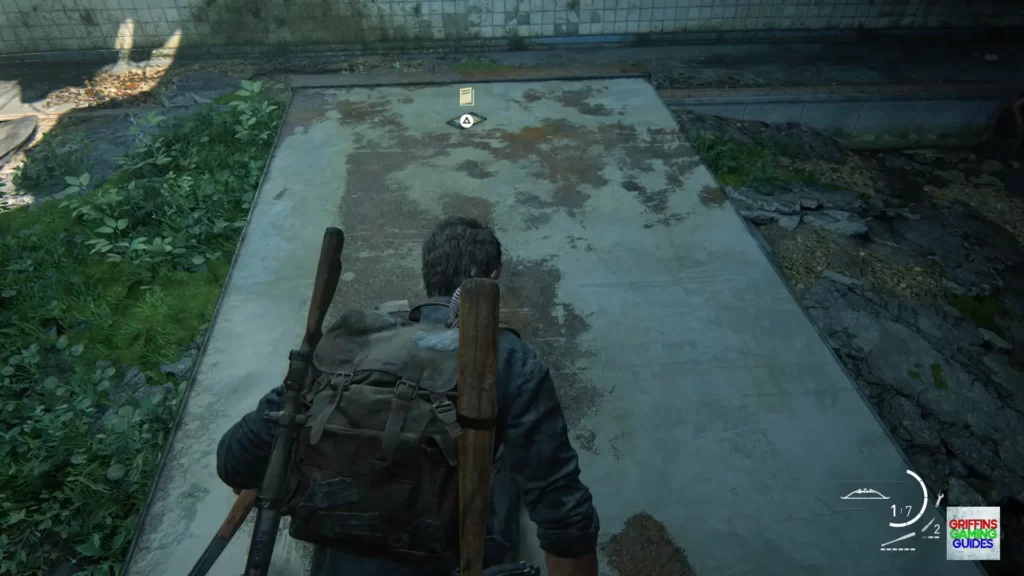
This training manual can be a tricky and dangerous one to find as the tunnel you need to go through is crawling with all manner of infected from normal infected to Bloaters and Clickers. Make your way down through the tunnel as stealthily as you can avoiding the infected as it’s a pretty much guaranteed death if they spot you. You will come to a crashed bus on the right and a crashed lorry on the left both angled towards where you need to go then once you’re through the gap there will be a white lorry with “PNB Express” on the side. Mantle up on to the bonnet, windshield then the roof where you will find the Bomb: Shrapnel training manual towards the back of the lorry trailer.
Once you have collected every training manual in the game your trophy will unlock.
That’s the The Last of us Part 1 Something to Fight For trophy guide complete, I hope it helps you find all of the training manuals.


