The Last Of Us Part II Prepared For The Worst Trophy Guide
Prepared For the Worst
Find all workbenches
Author: FuzionByte.
Genres: Action Adventure, Horror.
The Last of us Part II directory.
Here’s the The Last Of Us Part II Prepared For The Worst Trophy Guide. Workbenches are where you upgrade your weapons increasing their damage output, adding scopes, improving magazine capacities etc.
The Last Of Us Part II Workbenches
You will need to interact with each workbench by going up to it and pressing Triangle, it doesn’t matter if you perform any upgrades or not, interacting with each workbench is enough for this trophy. In this guide we’ll take you through all 25 workbenches, where to find and them and what to look out for as you go through as Ellie and Abby.
Workbench 1
Chapter: Jackson, Patrol.
You will come to the first Workbench naturally as part of the story.
Workbench 2
Chapter: Seattle Day 1 Downtown.
Go to the corner of Madison Street and 5th Avenue facing West where there will be a bridge you can get up to using the ladder on your left then go right across the bridge to the shelter at the end. In the top right corner of the shelter will be the Workbench.
Workbench 3
Chapter: Seattle Day 1, Capitol Hill
Head into the garage which is part of the gas station in Capitol Hill ducking under the half open shutter then look to your right to find the Workbench.
Workbench 4
Chapter: Seattle Day 1, Capitol Hill.
Go through the chapter to the section just before the trip wires you need to disarm then go right into the Martial Arts Centre. Go through the back wall then round to the left to find the Workbench.
Workbench 5
Chapter: Seattle Day 1, The Tunnels.
Proceed through the tunnels to the ladder you climb then rather than going left, go right into a small room inside of which will be the Workbench.
Workbench 6
Chapter: Seattle Day 2, Hillcrest.
From the start of the chapter go into the clothes store to your right then go through the smashed out section of wall behind the counter. Head down into the basement to find the Workbench.
Workbench 7
Chapter: Seattle Day 2, Hillcrest.
Jump through the hole in the wall which is a mandatory part of the game then continue straight to find the Workbench.
Workbench 8
Chapter: Seattle Day 2, The Seraphites.
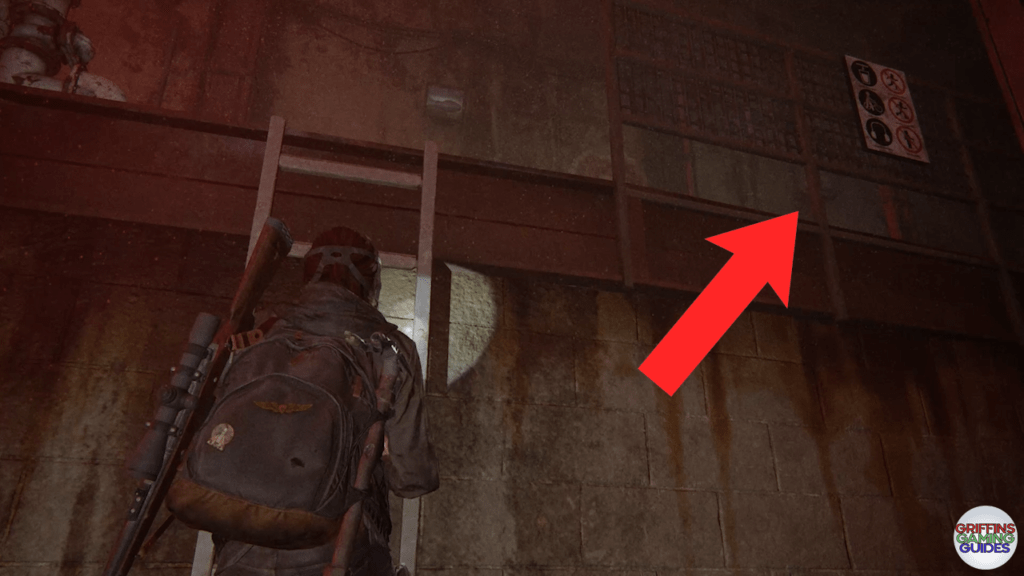
As you’re going through the chapter head up from the open area pass 2 garbage trucks then go down the side street to your left. Climb up on to the truck then up and across the metal awning then smash through the window. Go to your left where you will find the workbench against the back wall. Be careful here as you will be ambushed once you interact with the workbench and you need to take down the enemies then go back to the workbench to ensure it is added to the count towards your Trophy.
Workbench 9
Chapter: Seattle Day 2, The Seraphites.
After going down the ladder into the water, go up the set of stairs to your left then through into Weston’s Pharmacy. Once in the Pharmacy go through the small hole in the wall to your left then go to your right to find the Workbench.
Workbench 10
Chapter: Seattle Day 3, Road to the Aquarium.
Proceed through the chapter the the first corridor you come to where you would usually go left through a set of blue double doors, however, to find the workbench you need to go through the 2nd door on your right ducking down under some debris. Once in the small room look to your left then go to the Workbench.
Workbench 11
Chapter: Seattle Day 3, Road to the Aquarium.
After you swim under the crashed coach go up the remains of the building then rather than going through the door to your left, stay on this floor and go all the way around to your left without going through that door. In the end of the small room over to the right will be the Workbench.
Workbench 12
Chapter: Seattle Day 3, The Flooded City.
After Ellie has opened the first shutter her boat will stall and you’ll need to restart it. Once you’ve done so proceed forward going over the submerged fence with barbed wire around the top then rather than going around to the right, go straight into a building called Shaftway. Look to the left wall to find the Workbench.
Workbench 13
Chapter: Seattle Day 3, The Flooded City.
Once in the arcade go up the stairs then over to the wall next to the motorbike arcade machines to find the Workbench.
Workbench 14
Chapter: Seattle Day 1, On Foot.
Once Abby has lifted the filing cabinet blocking the door allowing Mel to enter, stay on this floor and head pass the stairs to the back wall to find the Workbench.
Workbench 15
Chapter: Seattle Day 1, The Forward Base.
Head through and sign in at the base then go into the tent to your left to find the Workbench.
Workbench 16
Chapter: Seattle Day 1, Hostile Territory.
Make your way up the stairs then through into the Fresnel foyer then go over to the left to find the Workbench.
Workbench 17
Chapter: Seattle Day 1, The Forest.
After going into La Rosa’s Auto Shop go over to the left wall to find the Workbench.
Workbench 18
Chapter: Seattle Day 1, The Coast.
You will pass this Workbench as you go through the story. Go through the door after jumping over the fence near the hanging container then look to your right once inside the room.
Workbench 19
Chapter: Seattle Day 2, The Shortcut.
Jump across the remains of the road then into Interbay Wireless. From here go to the left wall to find the Workbench.
Workbench 20
Chapter: Seattle Day 2, The Shortcut.
Make your way up and through the chapter to where you come to a shrine then go into the room on your right. Rather than climbing the ladder look to the right wall to find the Workbench.
Workbench 21
Chapter: Seattle Day 2, Ground Zero.
Head through the chapter until Abby jumps over a section of wall where you go through and activate the generator. Just to the left of the generator will be the Workbench.
Workbench 22
Chapter: Seattle Day 3, The Island.
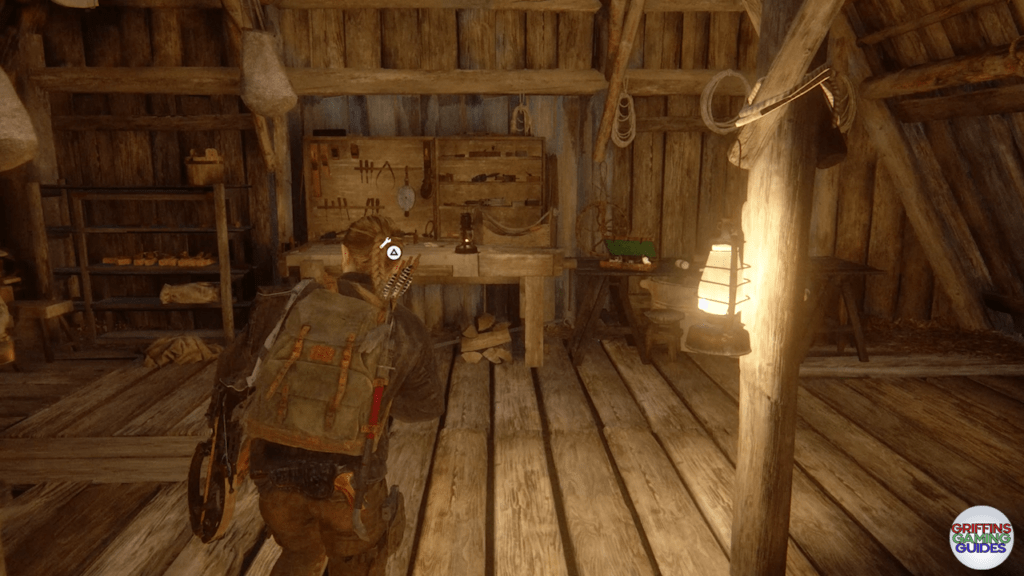
Go up through the chapter to the wooden triangular buildings then into the one on your left where you will find the Workbench against the back wall.
Workbench 23
Chapter: Seattle Day 3, The Escape.
Climb up the ladder with Lev then through the small window to your right. Once in the room look straight in front of you to find the Workbench.
Workbench 24
Chapter: Santa Barbara, Pushing Inland.
Once in the mansion drop down to the ground floor and go through to the kitchen. Look to the left of the oven to find the Workbench.
Workbench 25
Chapter: Santa Barbara, The Resort.
Go through the chapter to the Mansion grounds then look in the large wooden building in front of the mansion along the back wall to find the Workbench.
Once you have found all 25 Workbenches you will then earn your Prepared For the Worst Trophy.
That’s the Last Of Us Part II Prepared For The Worst Trophy Guide complete I hope it helps you find all workbenches.


