The Last Of Us Part II Seattle Day 1 (Abby) Artefacts
Author: FuzionByte.
Genres: Action Adventure, Horror.
The Last of us Part II directory.
Here you can find all of the, The Last Of Us Part II Seattle Day 1 (Abby) Artefacts which will help you through Seattle Day 1 as Abby and obtain all 18 artefacts found in Seattle Day 1. There are 2 separate chapters in The Last Of Us Part II called Seattle Day 1 which can be confusing on your first run but once you realise that both Ellie and Abby have chapters called Seattle Day 1 you will know where you are based on who you are playing as.
Collecting all artefacts and journal entries will take up the bulk of your time whilst playing through The Last Of Us Part II as there’s 127 artefacts and 20 journal entries to find in total with this guide covering off the 18 artefacts in Seattle Day 1 (Abby) which is the sixth chapter in The Last Of Us Part II. If you need any other Artefacts and or Journal entries, check out the complete Archivist trophy guide.
You can find the Seattle Day 1 (Abby) artefacts in the Archivist video above at 01:06:54.
Seattle Day 1 (Abby) Artefacts
It will be beneficial to have the Enhanced Listen Mode on (Pause> Options> Accessibility> Navigation And Traversal> Enhanced Listen Mode> On> Scan Range> 30m> Scan Time> 1s). You can then hold R1+Circle to send out a sonar which will highlight everything you can collect nearby including any artefacts and journal entries. Once you get to the penultimate chapter: Santa Barbara, The Beach make a manual save which will then allow you to go back through the game via chapter select from the main menu enabling you to collect anything you may have missed. Please Note: If you save during the final mission: The Farm, Epilogue, you will need to play through the entire game again as chapter select will then be disabled!. Seattle Day 1 has 18 Artefacts which are found throughout the following chapters:
- On Foot: 1 Artefact.
- The Forward Base: 1 Artefact.
- Hostile Territory: 12 Artefacts.
- The Forest: 1 Artefact.
- The Coast: 3 Artefacts.
These artefacts will all be collected as Abby as you make your way through the Day 1.
Chapter: On Foot
Seattle Day 1, On Foot has 1 Artefact which is:
Artefact: WLF Gun Cache Note
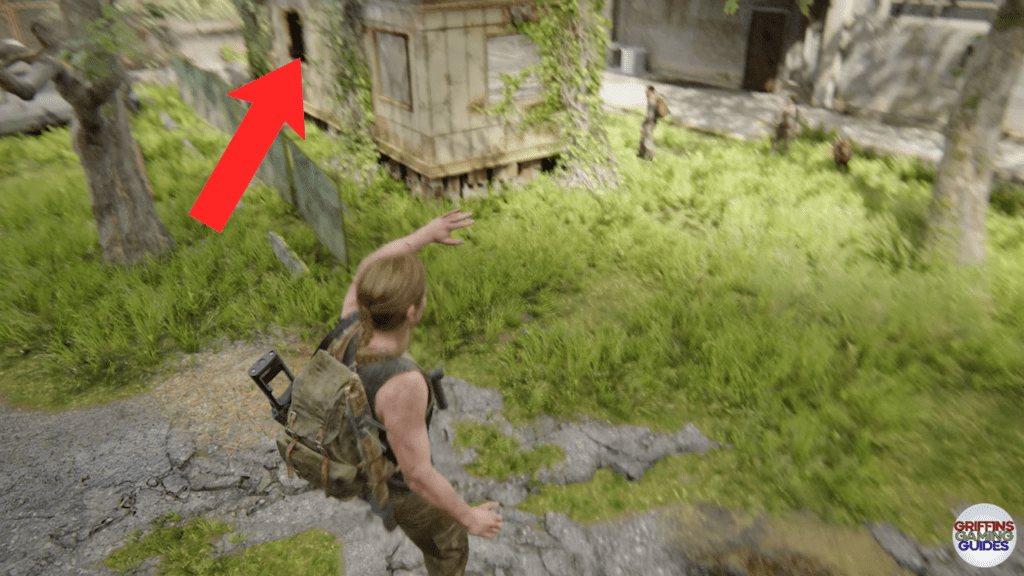
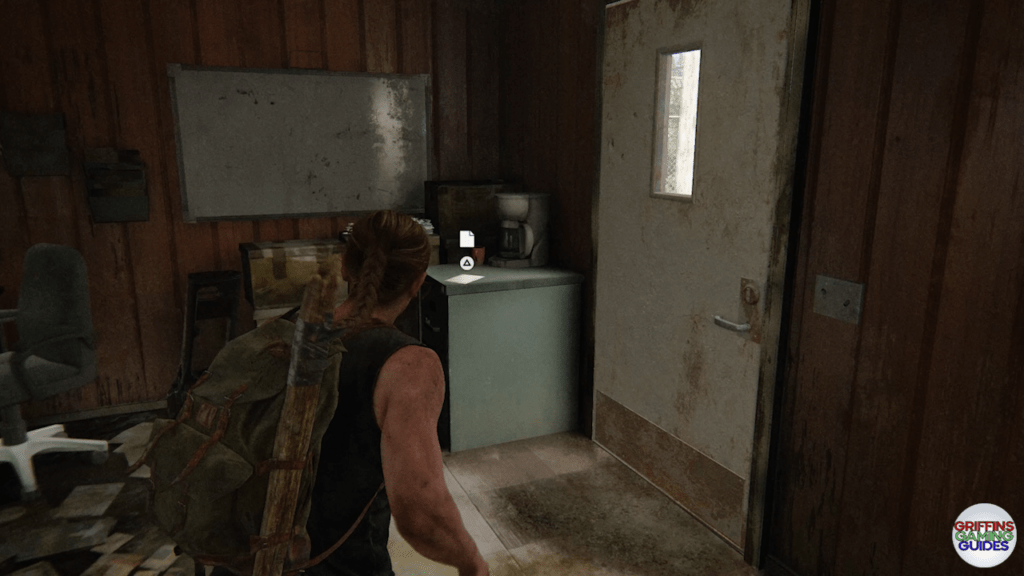
As you’re making your way down the stairs to meet up with Manny go into the beige trailer which will be to your left as you land then through the window. Head to the top left corner to find a green unit on top of which will be the WLF Gun Cache Note Artefact.
Chapter: The Forward Base
Seattle Day 1, The Forward Base has 1 Artefact which is:
Artefact: The Forward Base
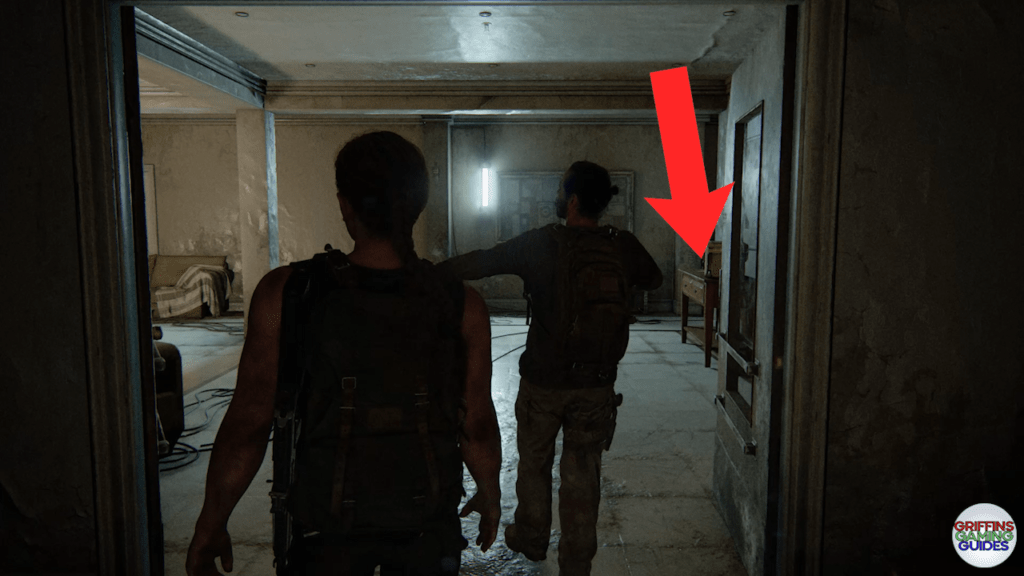
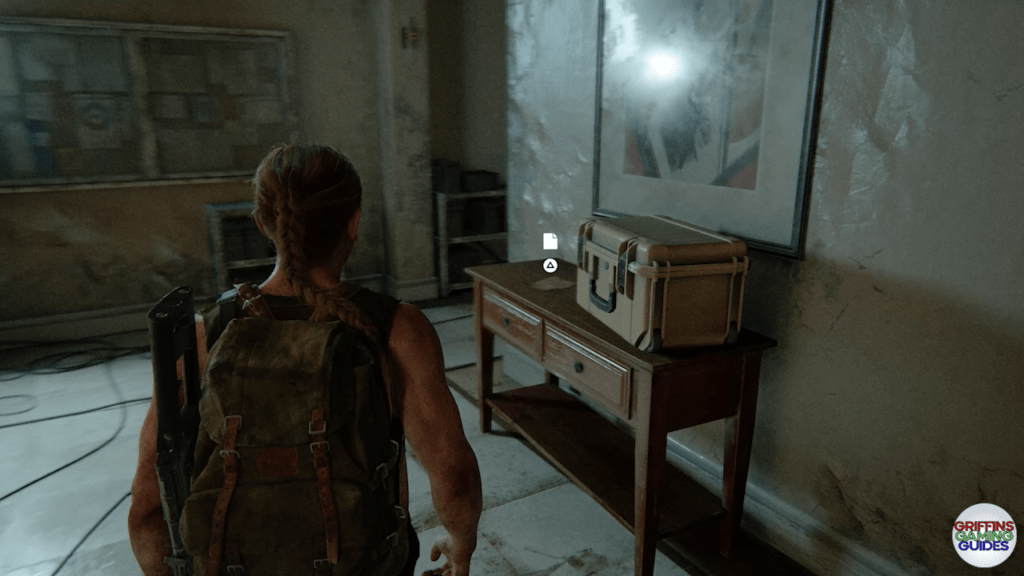
Once through the doors with Manny pass the NPC who is smoking look to the table to your right next to a military style crate to find the WLF Interrogator Letter Artefact.
Chapter: Hostile Territory
Please Note: The passionate letter Manny snatches from Abby is not an artefact.
Seattle Day 1, Hostile Territory has 12 Artefacts which are:
- Scar’s Suicide Letter.
- Plea to Seraphite Project.
- Jasmine Bakery Safe.
- Strange Relic.
- Seraphite Prayer to Prophet – Peace.
- Prayer for Victory.
- Seraphite Prayer to Prophet – Respect.
- Seraphite Prayer to Prophet – Steed.
- Seraphite Prayer to Prophet – Prosperity.
- Seraphite Prayer to Prophet – Pairing.
- WLF Soldier Meets Prophet Letter.
- Letter From Seraphite Father to Son.
Artefact: Scar's Suicide Letter
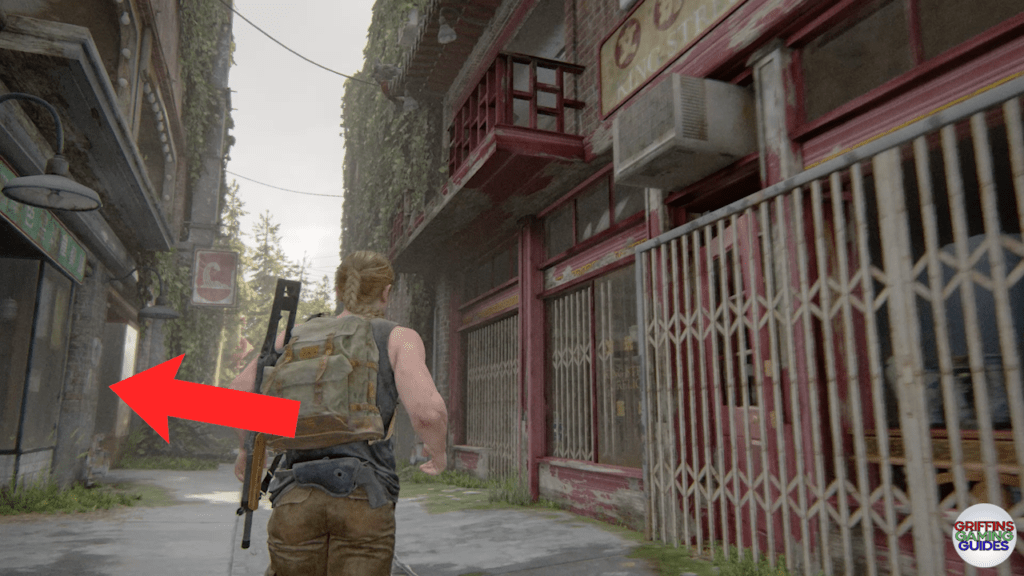
Once Abby and Manny part ways go forward then around through the back window of the building that was on your left as you go through the alley. Once inside you will find a corpse slumped against a fridge freezer. Search the corpse to find the Scar’s Suicide Letter Artefact.
Artefact: Plea To Seraphite Prophet
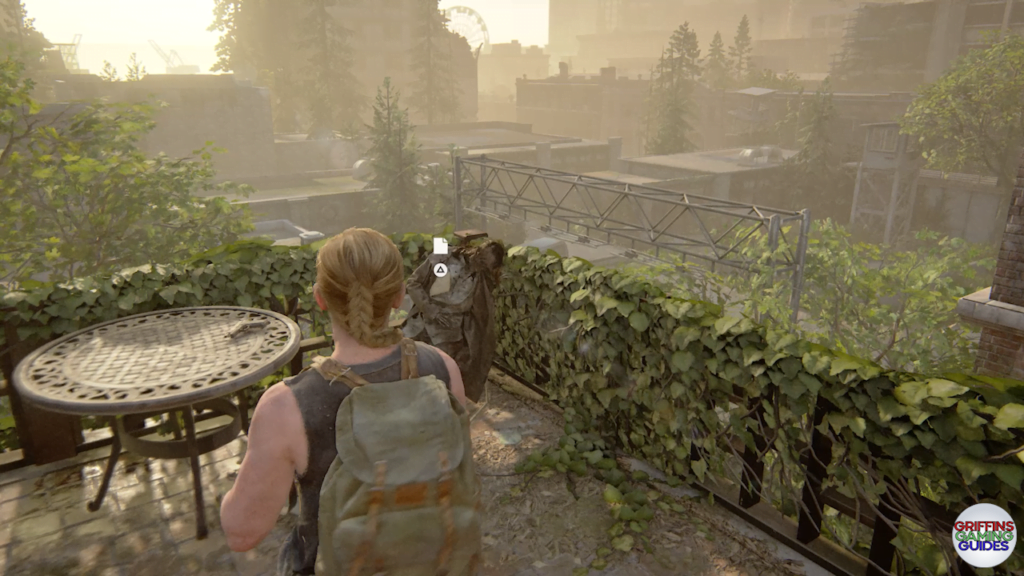
After dropping down over the brick wall go left then forward then into the Ruby Dragon which is on your left, go up the stairs and through the crawlspace dealing with the Clicker and infected as you go. Once through jump across the street below to the adjacent building then take a right up the stairs to come to a garden terrace. On the corpse that’s sitting in the chair will be the Plea to Seraphite Prophet Artefact.
Artefact: Jasmine Bakery Safe
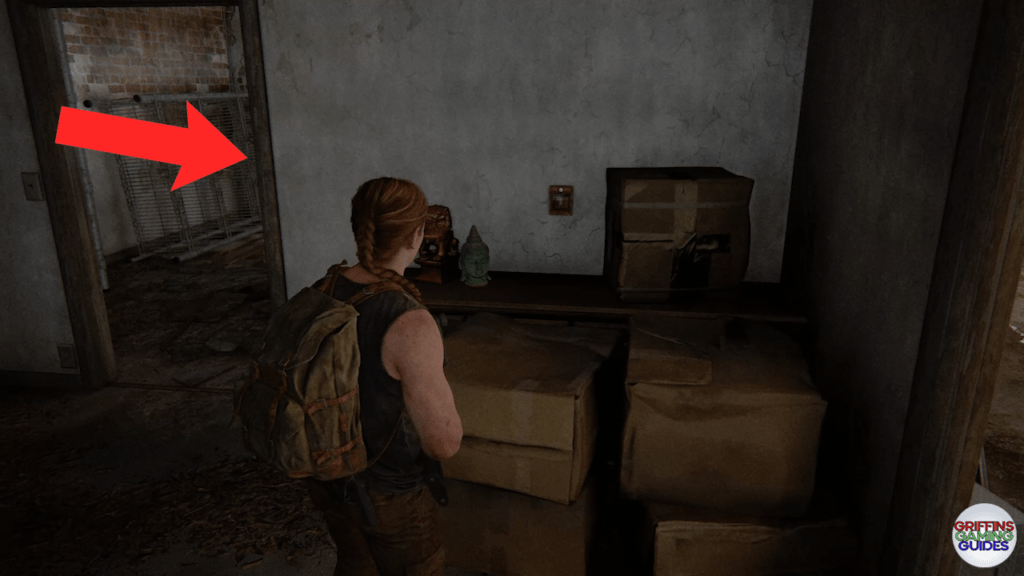
Go down the stairs from where you collected the Plea to Seraphite Prophet artefact then go straight forward turning right to find the Jasmine Bakery Safe Artefact on some cardboard boxes.
Artefact: Strange Relic
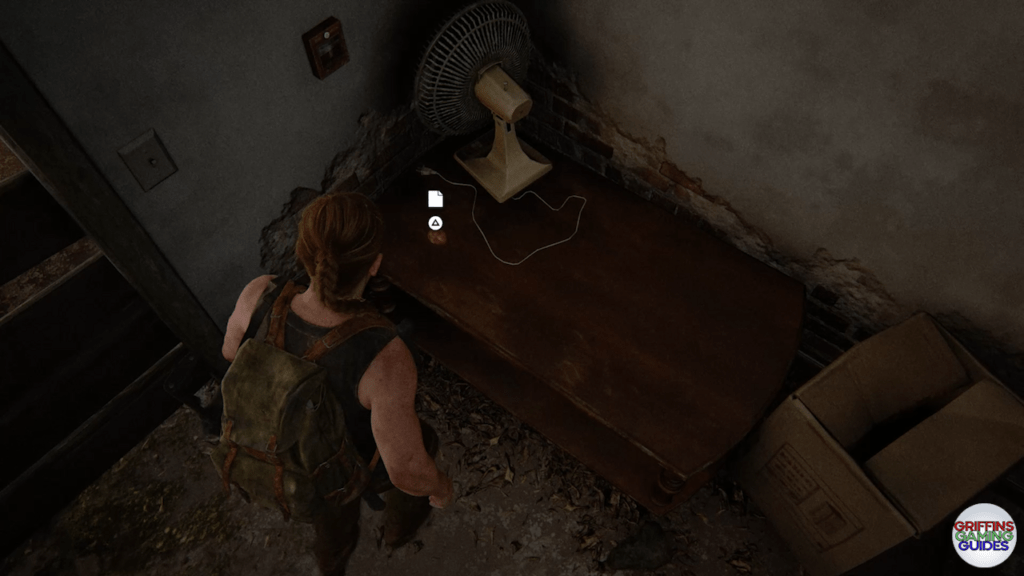
After you have collected the Jasmine Bakery Safe artefact head around to the right to find the Strange Relic Artefact on the table next to a fan before dropping down through the ceiling. Collecting the Strange Relic will earn you Relic of the Sages.
Artefact: Seraphite Prayer To Prophet - Peace
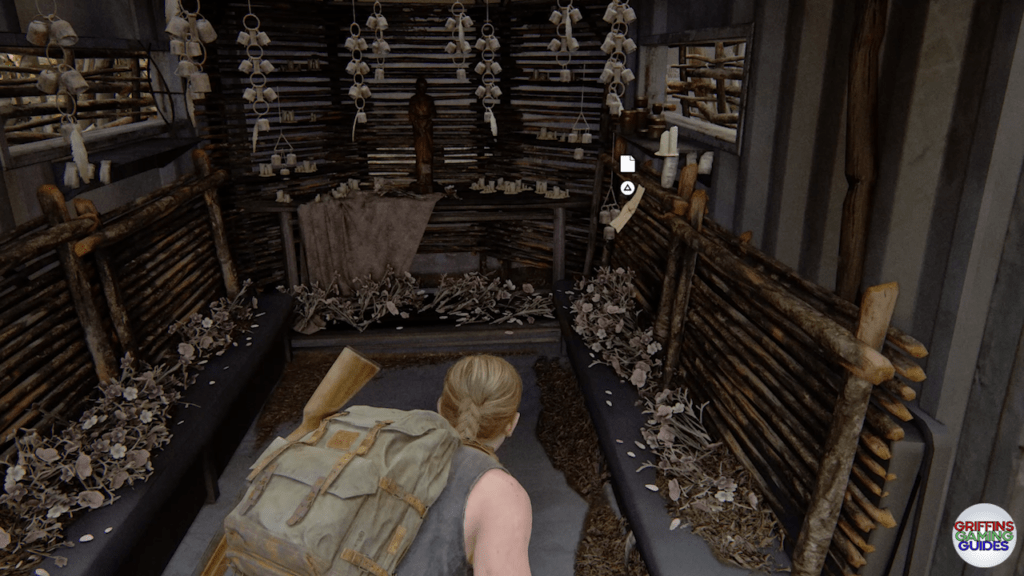
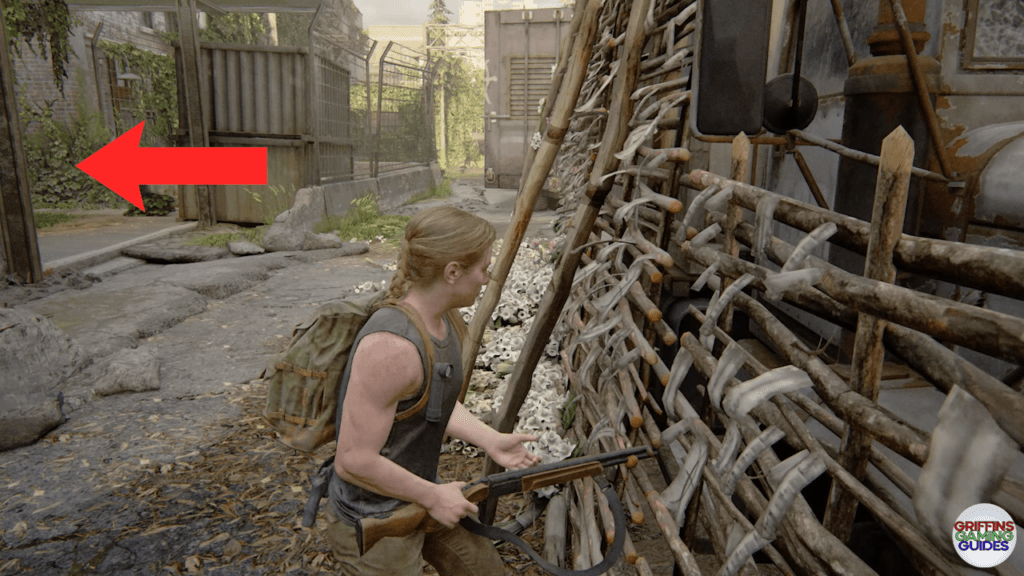
Continue through the chapter pass the military vehicles to the truck at the end that has been turned into a shrine. Open the back doors of the truck to then look to the right wall to collect the Seraphite Prayer to Prophet – Peace Artefact.
Artefact: Prayer For Victory
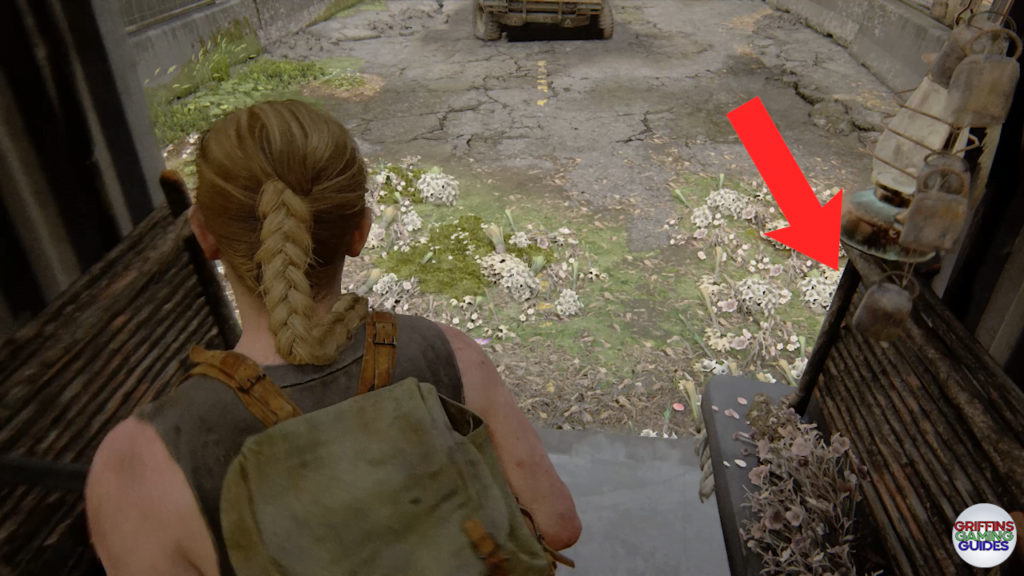
Come out of the truck where you collected the Seraphite Peace to Prophet – Peace artefact then go around to the right of the truck to far section to find the Prayer for Victory Artefact on the floor.
Artefact: Seraphite Prayer To Prophet - Respect
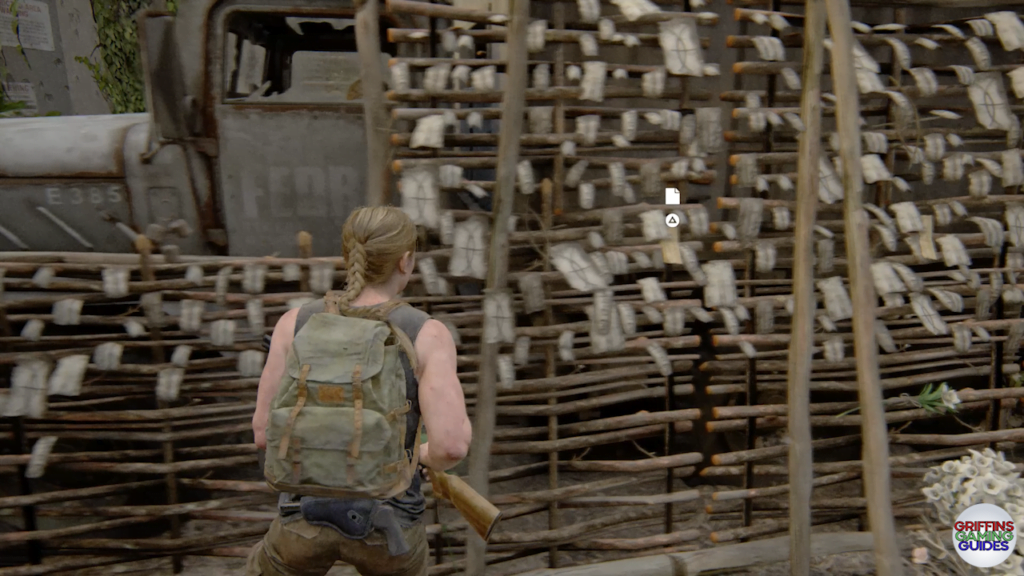
Look to the right of the Prayer for Victory artefact to find the Seraphite Prayer to Prophet – Respect Artefact.
Artefact: Seraphite Prayer To Prophet - Steed
Look to the right of the Seraphite Prayer to Prophet – Respect artefact to find the Seraphite Prayer to Prophet – Steed Artefact.
Artefact: Seraphite Prayer To Prophet - Prosperity
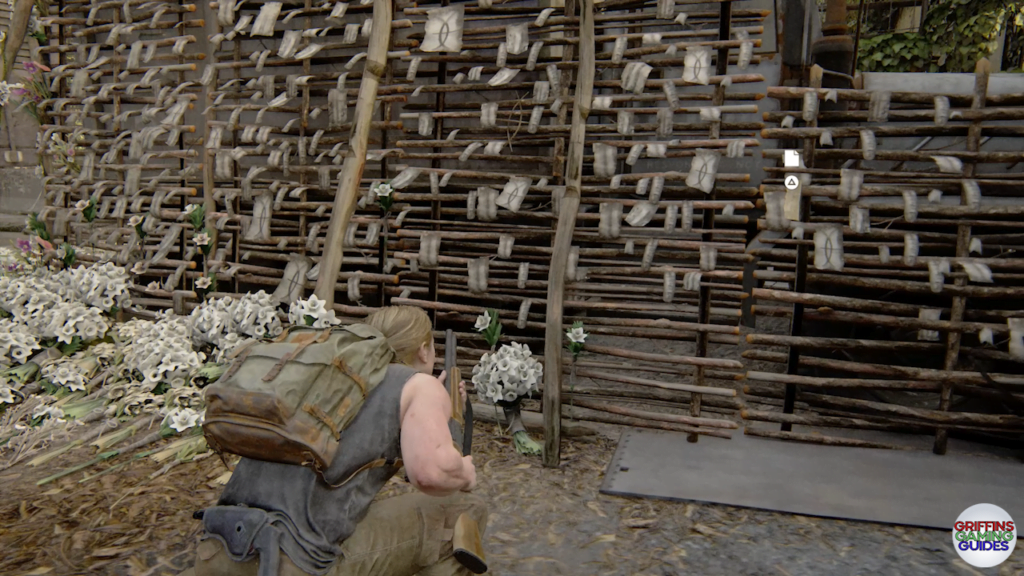
Go around to the other side of the truck from you collected the 3 previous artefacts then look against the notes in the middle of the section to find the Seraphite Prayer to Prophet – Prosperity Artefact.
Artefact: Seraphite Prayer To Prophet - Pairing
Go to the right from the Seraphite Prayer to Prophet – Prosperity artefact to find the Seraphite Prayer to Prophet – Pairing Artefact.
Artefact: WLF Soldier Meets Prophet Letter
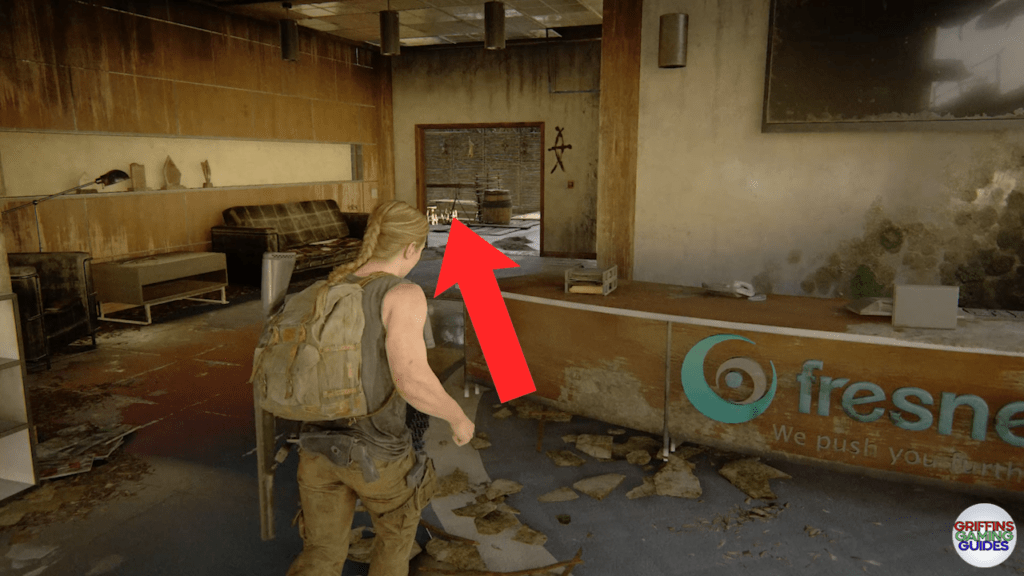
From the Seraphite Prayer to Prophet – Pairing artefact go into the building which will be behind you as you look at the artefacts’ location. Head through to the counter on your left to find the WLF Soldier Meets Prophet Letter Artefact.
Artefact: Letter From Seraphite Father To Son
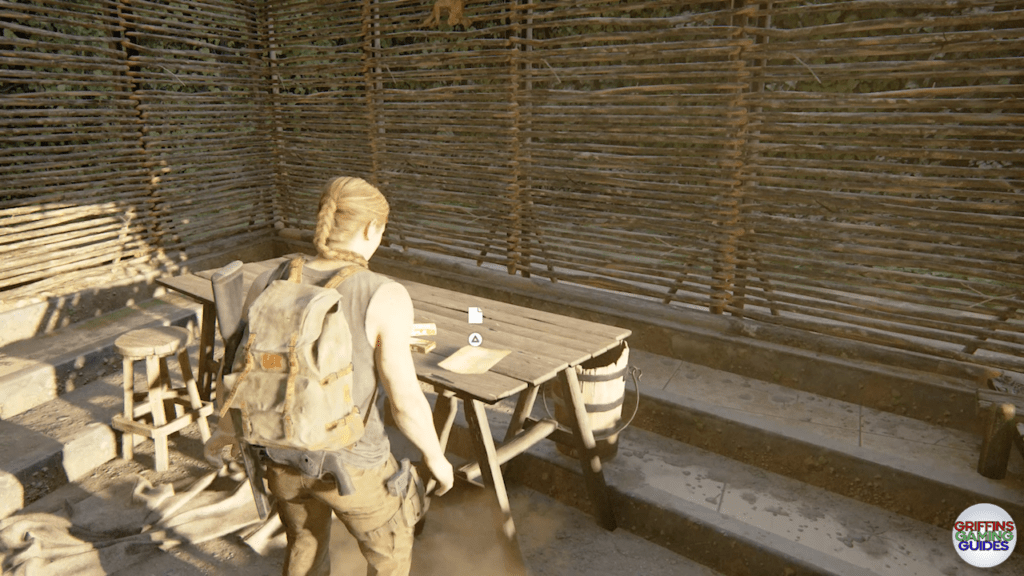
Go up through the stairs of the building to the Fresnel foyer then go into the room over to the left. On the table here will be the Letter from Seraphite Father to Son Artefact.
Chapter: The Forest
Seattle Day 1, The Forest has 1 Artefact which is:
Artefact: Failed Truce
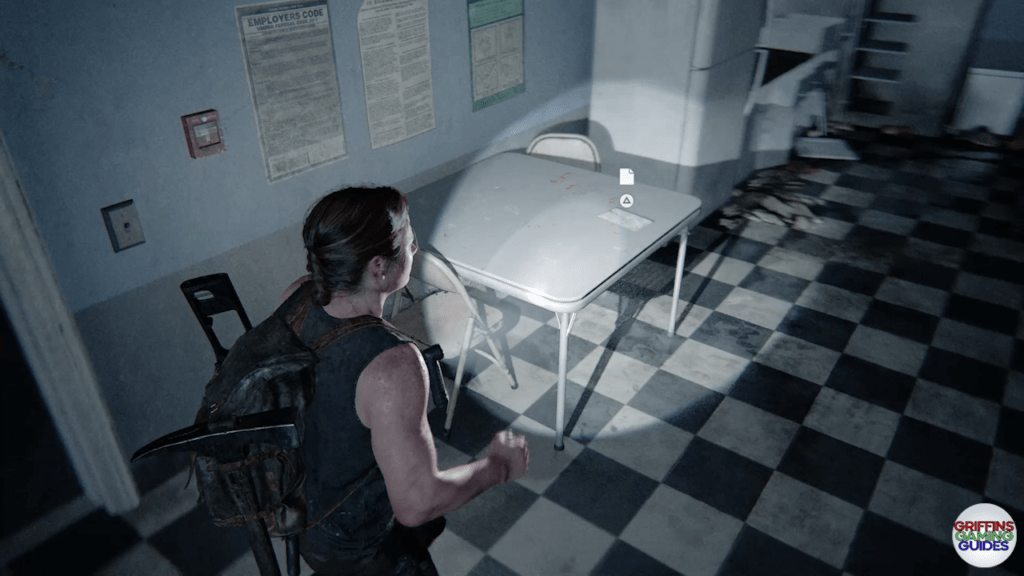
Go through the chapter until Abby, Lev and Yara go through into La Rosa’s Auto Shop then go through the right door to the room with the chequered floor. Look to your left to find a table upon which will be the Failed Truce Artefact.
Chapter: The Coast
Seattle Day 1, The Coast Forest has 3 Artefacts which are:
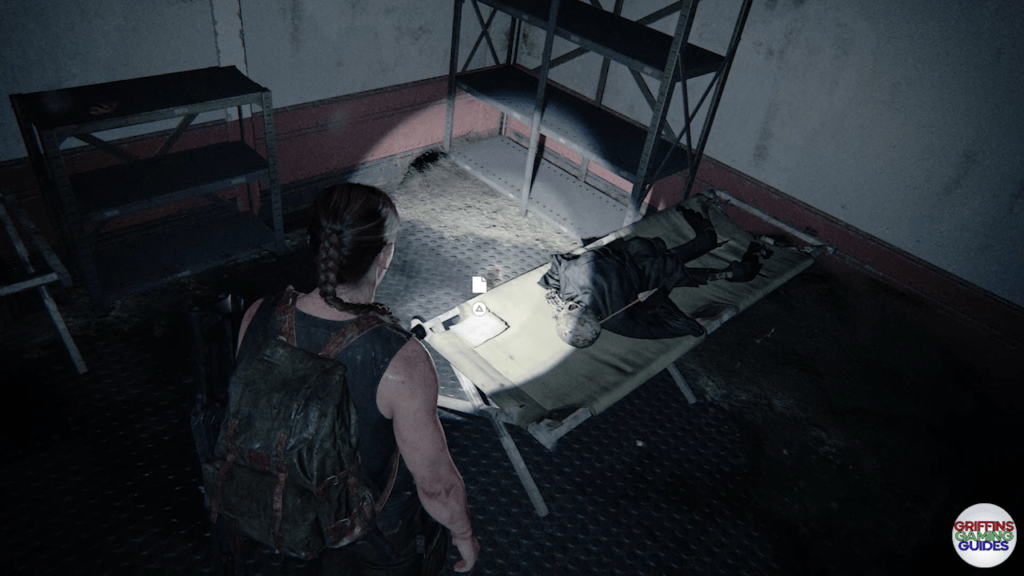
Artefact: Infirmary Note
Go through the hole in the hull of the crashed Ferry then take a right then right again to find a corpse on a bunk. Just in front of the corpses’ skull will be the Infirmary Note Artefact.
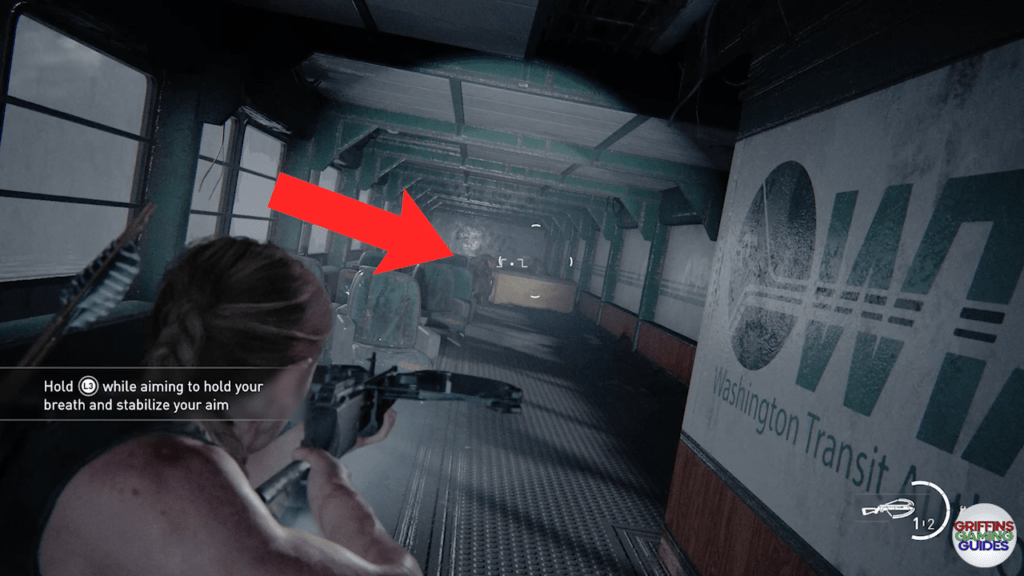
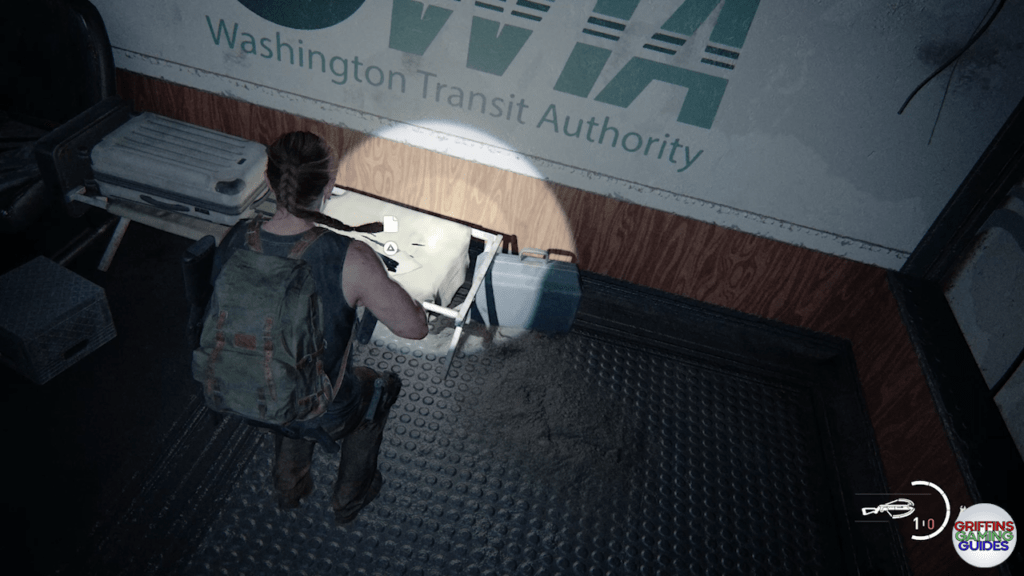
Artefact: Mutiny Note
Go through the door on the lower level where Abby will acquire the Crossbow then head straight to the end of the corridor jumping over the yellow vending machine where you will find the Mutiny Note Artefact on the bunk.
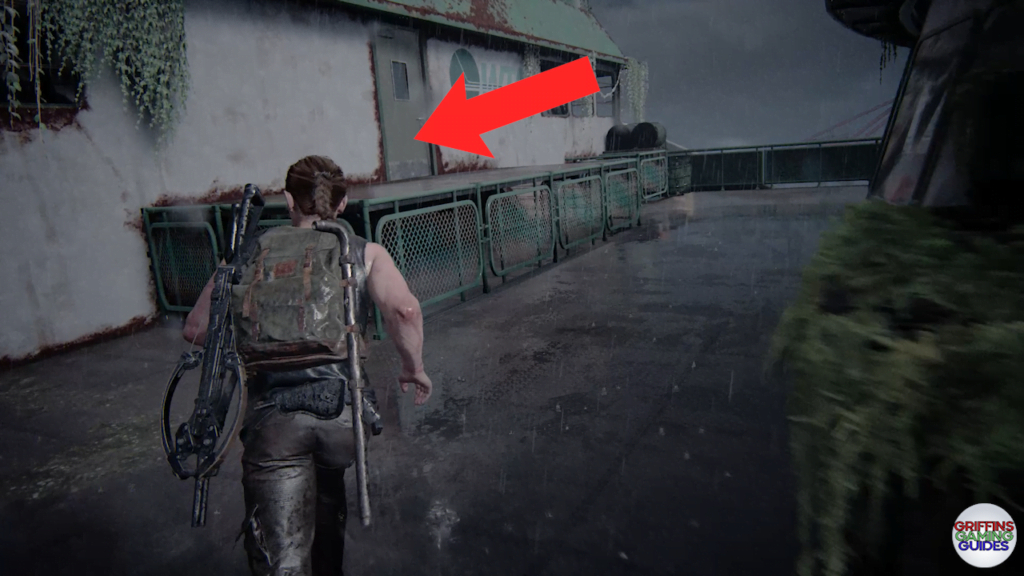
Artefact: Ferry Log
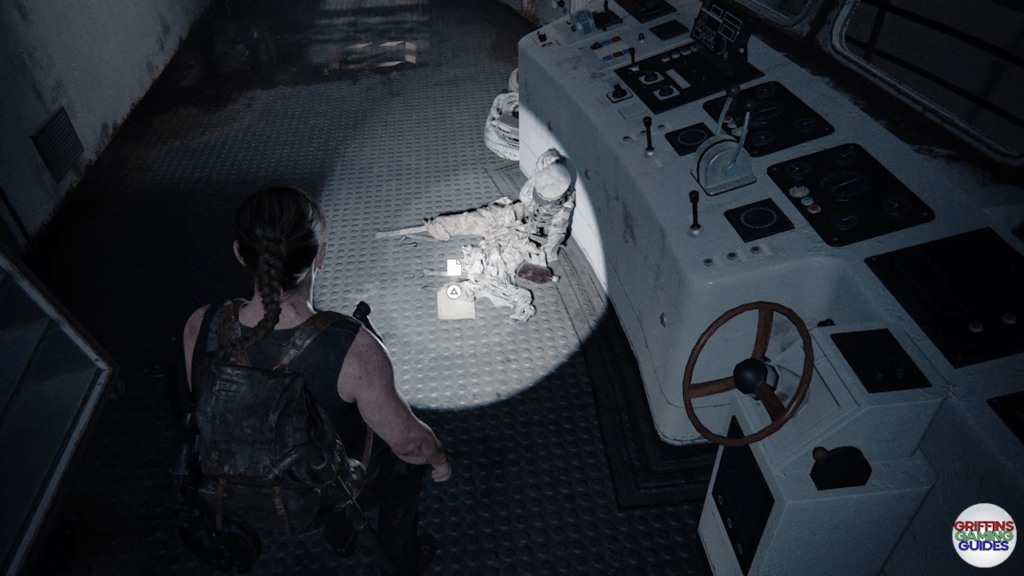
Go up through the Ferry to the bridge (story progression) then look to the right of the corpse slumped against the Ferry’s controls to find the Ferry Log Artefact.
That’s how to find all of the, The Last Of Us Part II Seattle Day 1 (Abby) Artefacts. If you need any other Artefacts or Journal Entries check out the Archivist trophy guide.
That’s where to find all of the Last Of Us Part II Seattle Day 1 (Abby) artefacts. I hope it helped you collect all of the artefacts in the sixth main chapter in The Last Of Us Part II.
